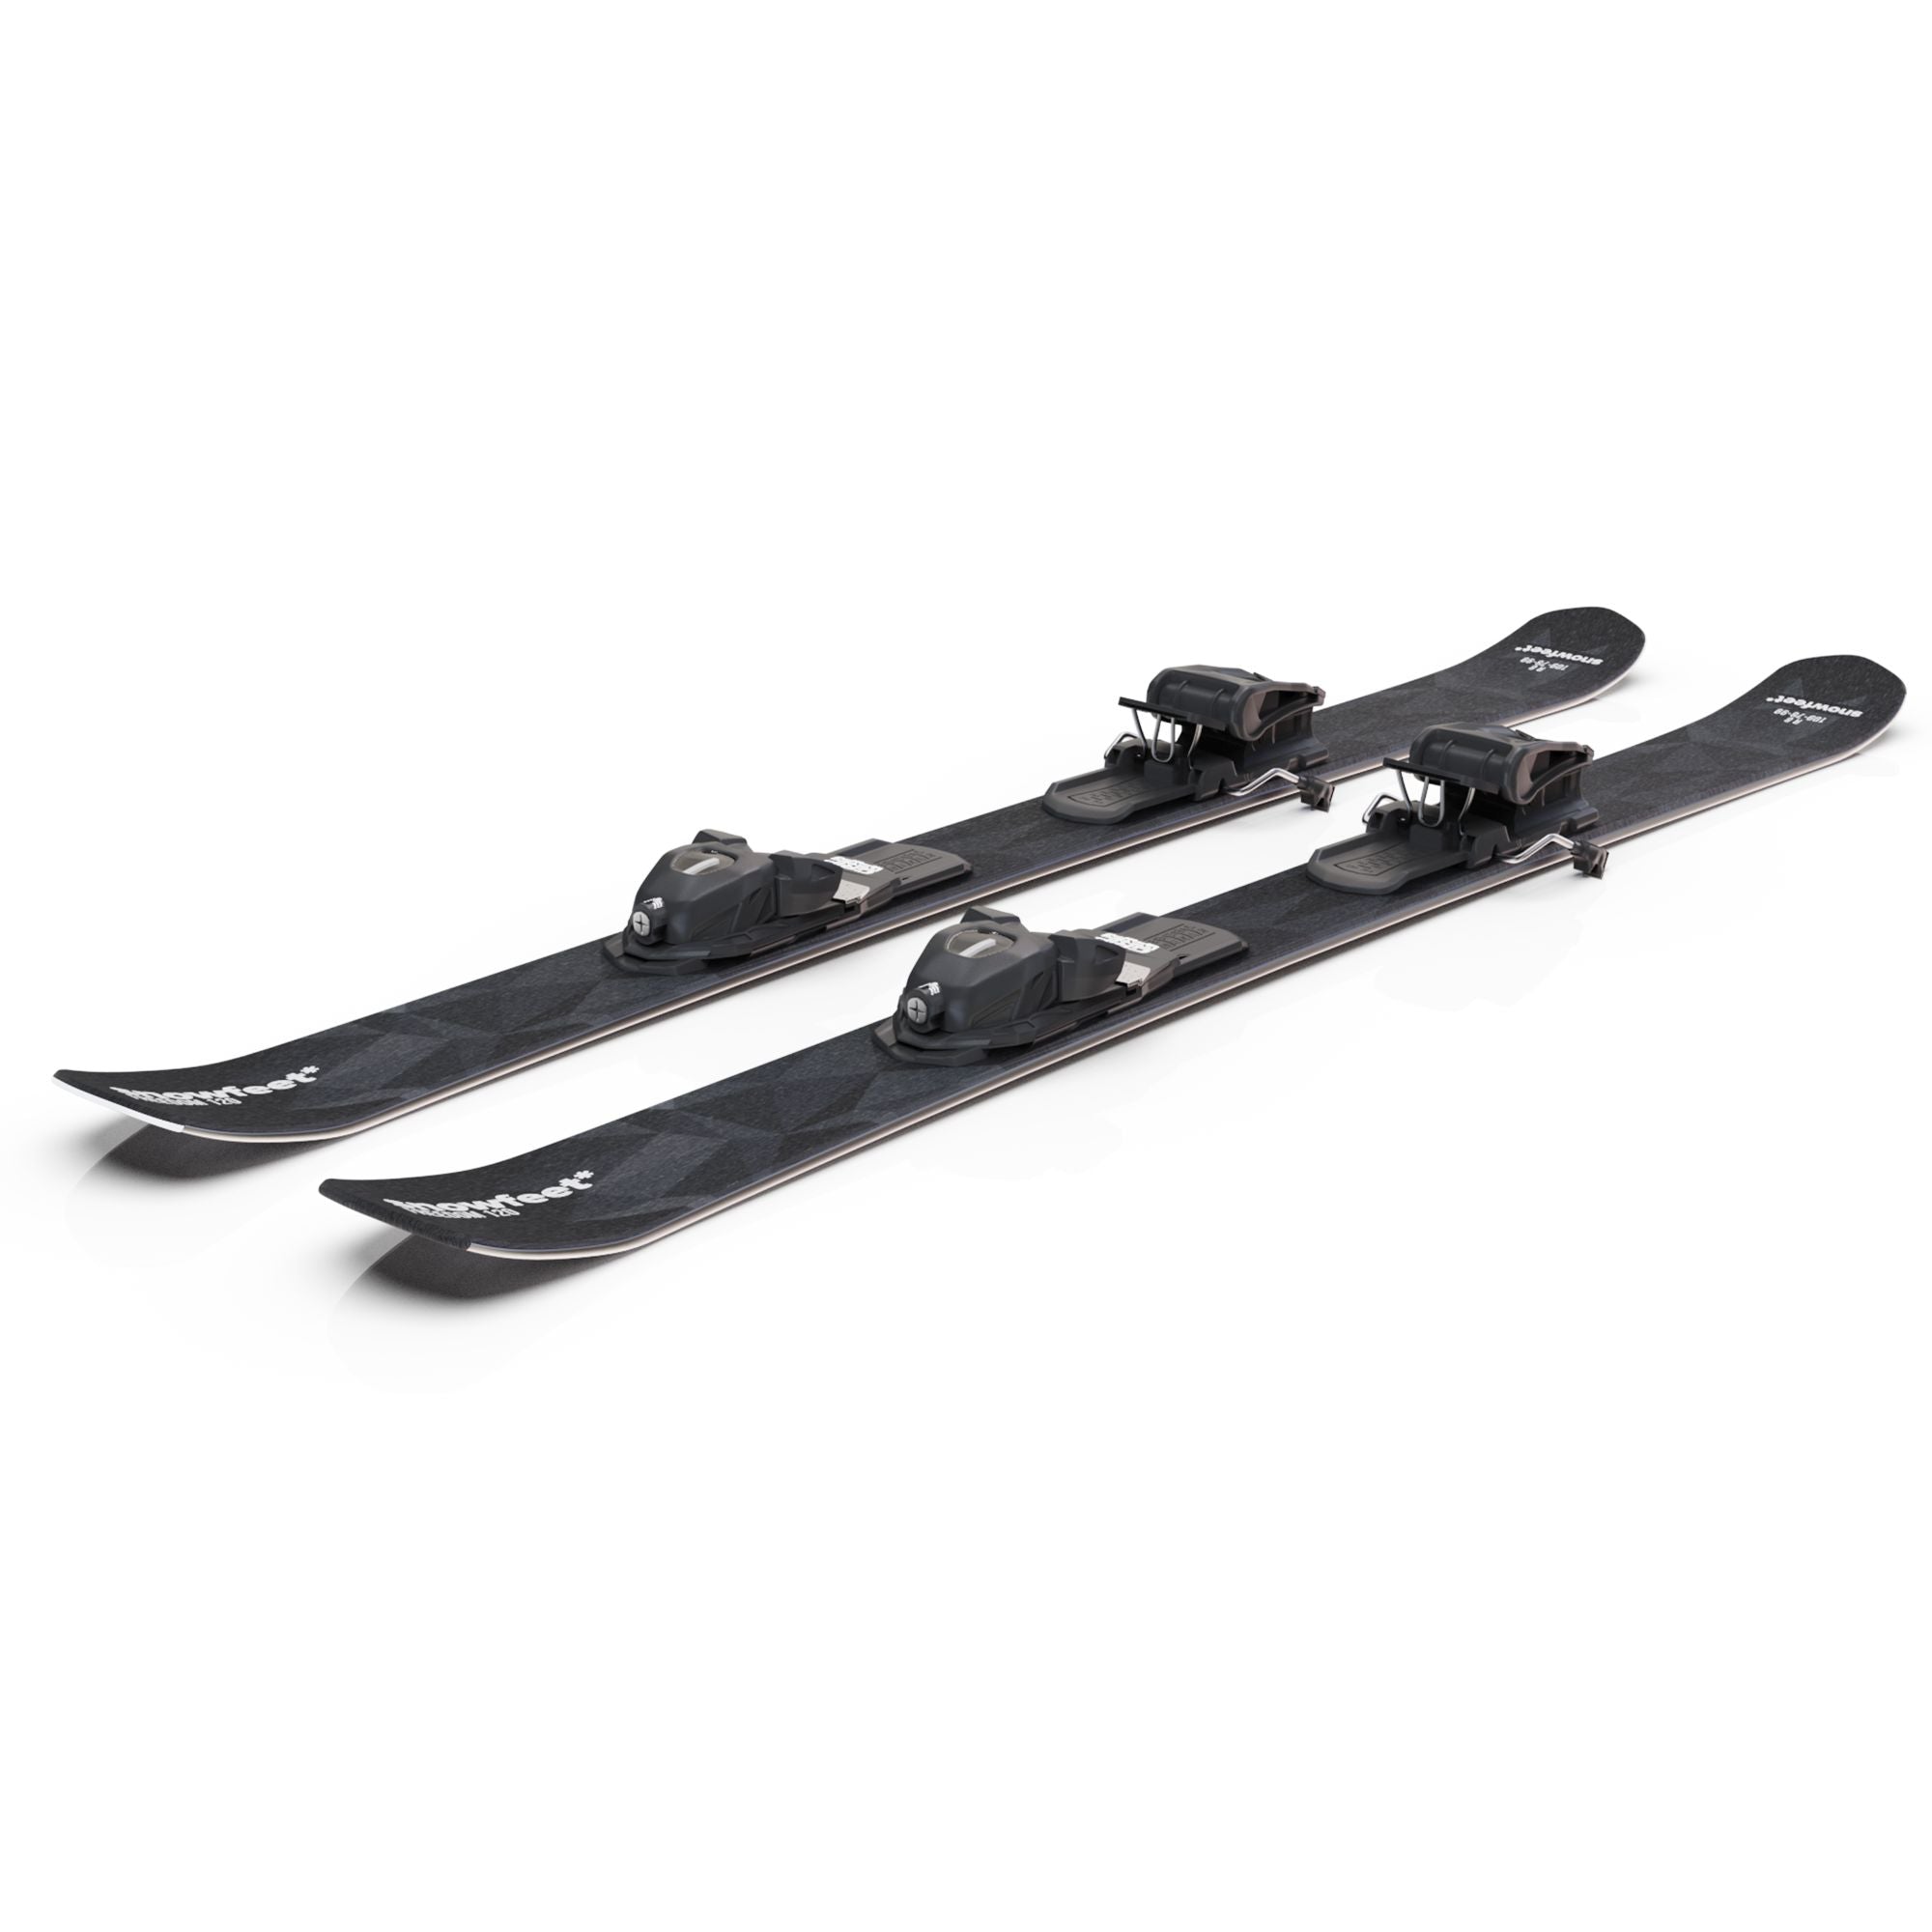
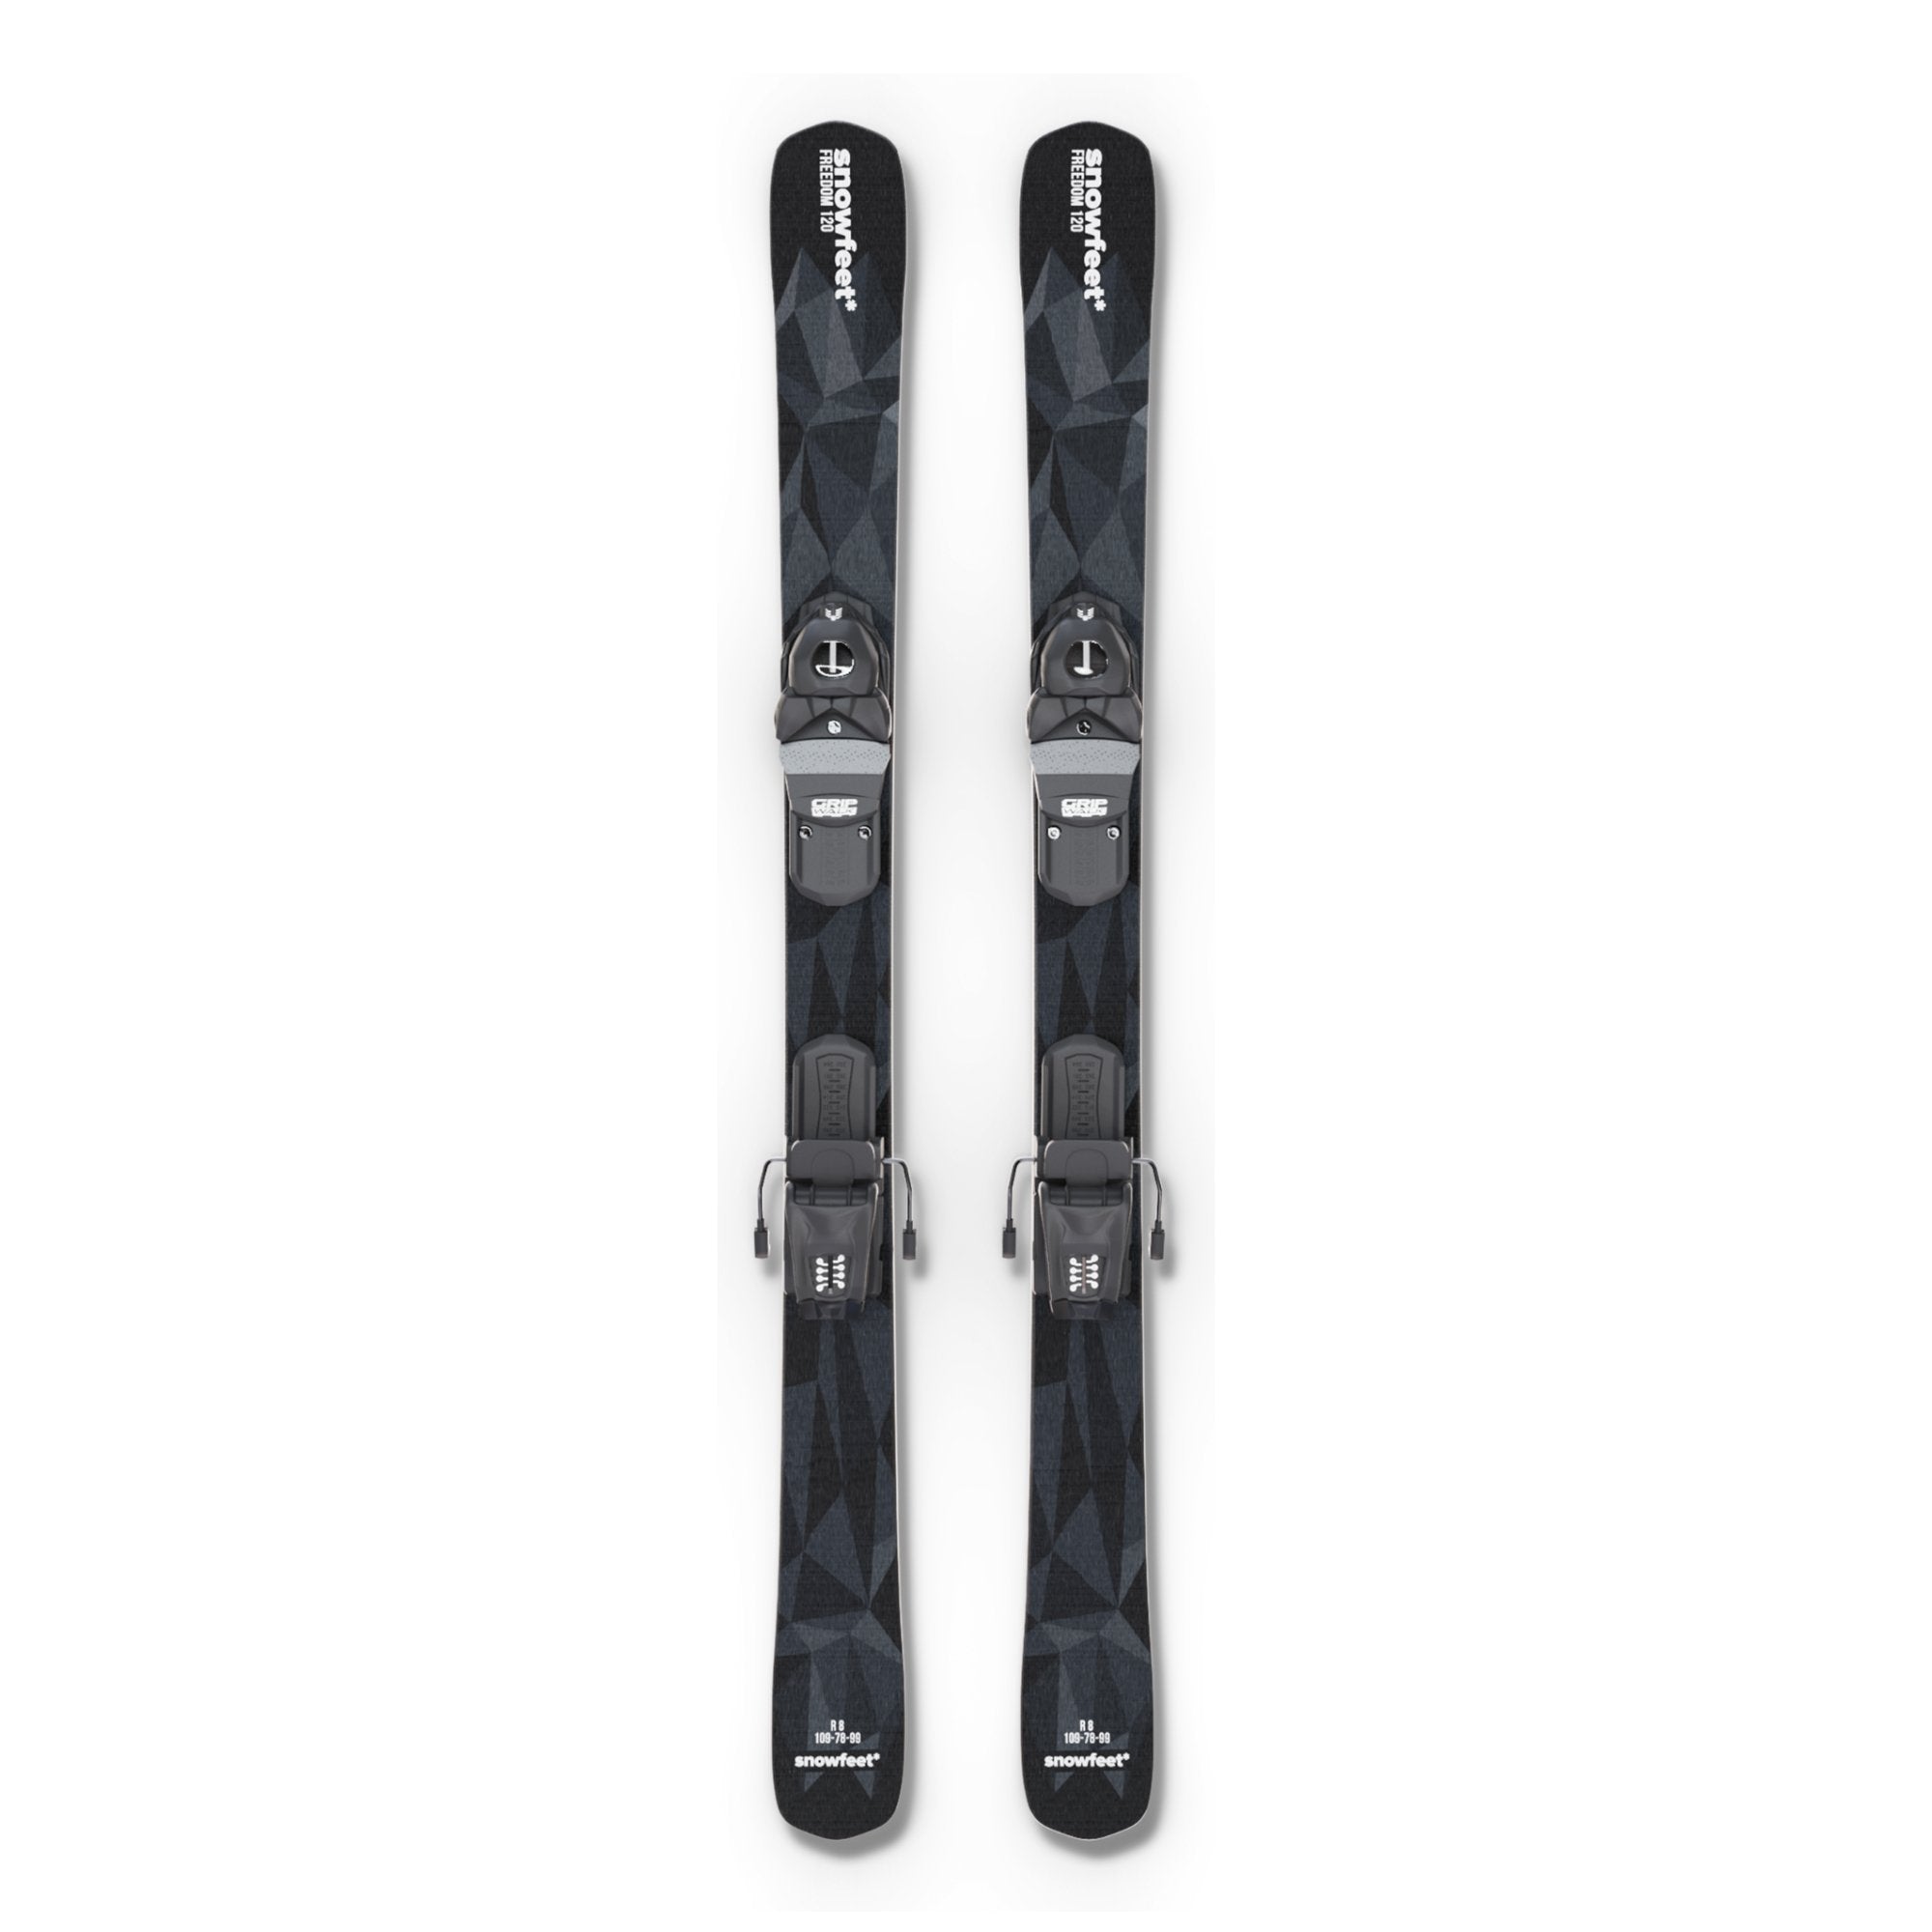
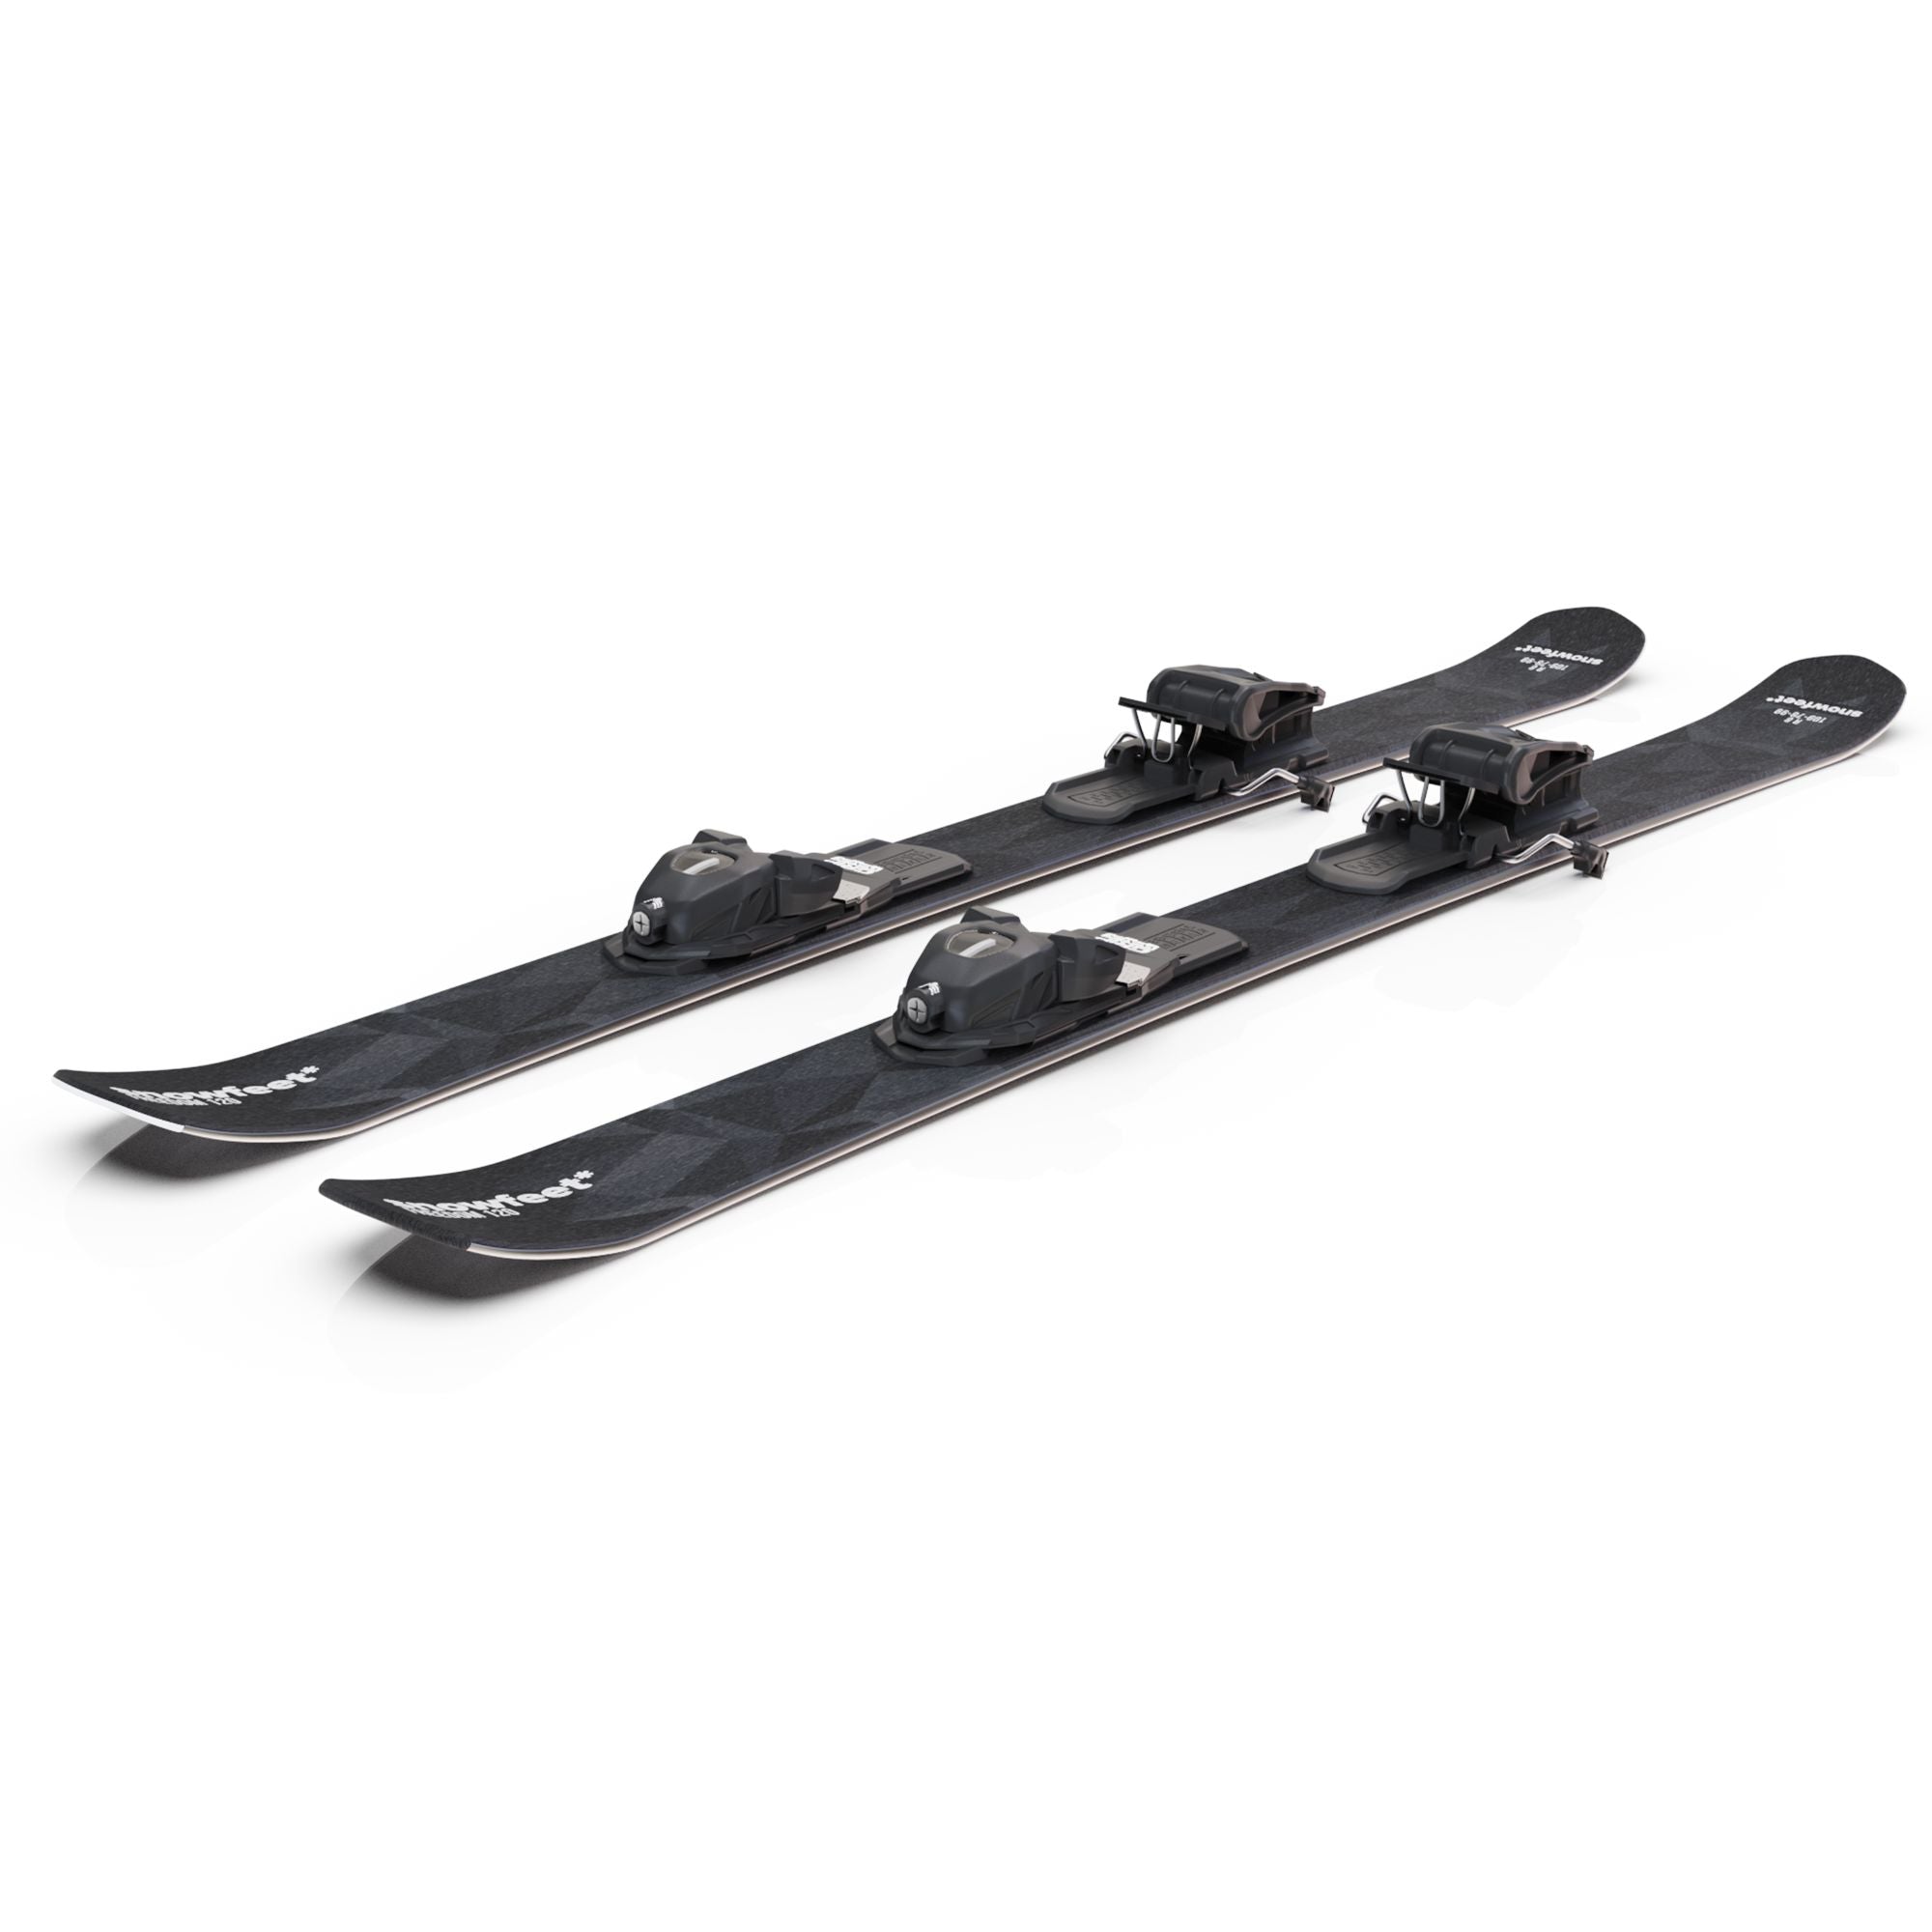
So, you’re ready to hit the slopes with your new skiblades! They’re compact, versatile, and fun, but you might be wondering—how exactly do you put these little wonders on? While skiblades are similar to skis, putting them on requires a few simple steps, depending on the type of binding you’re working with. In this guide, we’ll walk you through putting on skiblades for different bindings, tips for adjusting the fit, and tricks to get started on your ride with ease.
Understanding the Types of Skiblade Bindings
Before we dive into the specifics of putting on skiblades, let’s quickly recap the three main types of bindings:
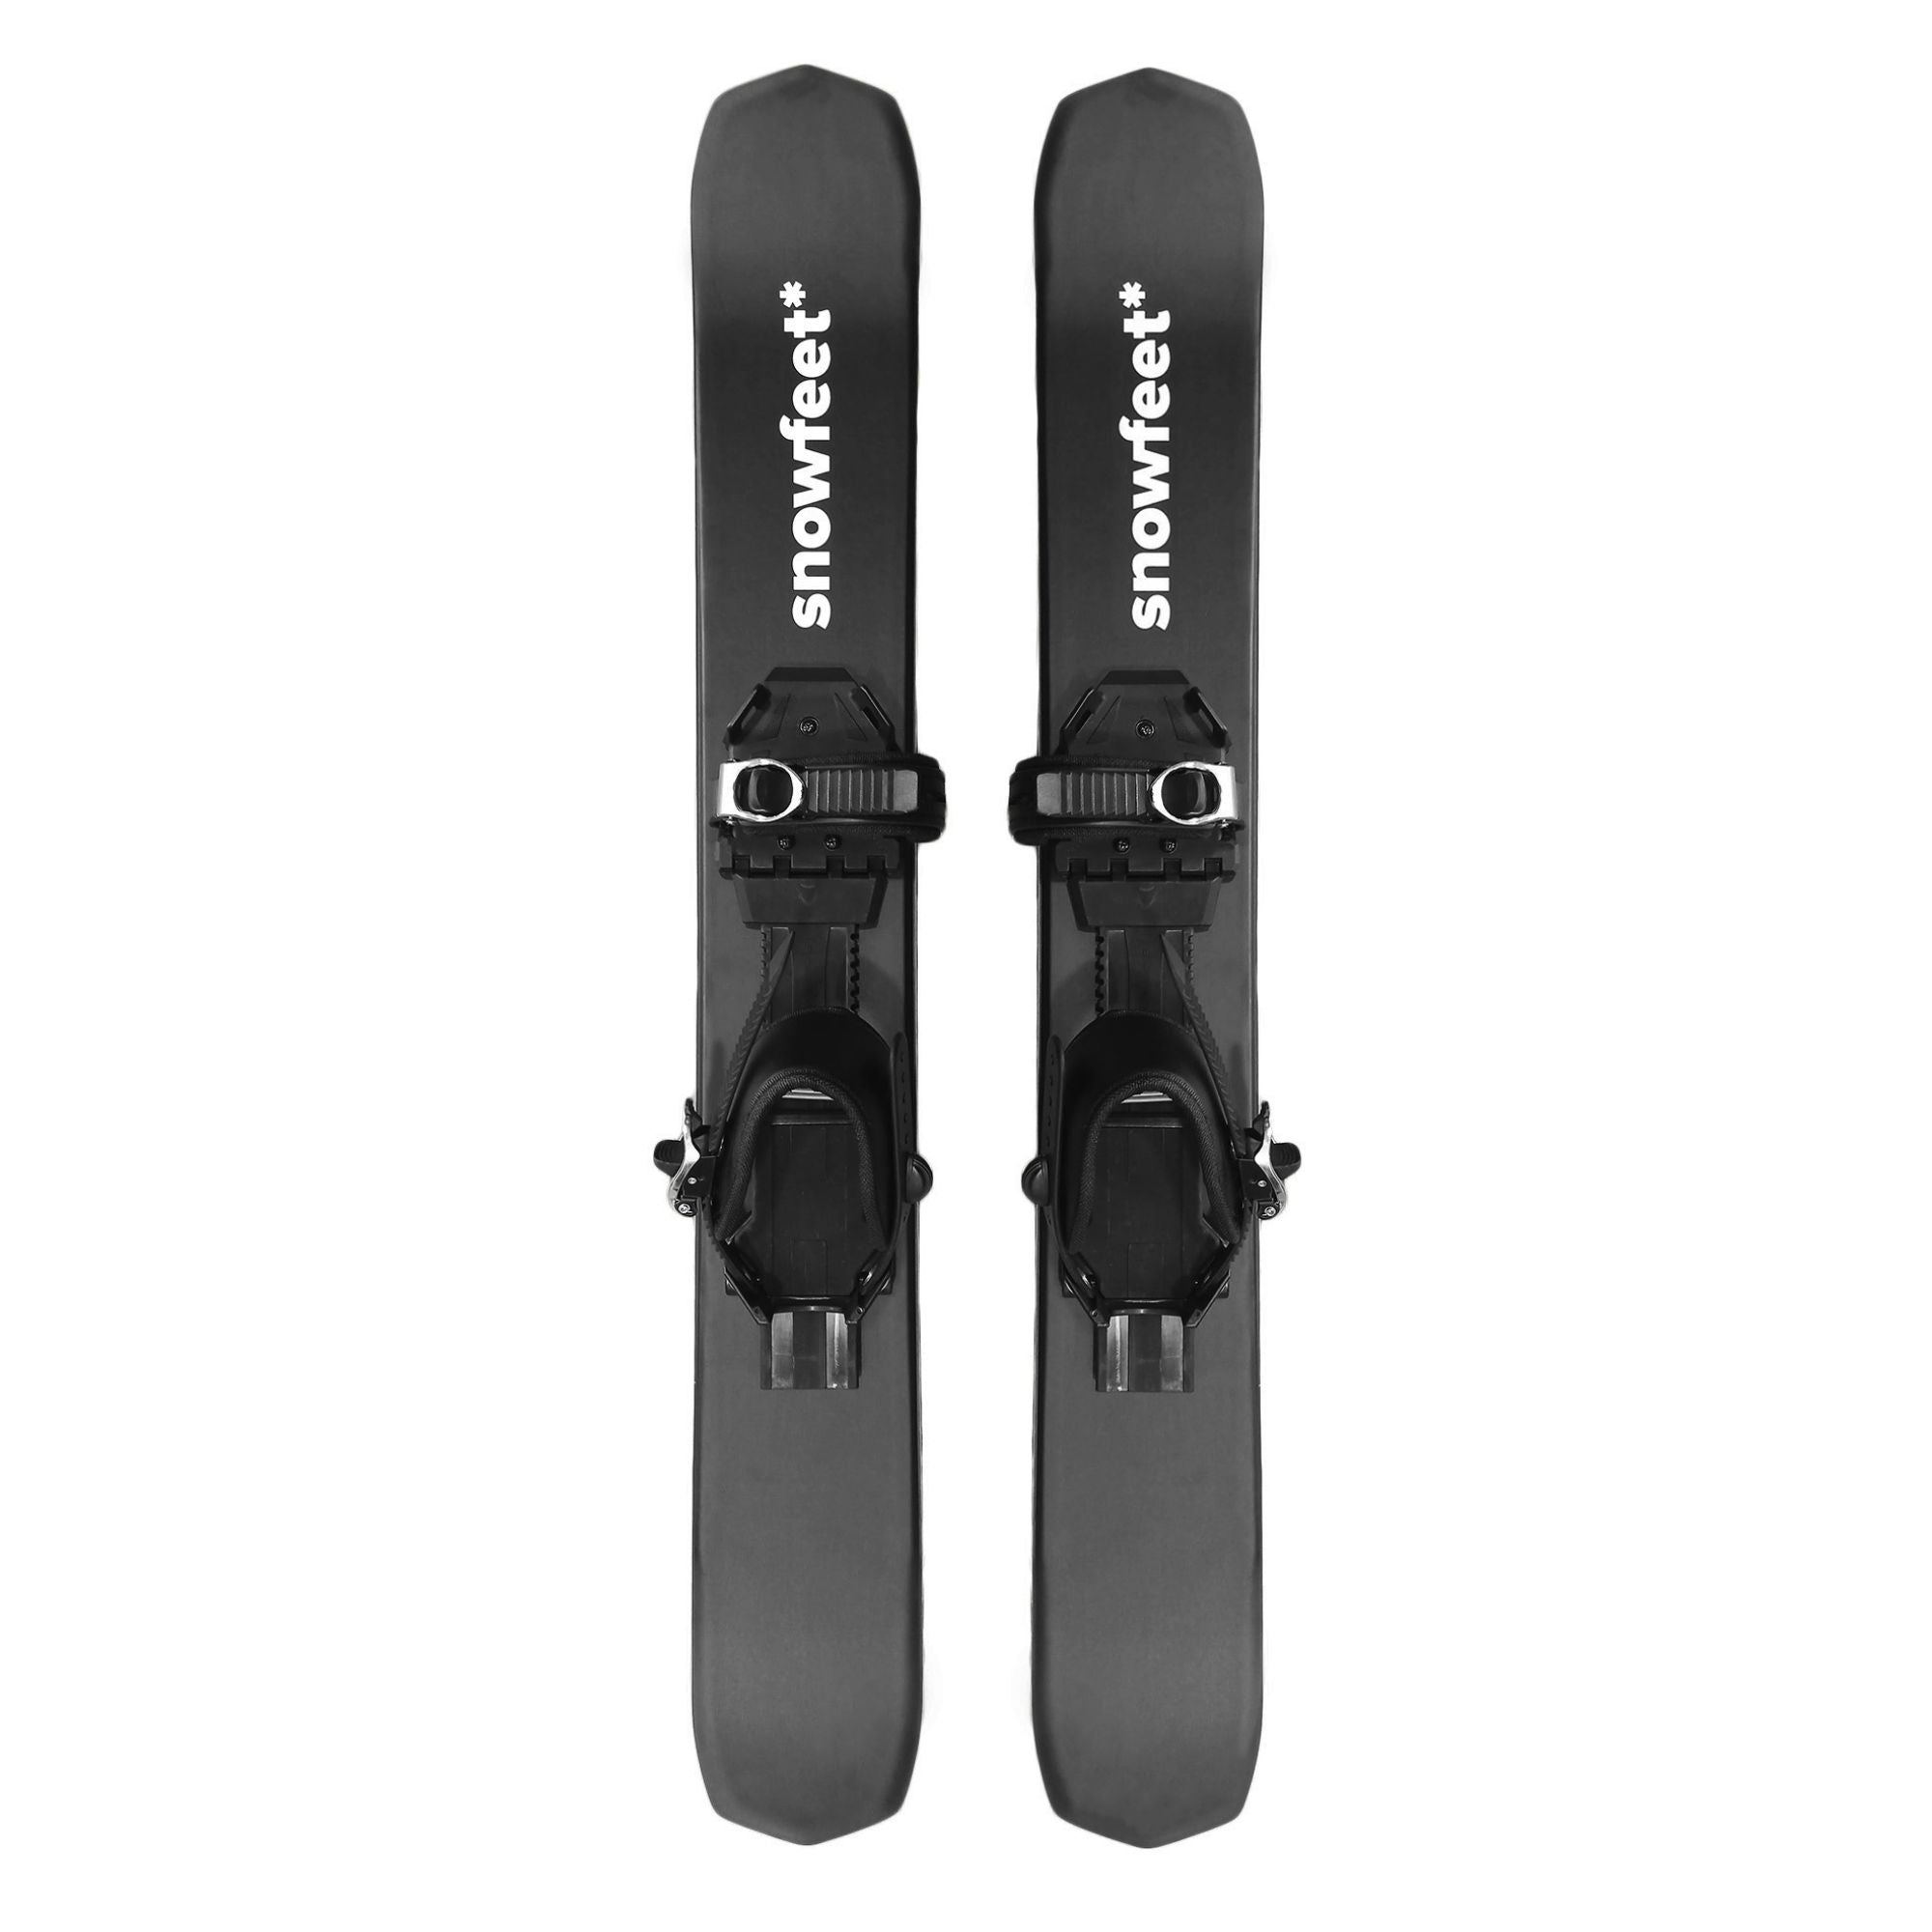
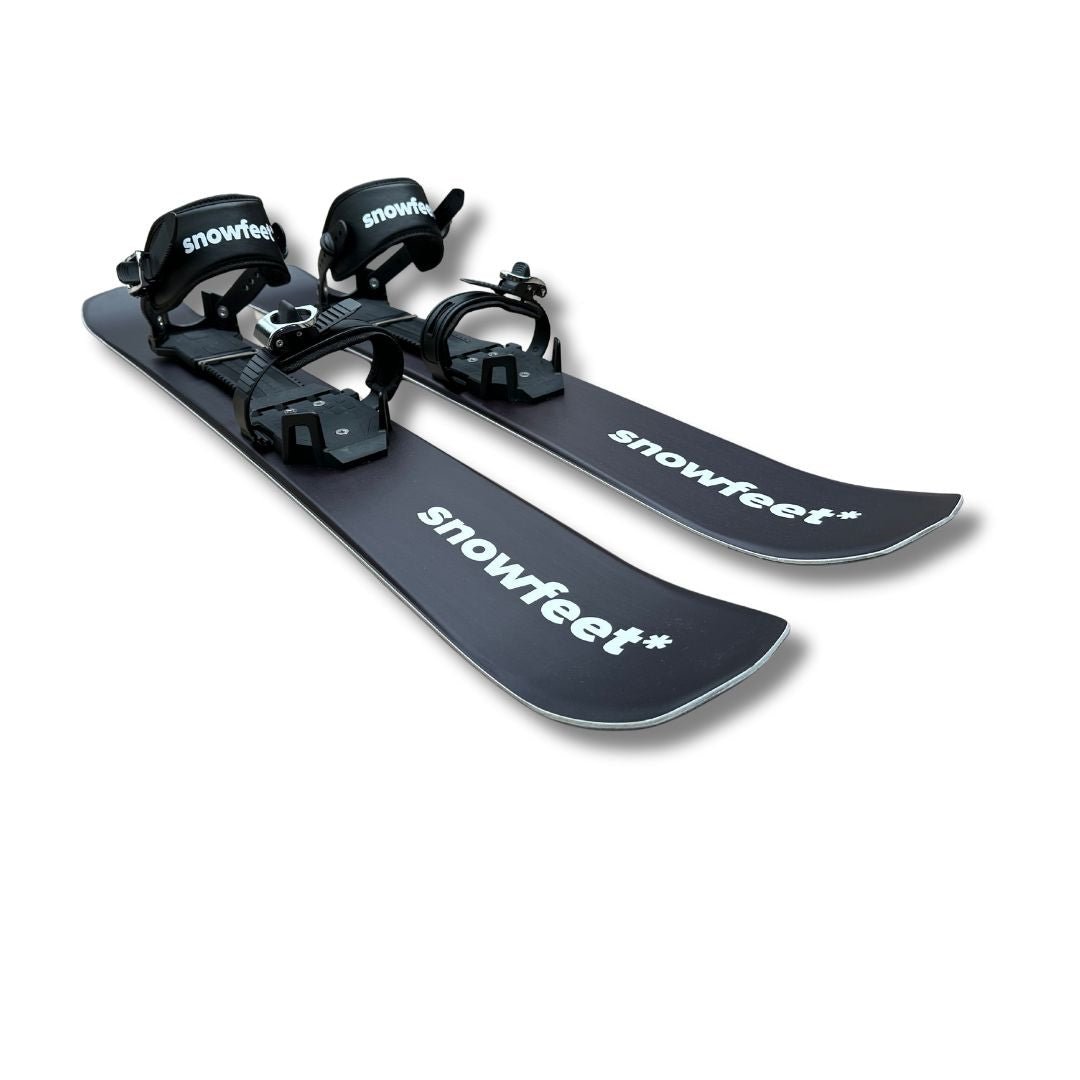
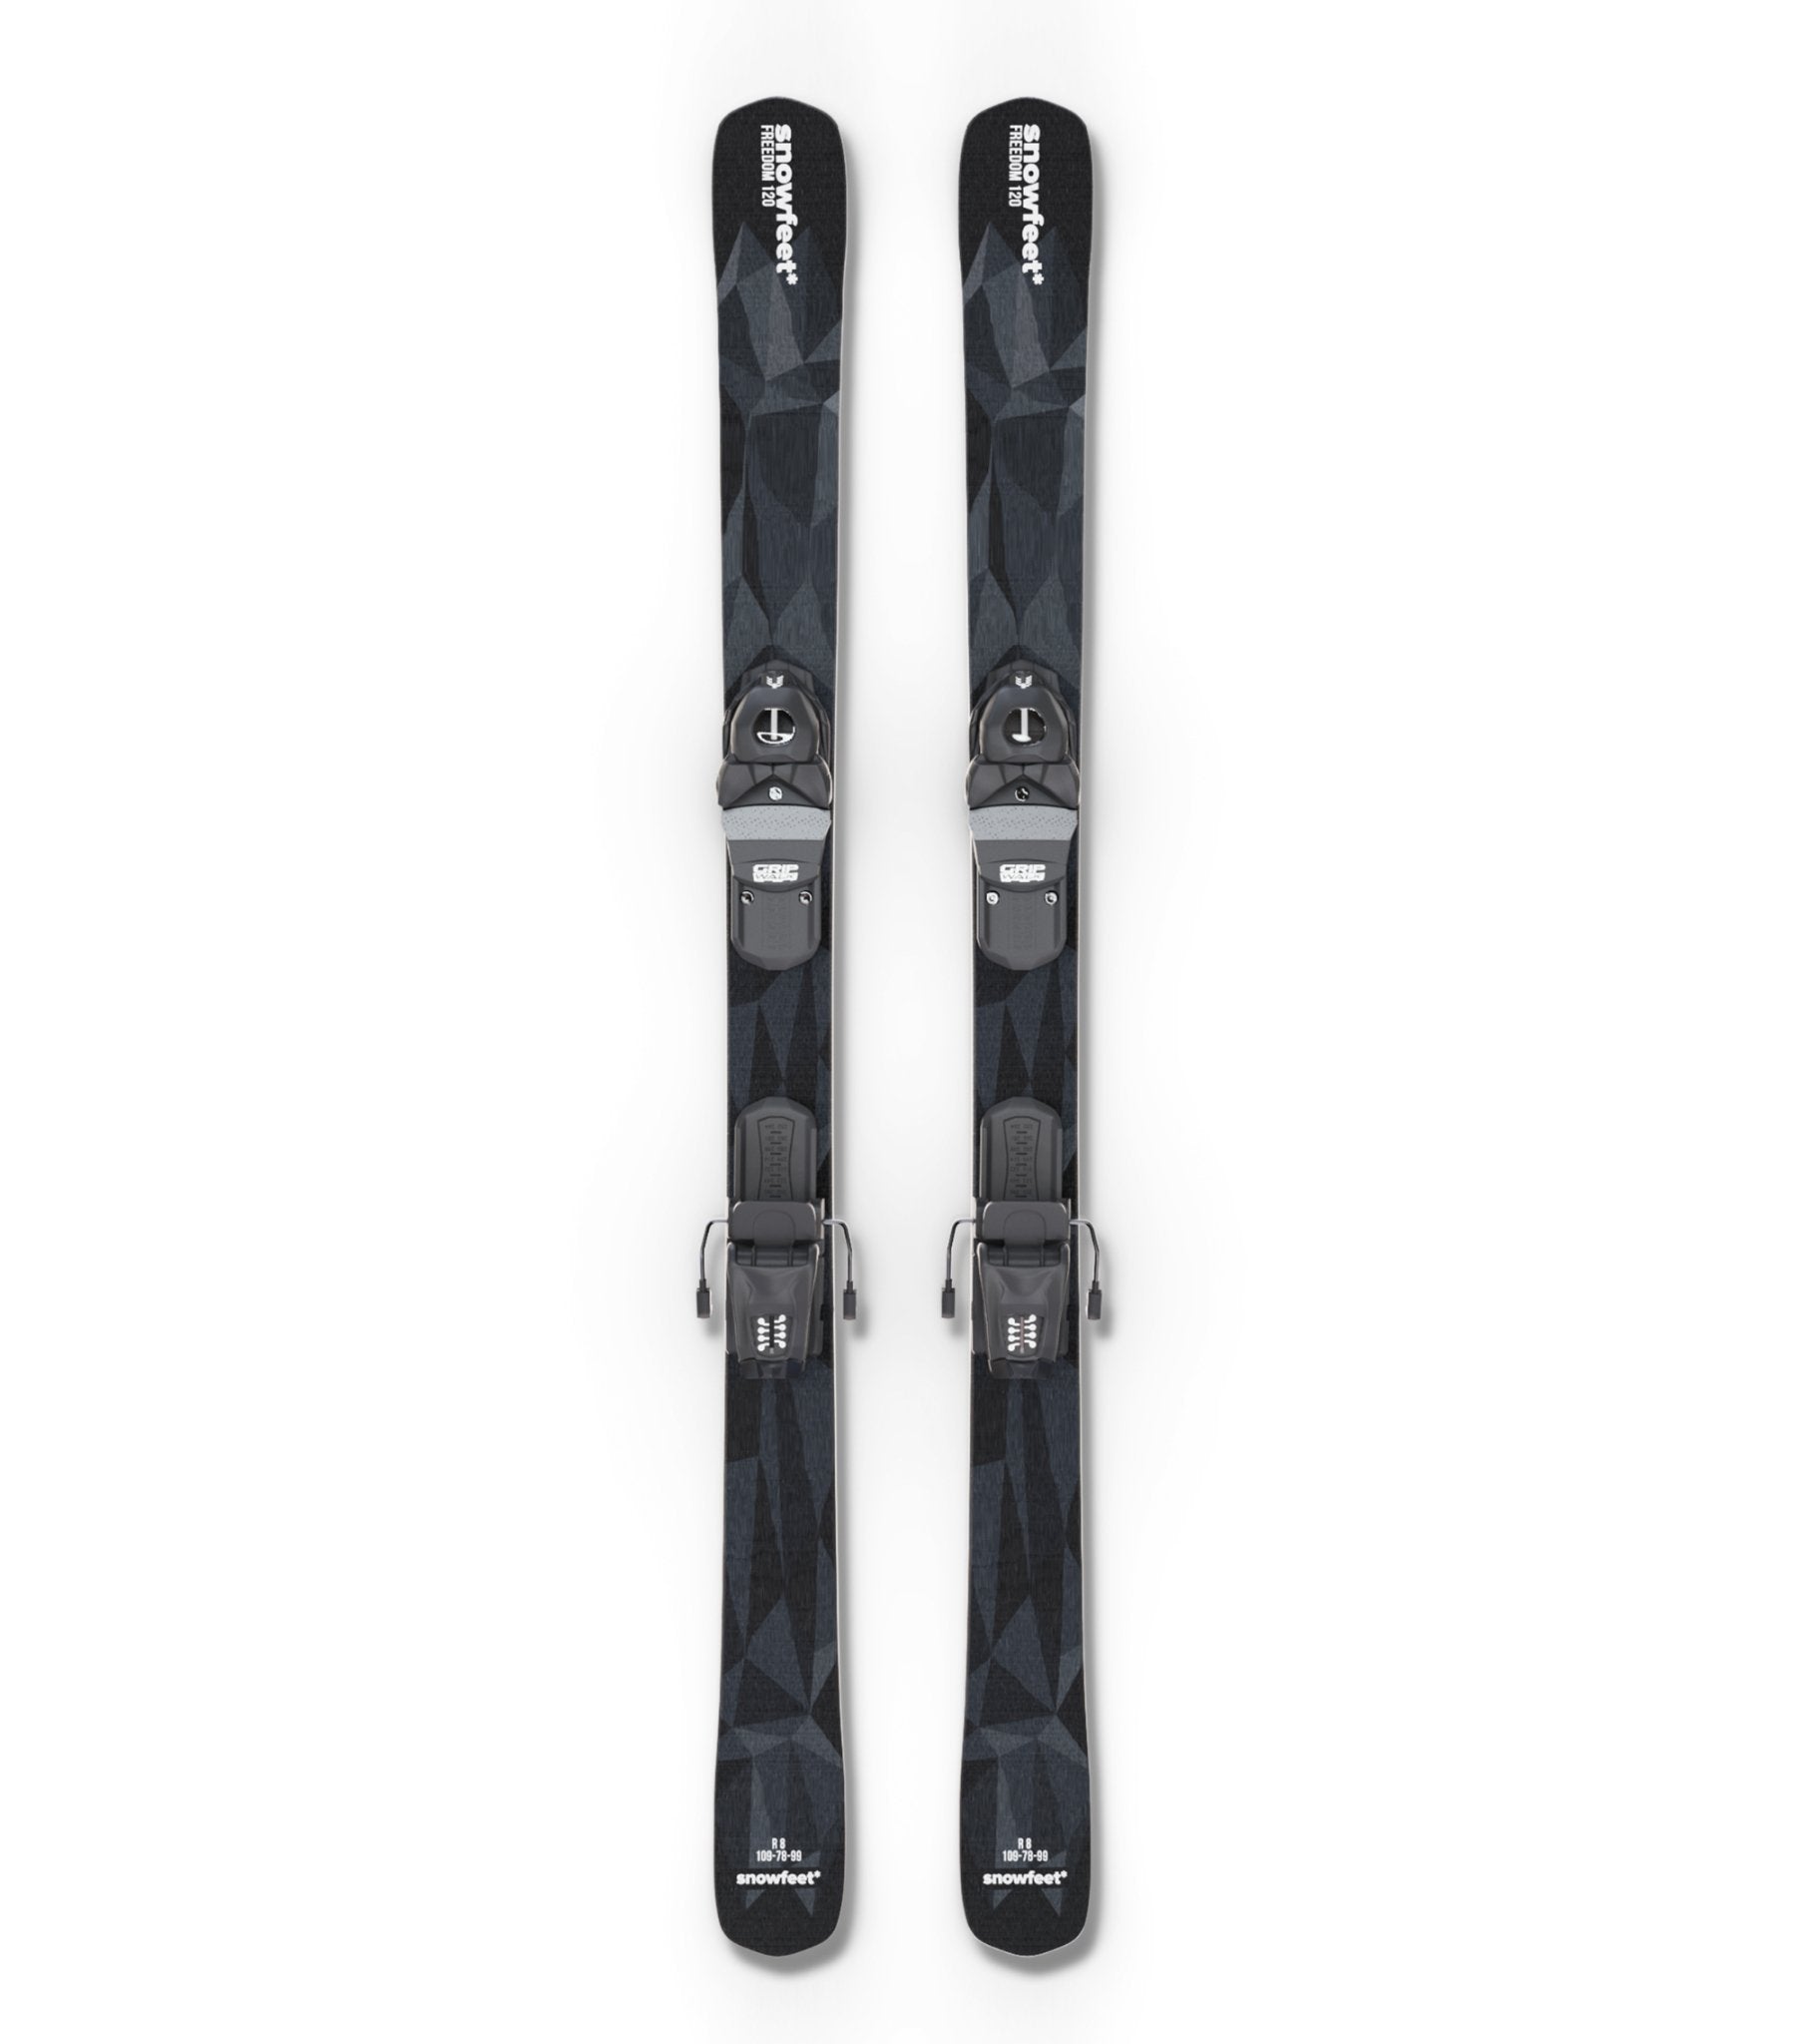
1. Non-Release Bindings
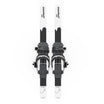
These classic, straightforward bindings keep your feet securely attached without the release feature. Perfect for beginners and those who want a hassle-free setup.
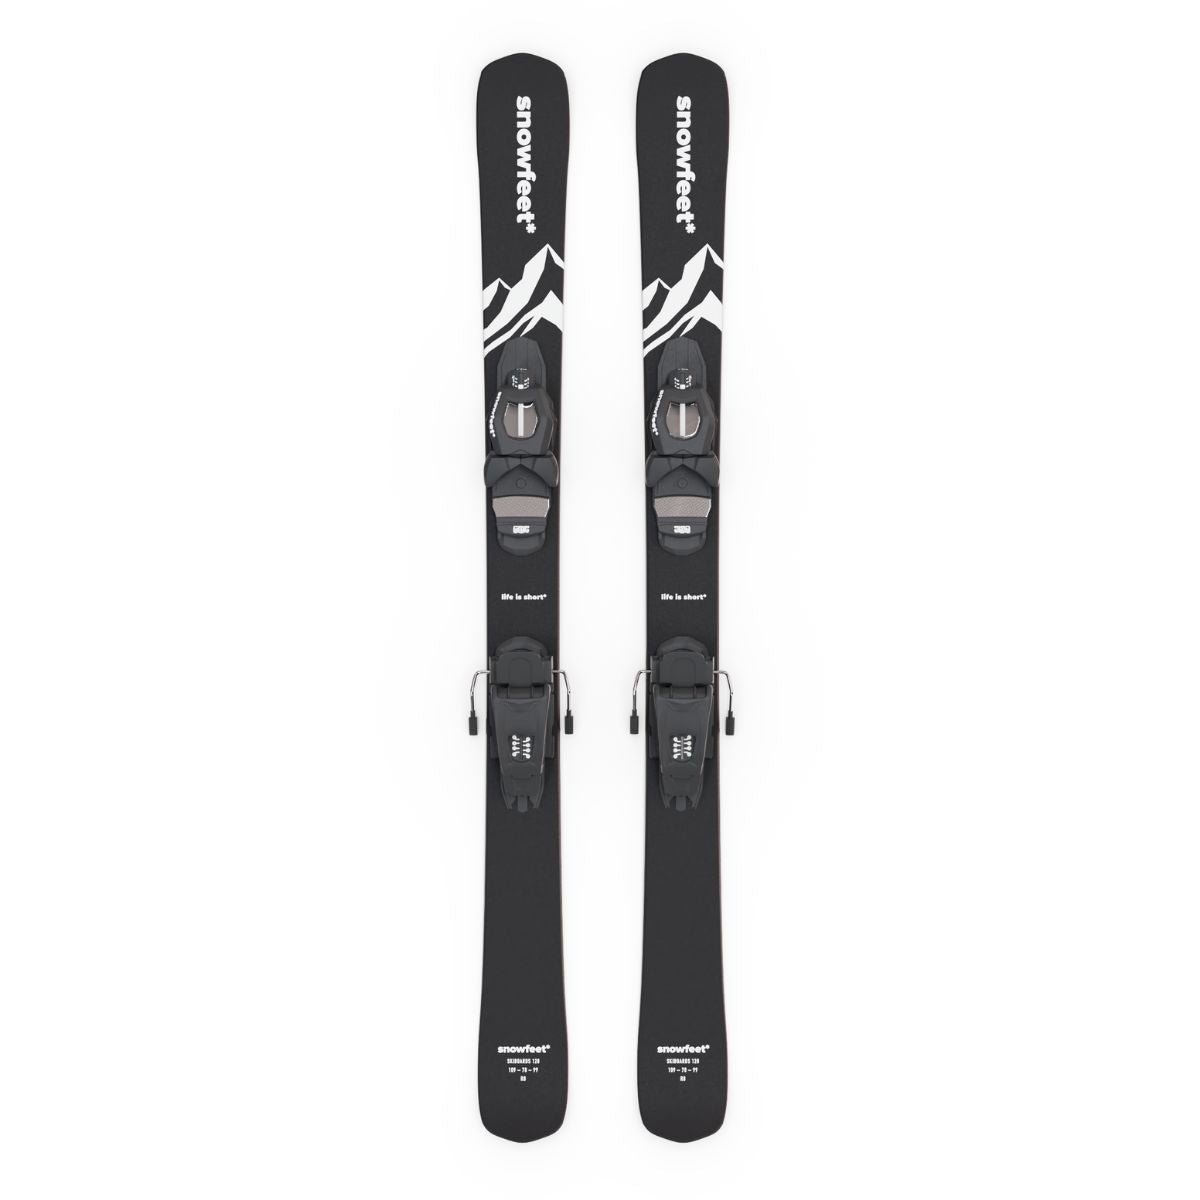
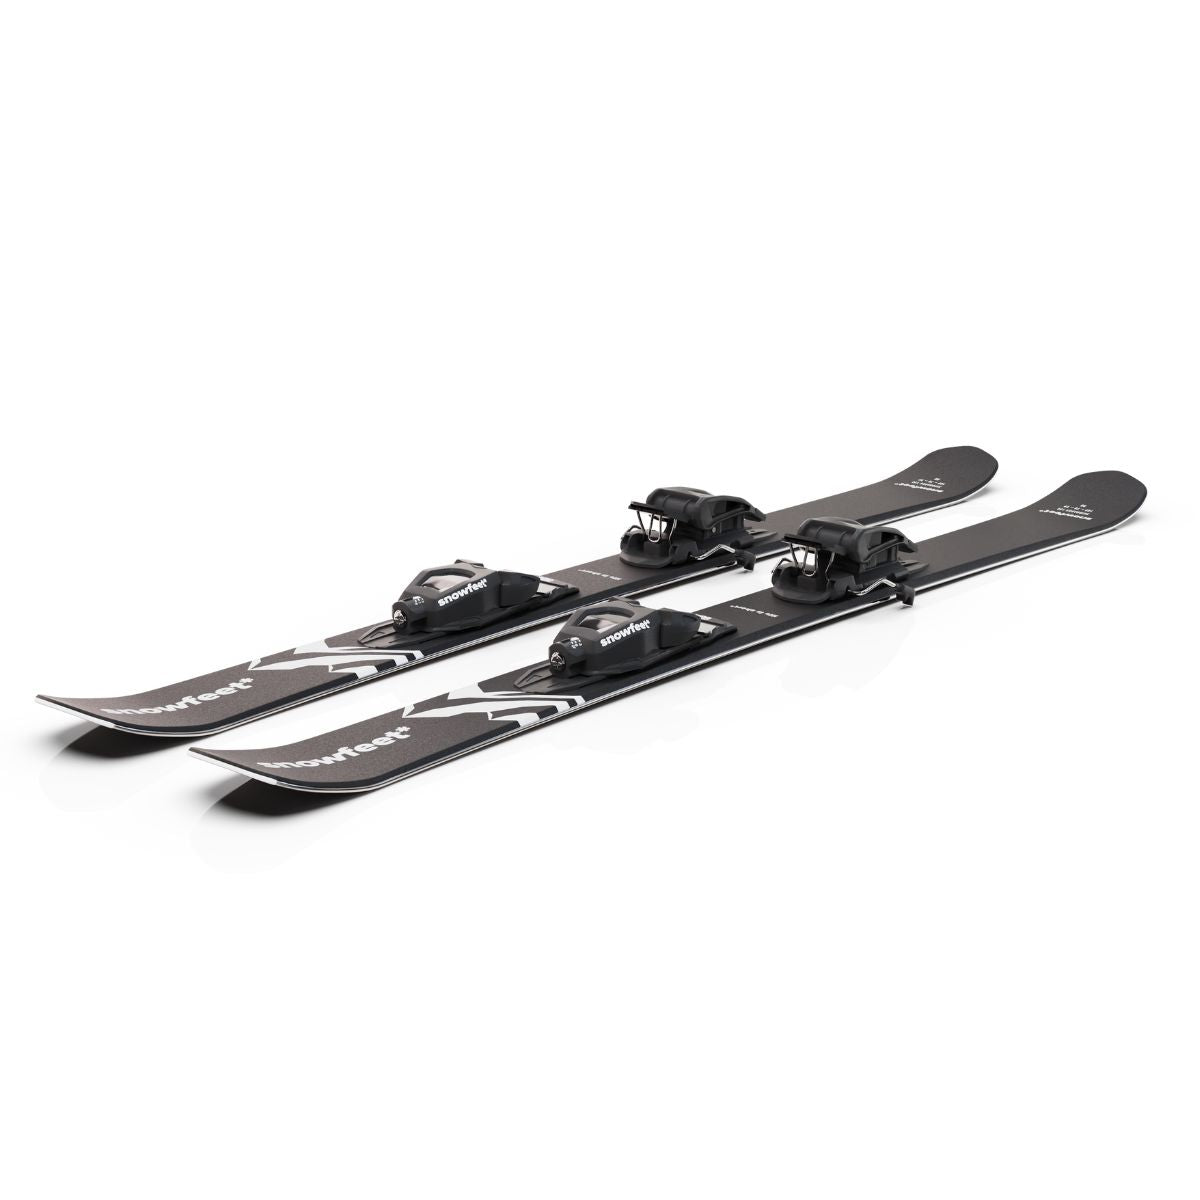
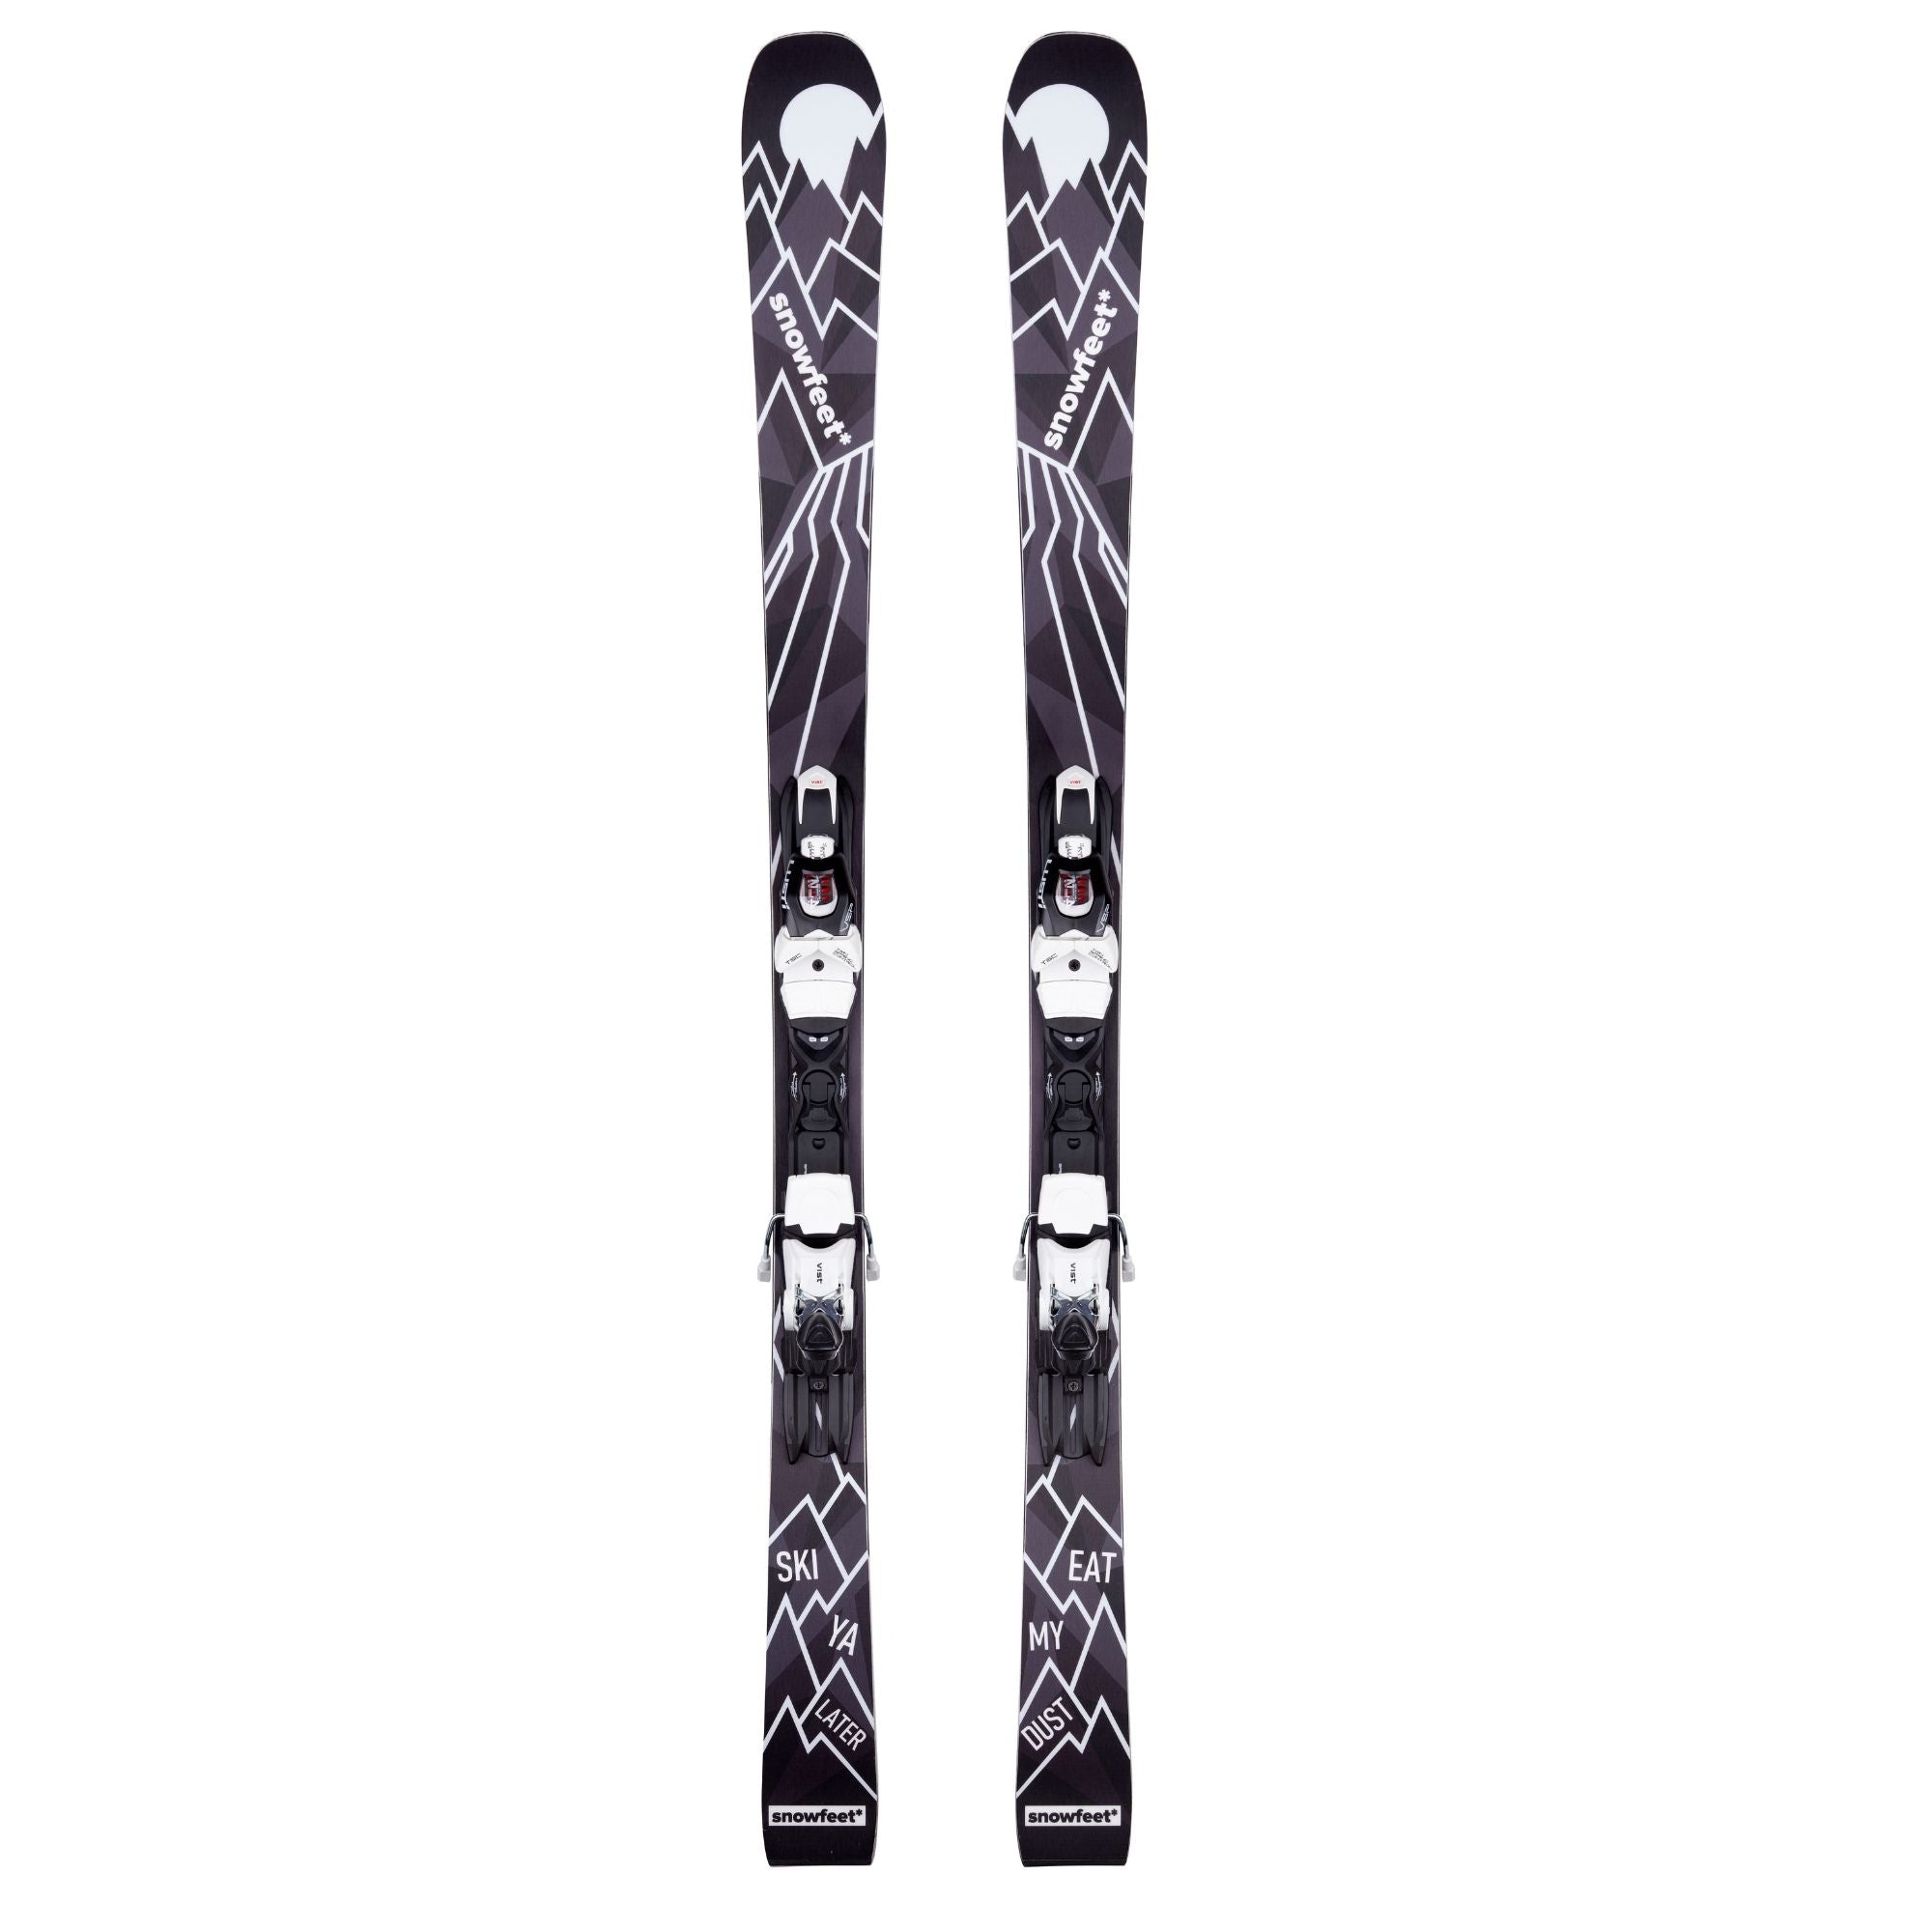
2. Release Bindings
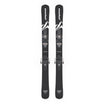
These bindings release during a fall, just like traditional ski bindings, offering extra safety for high-speed skiing.
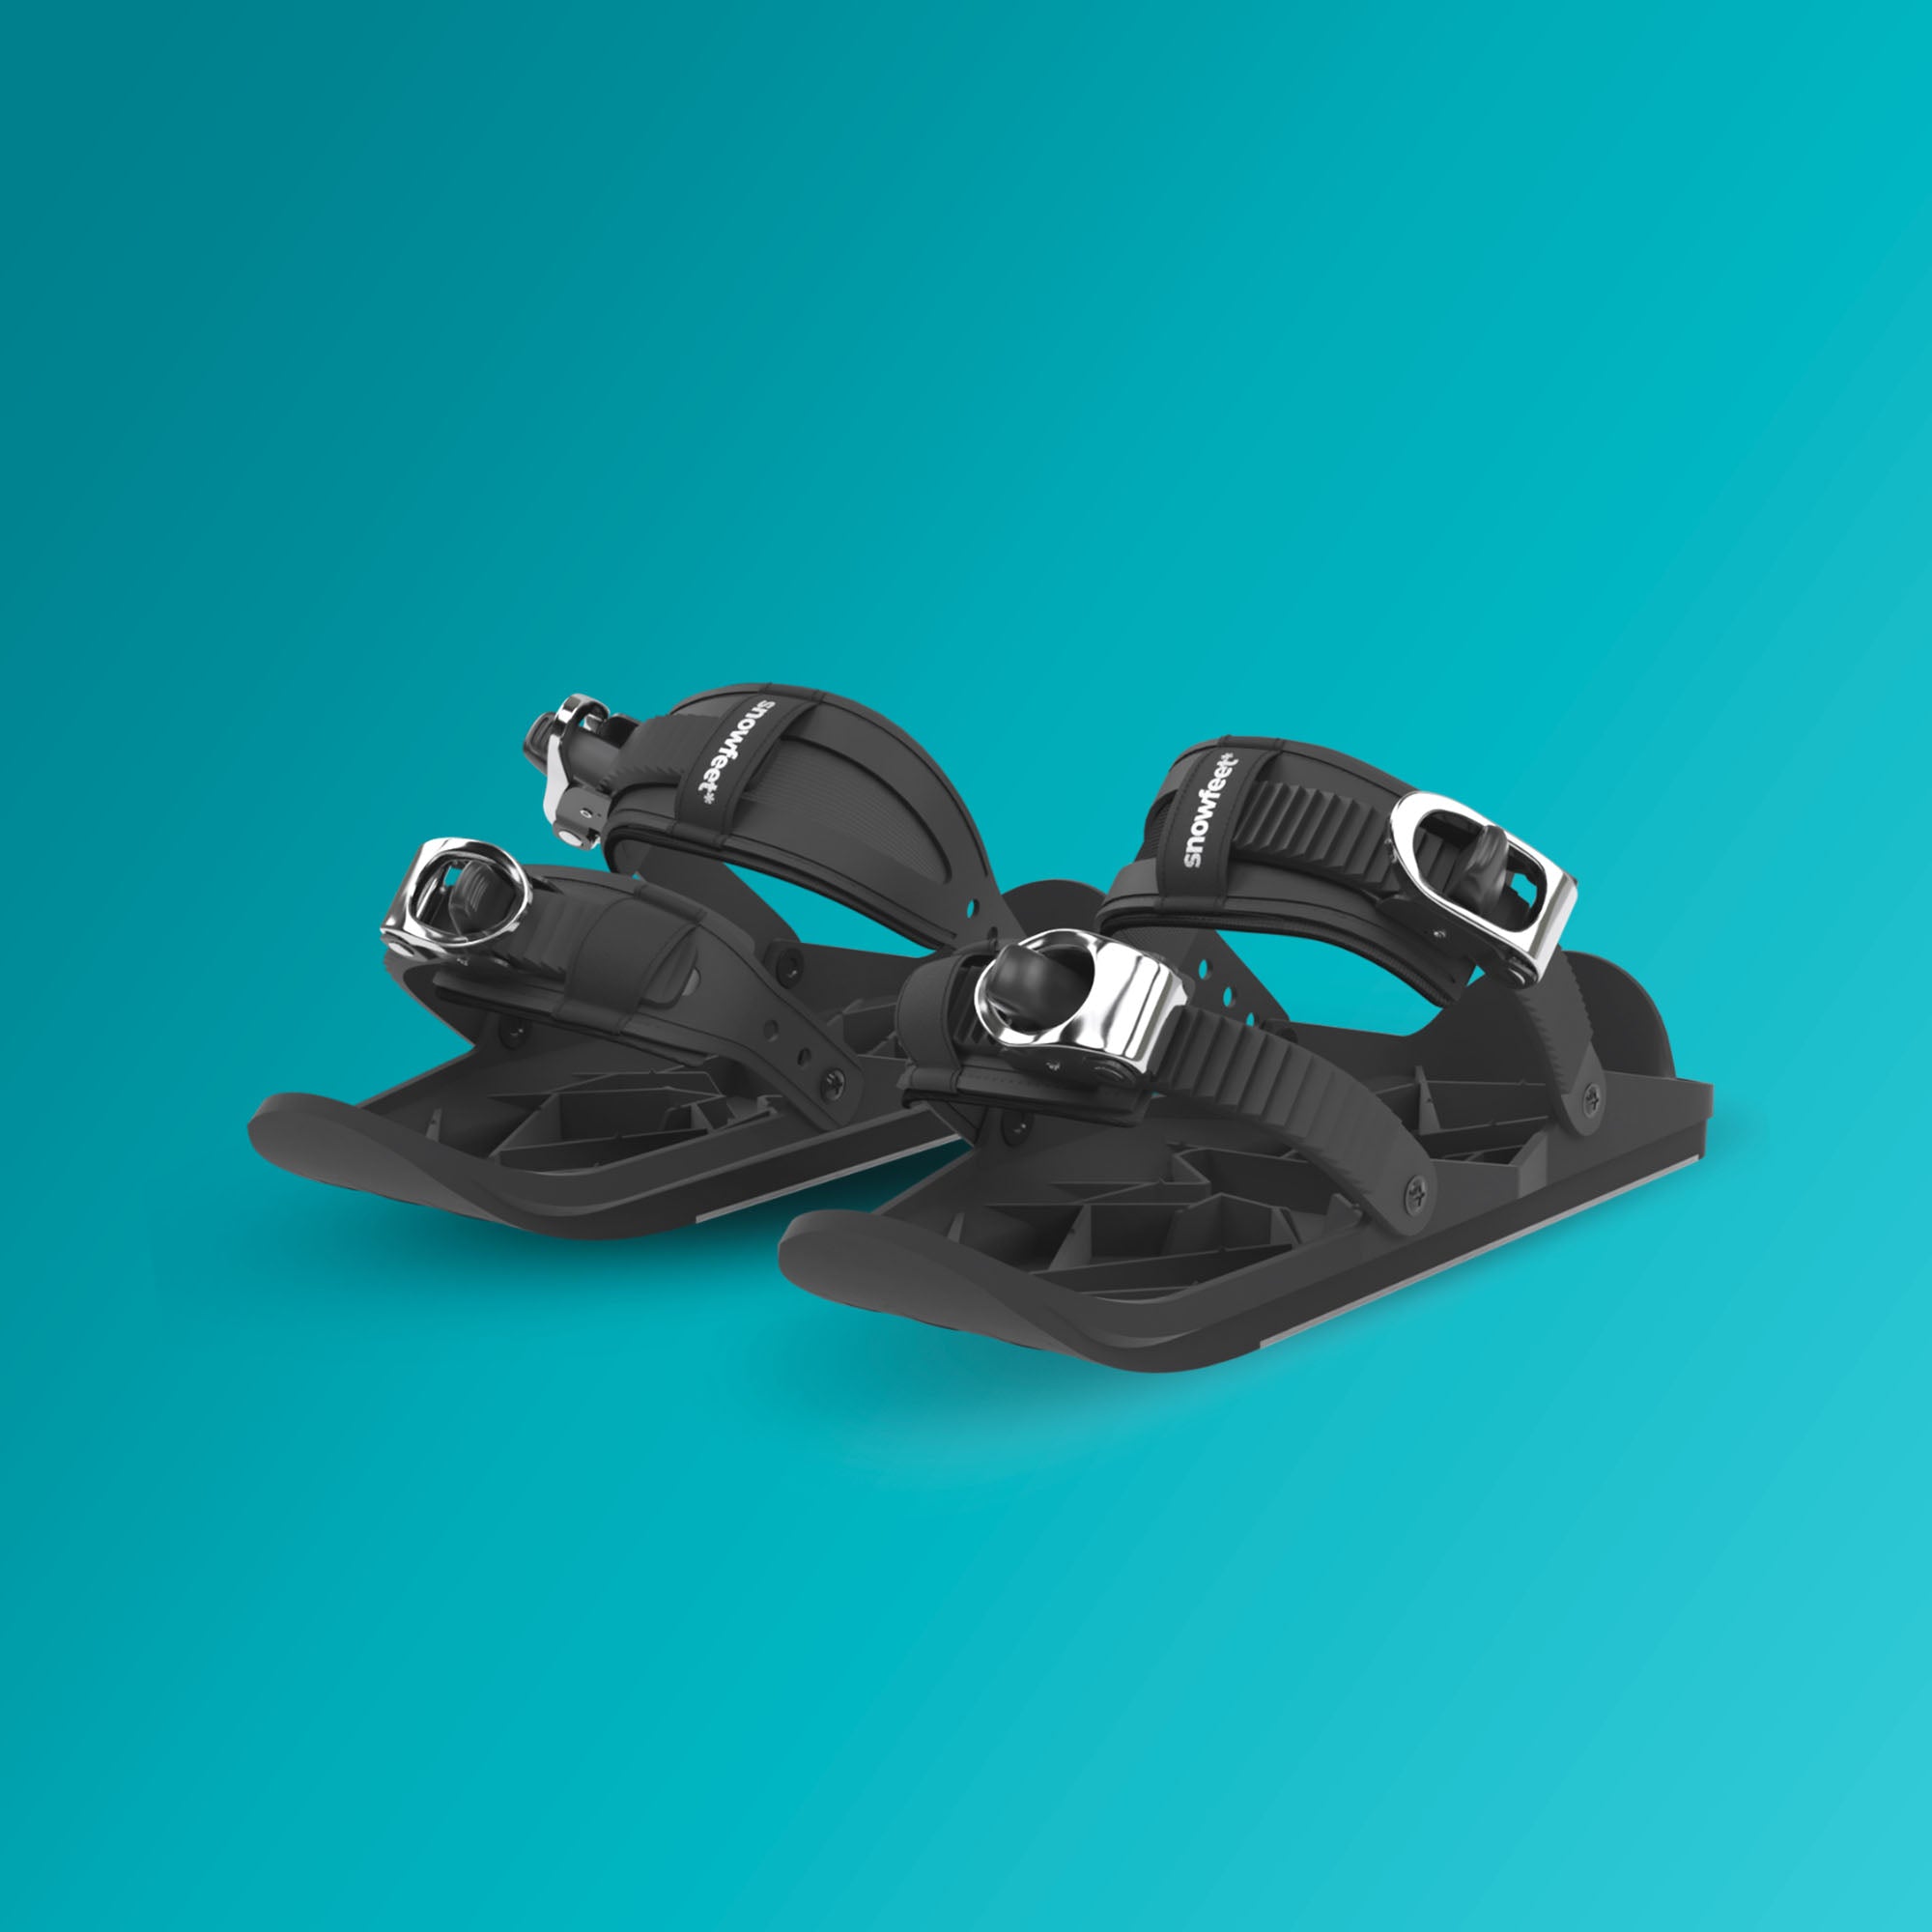
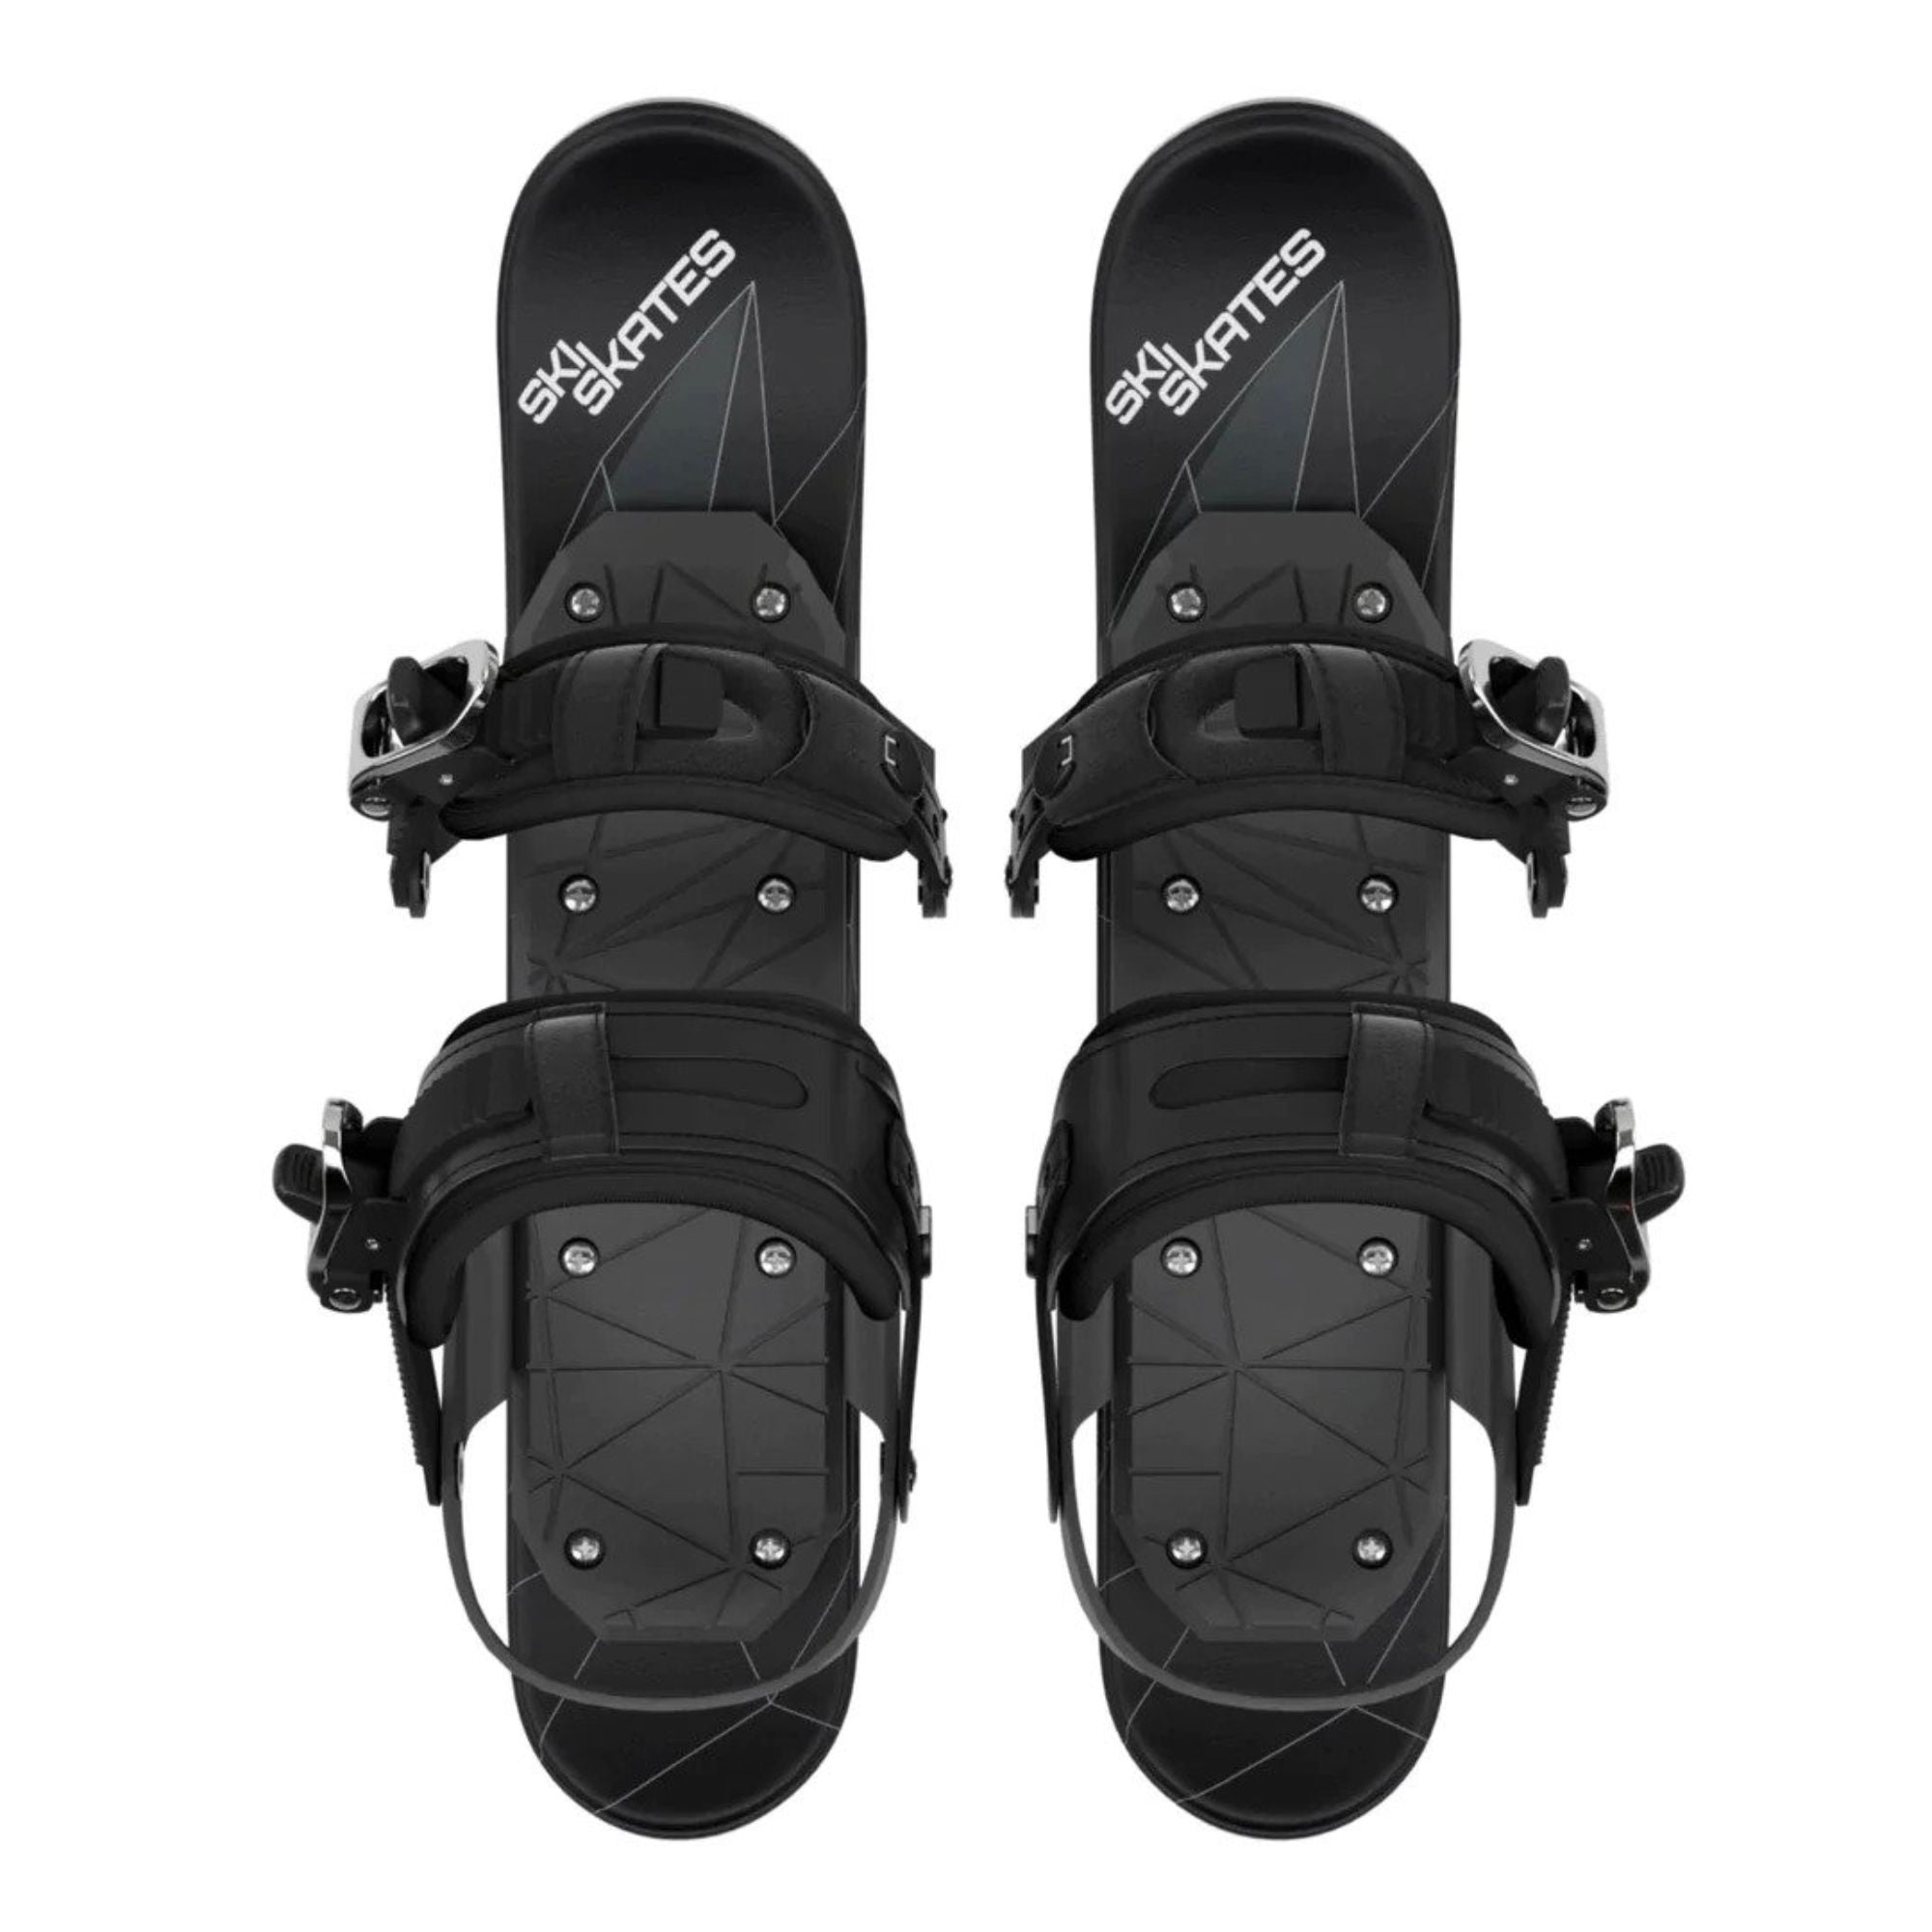
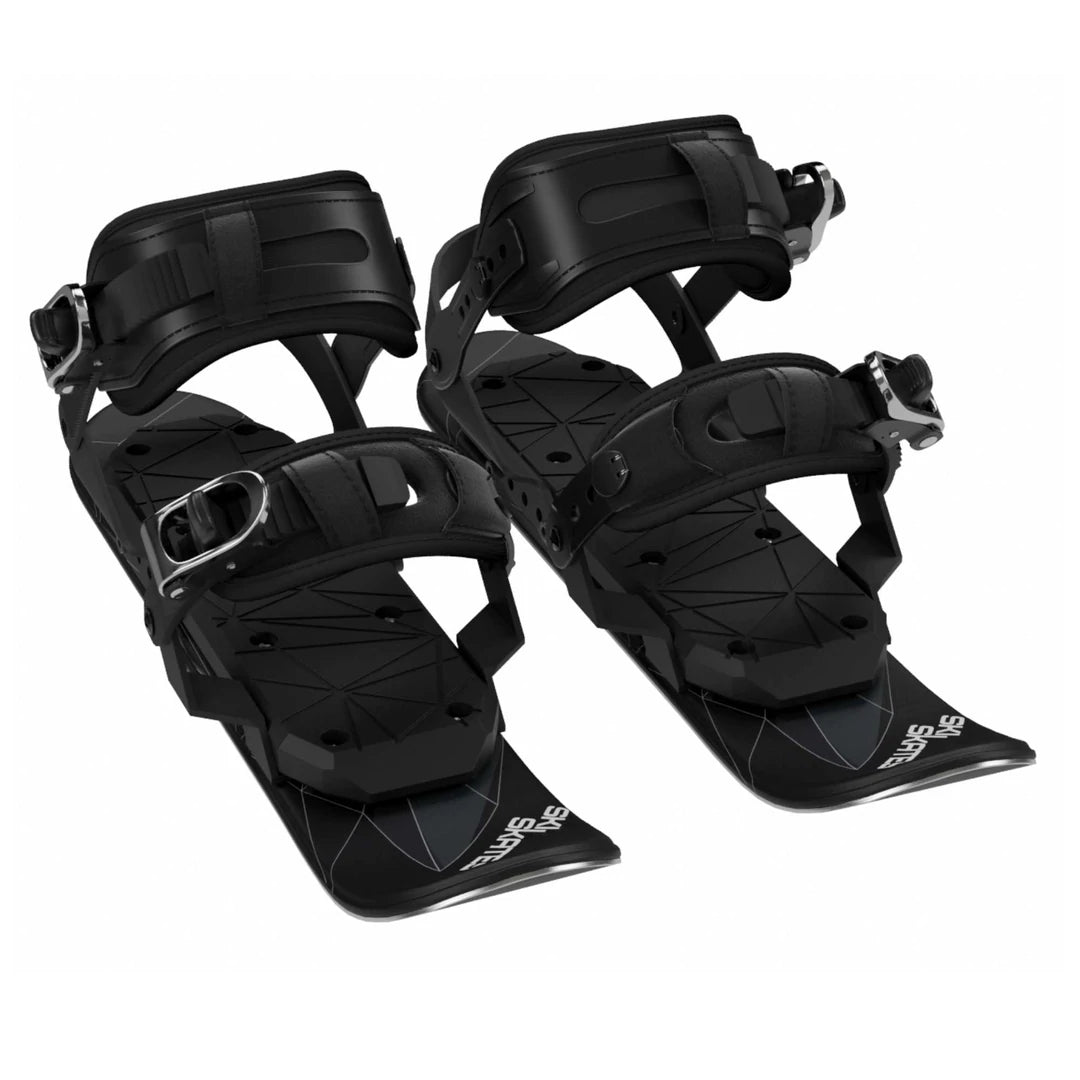
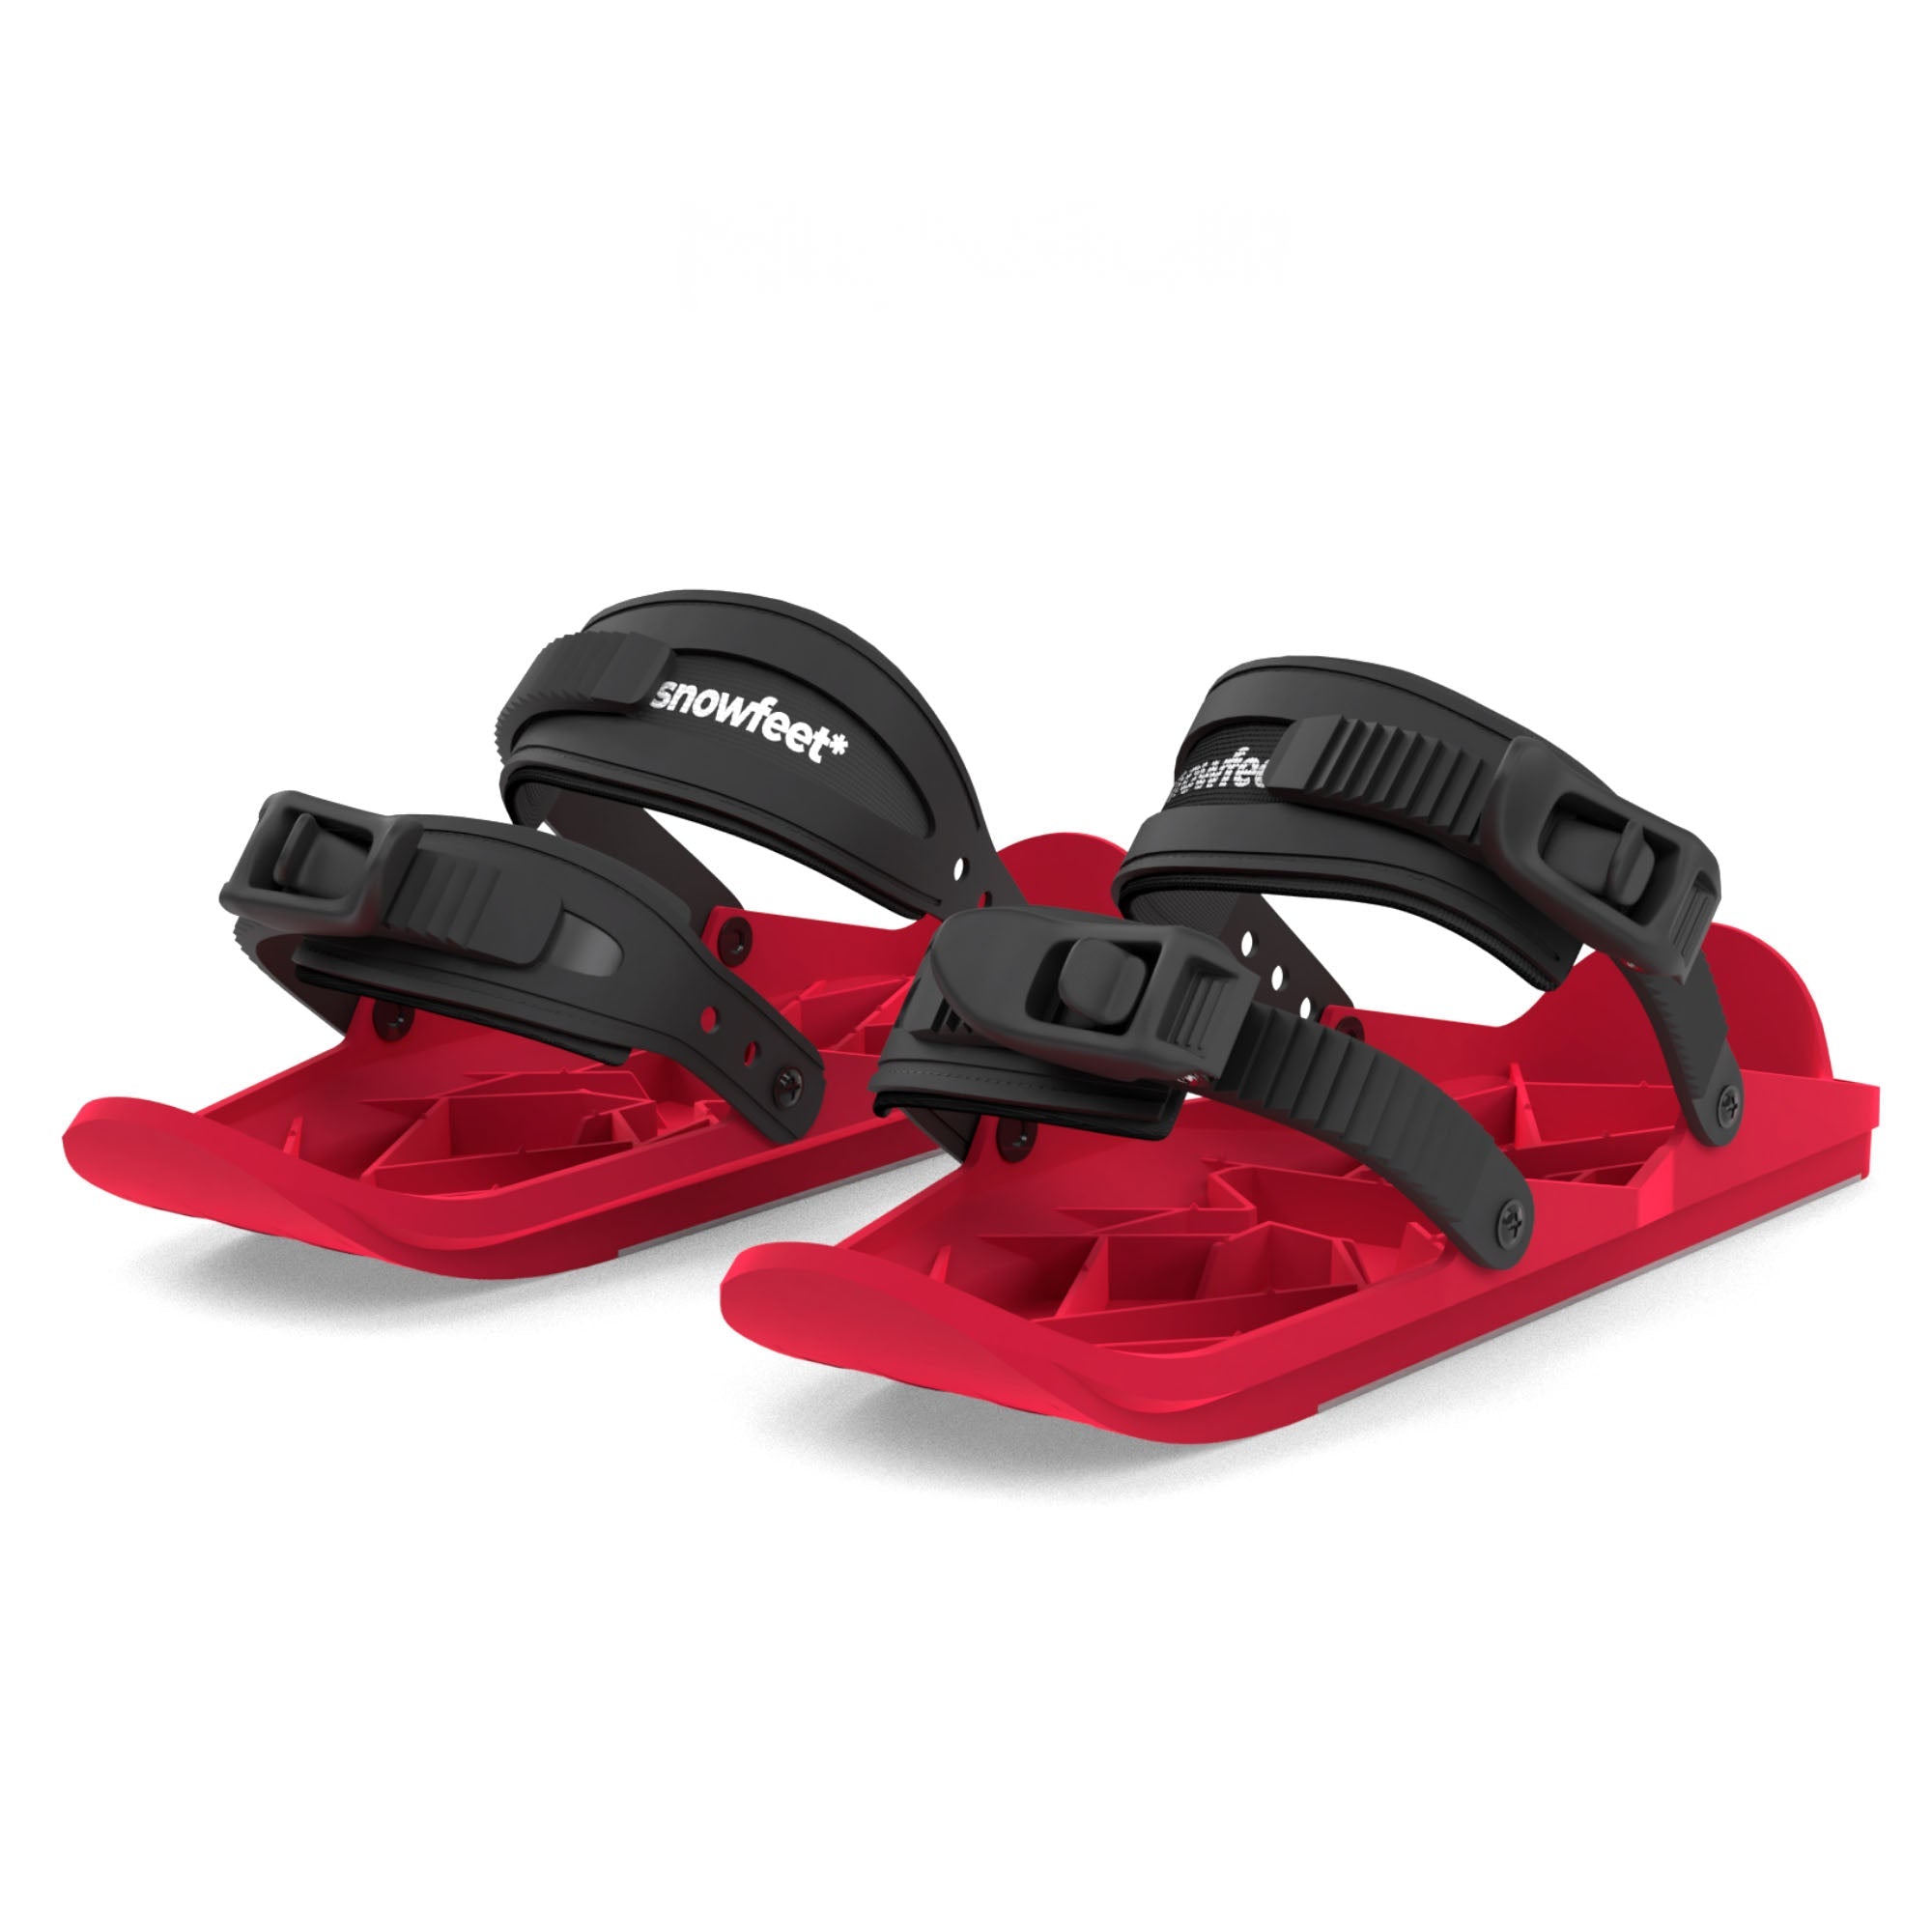
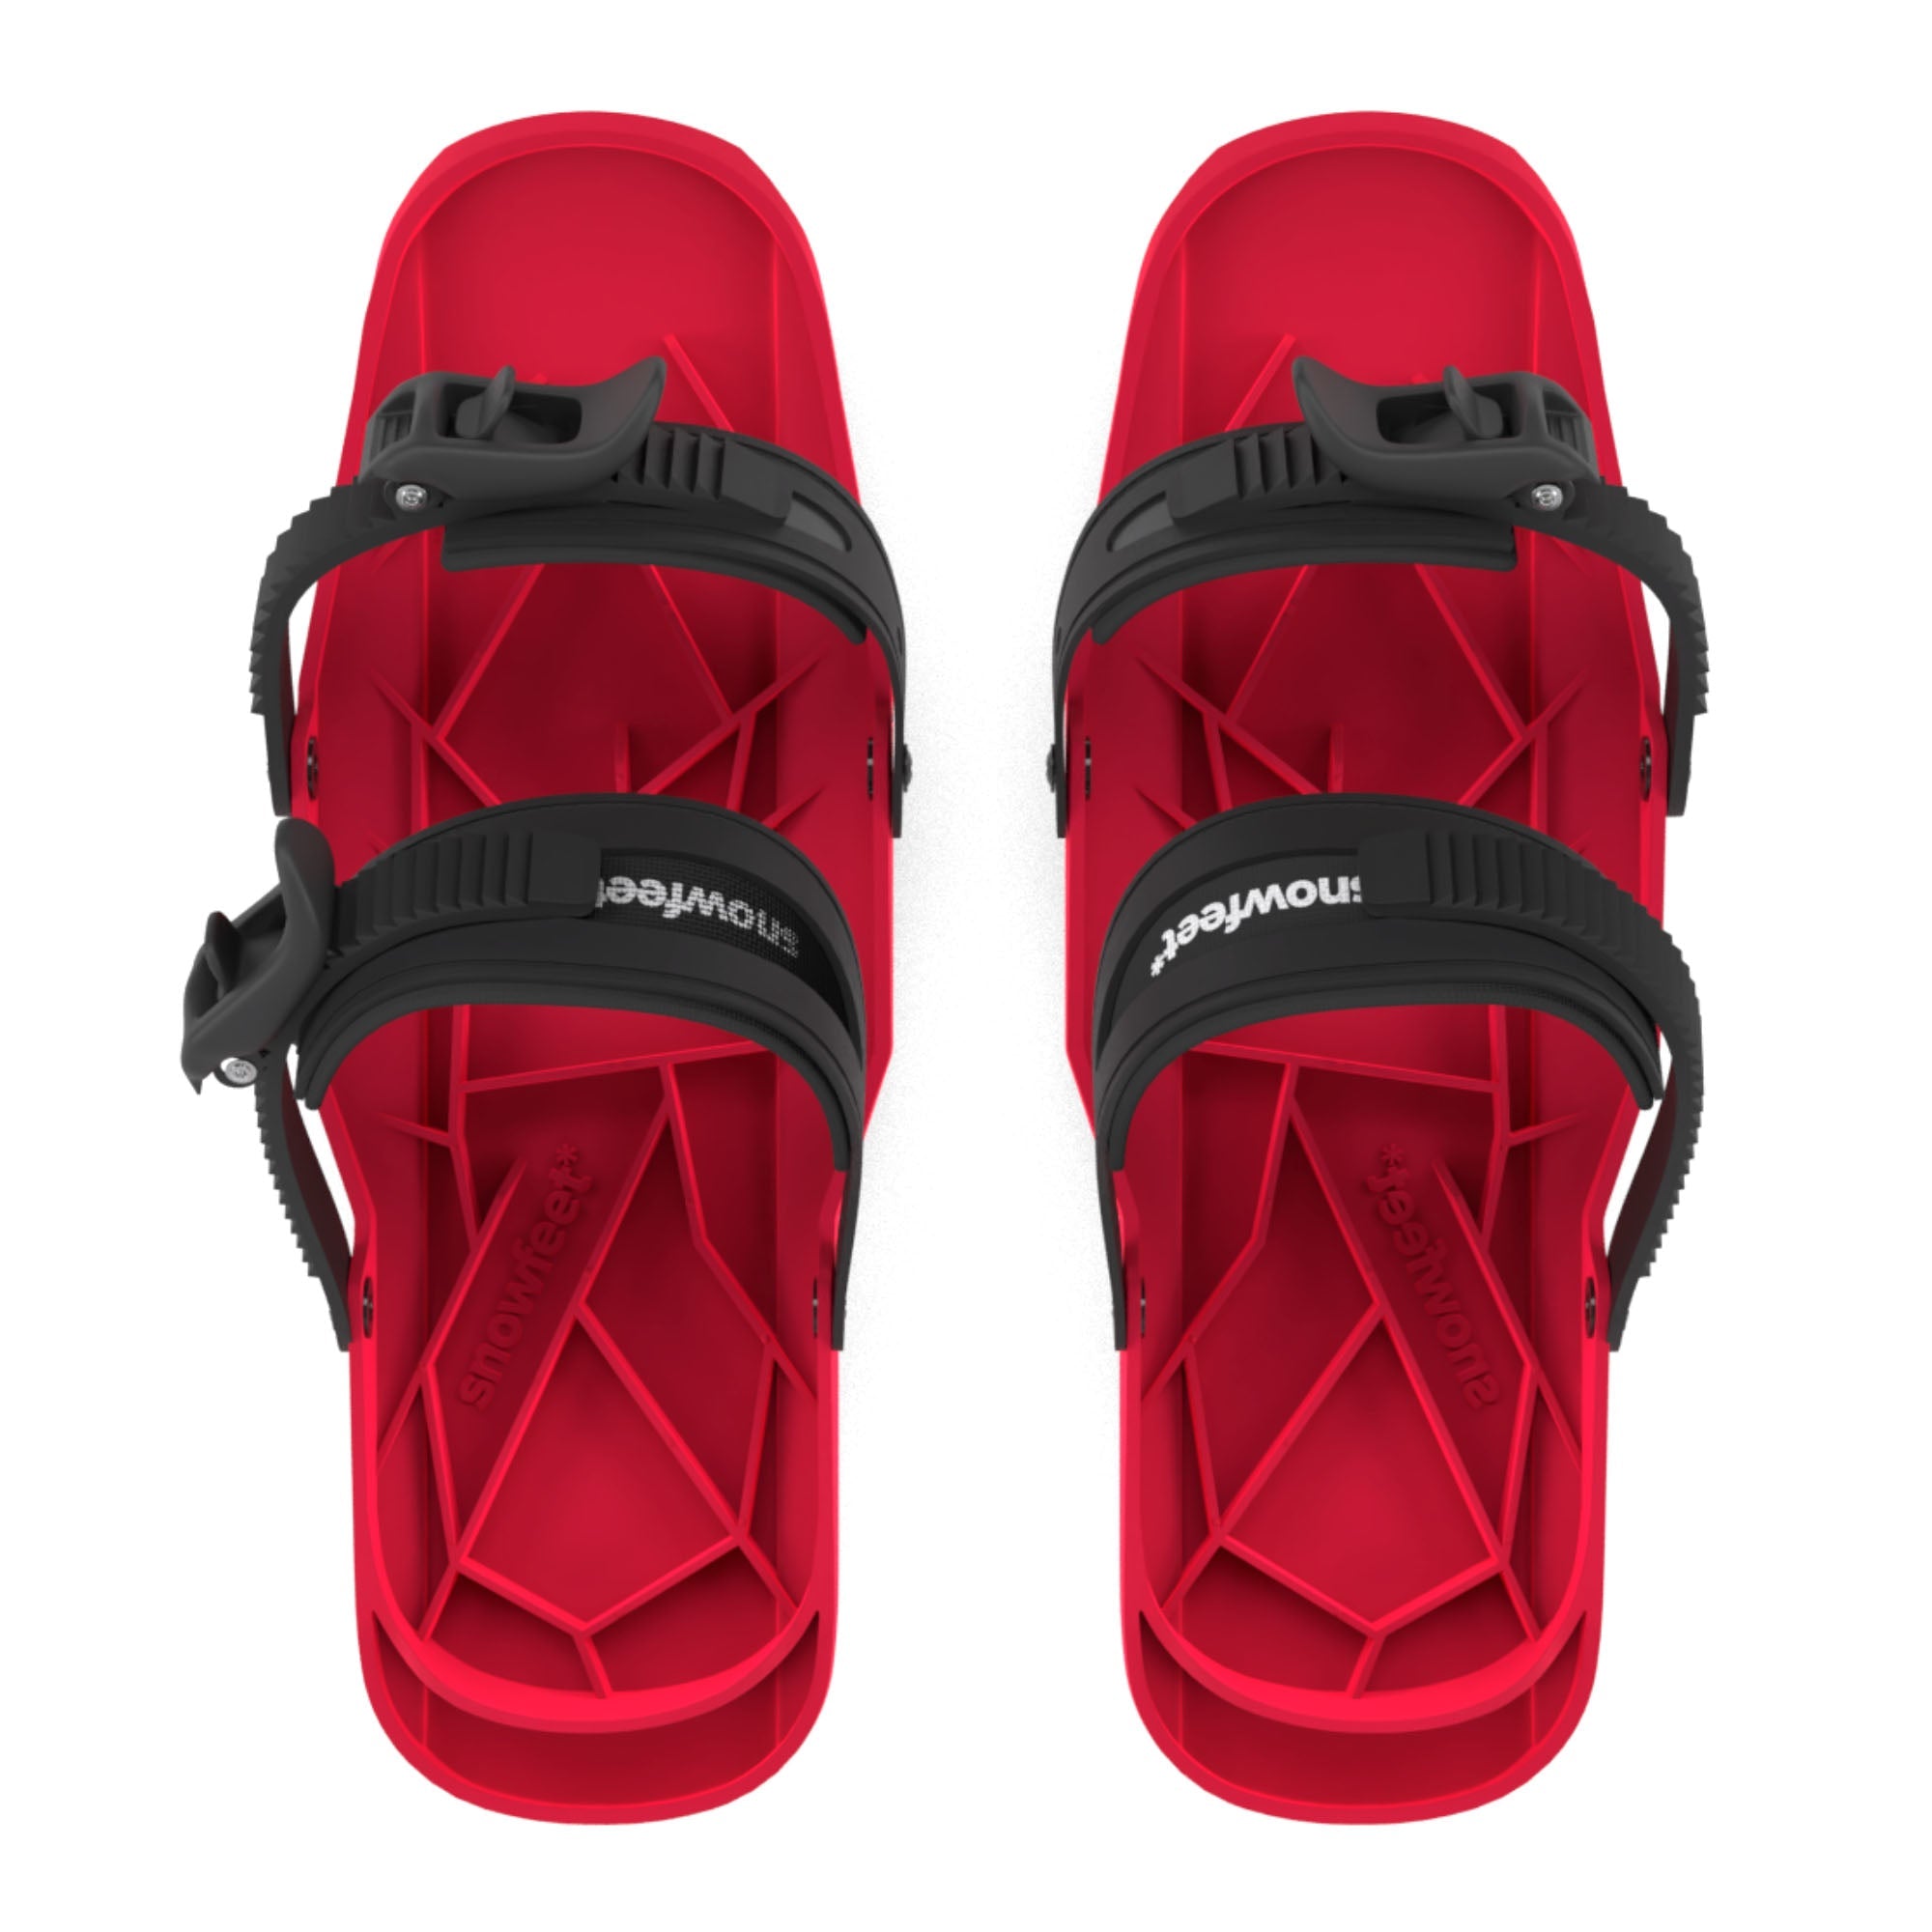
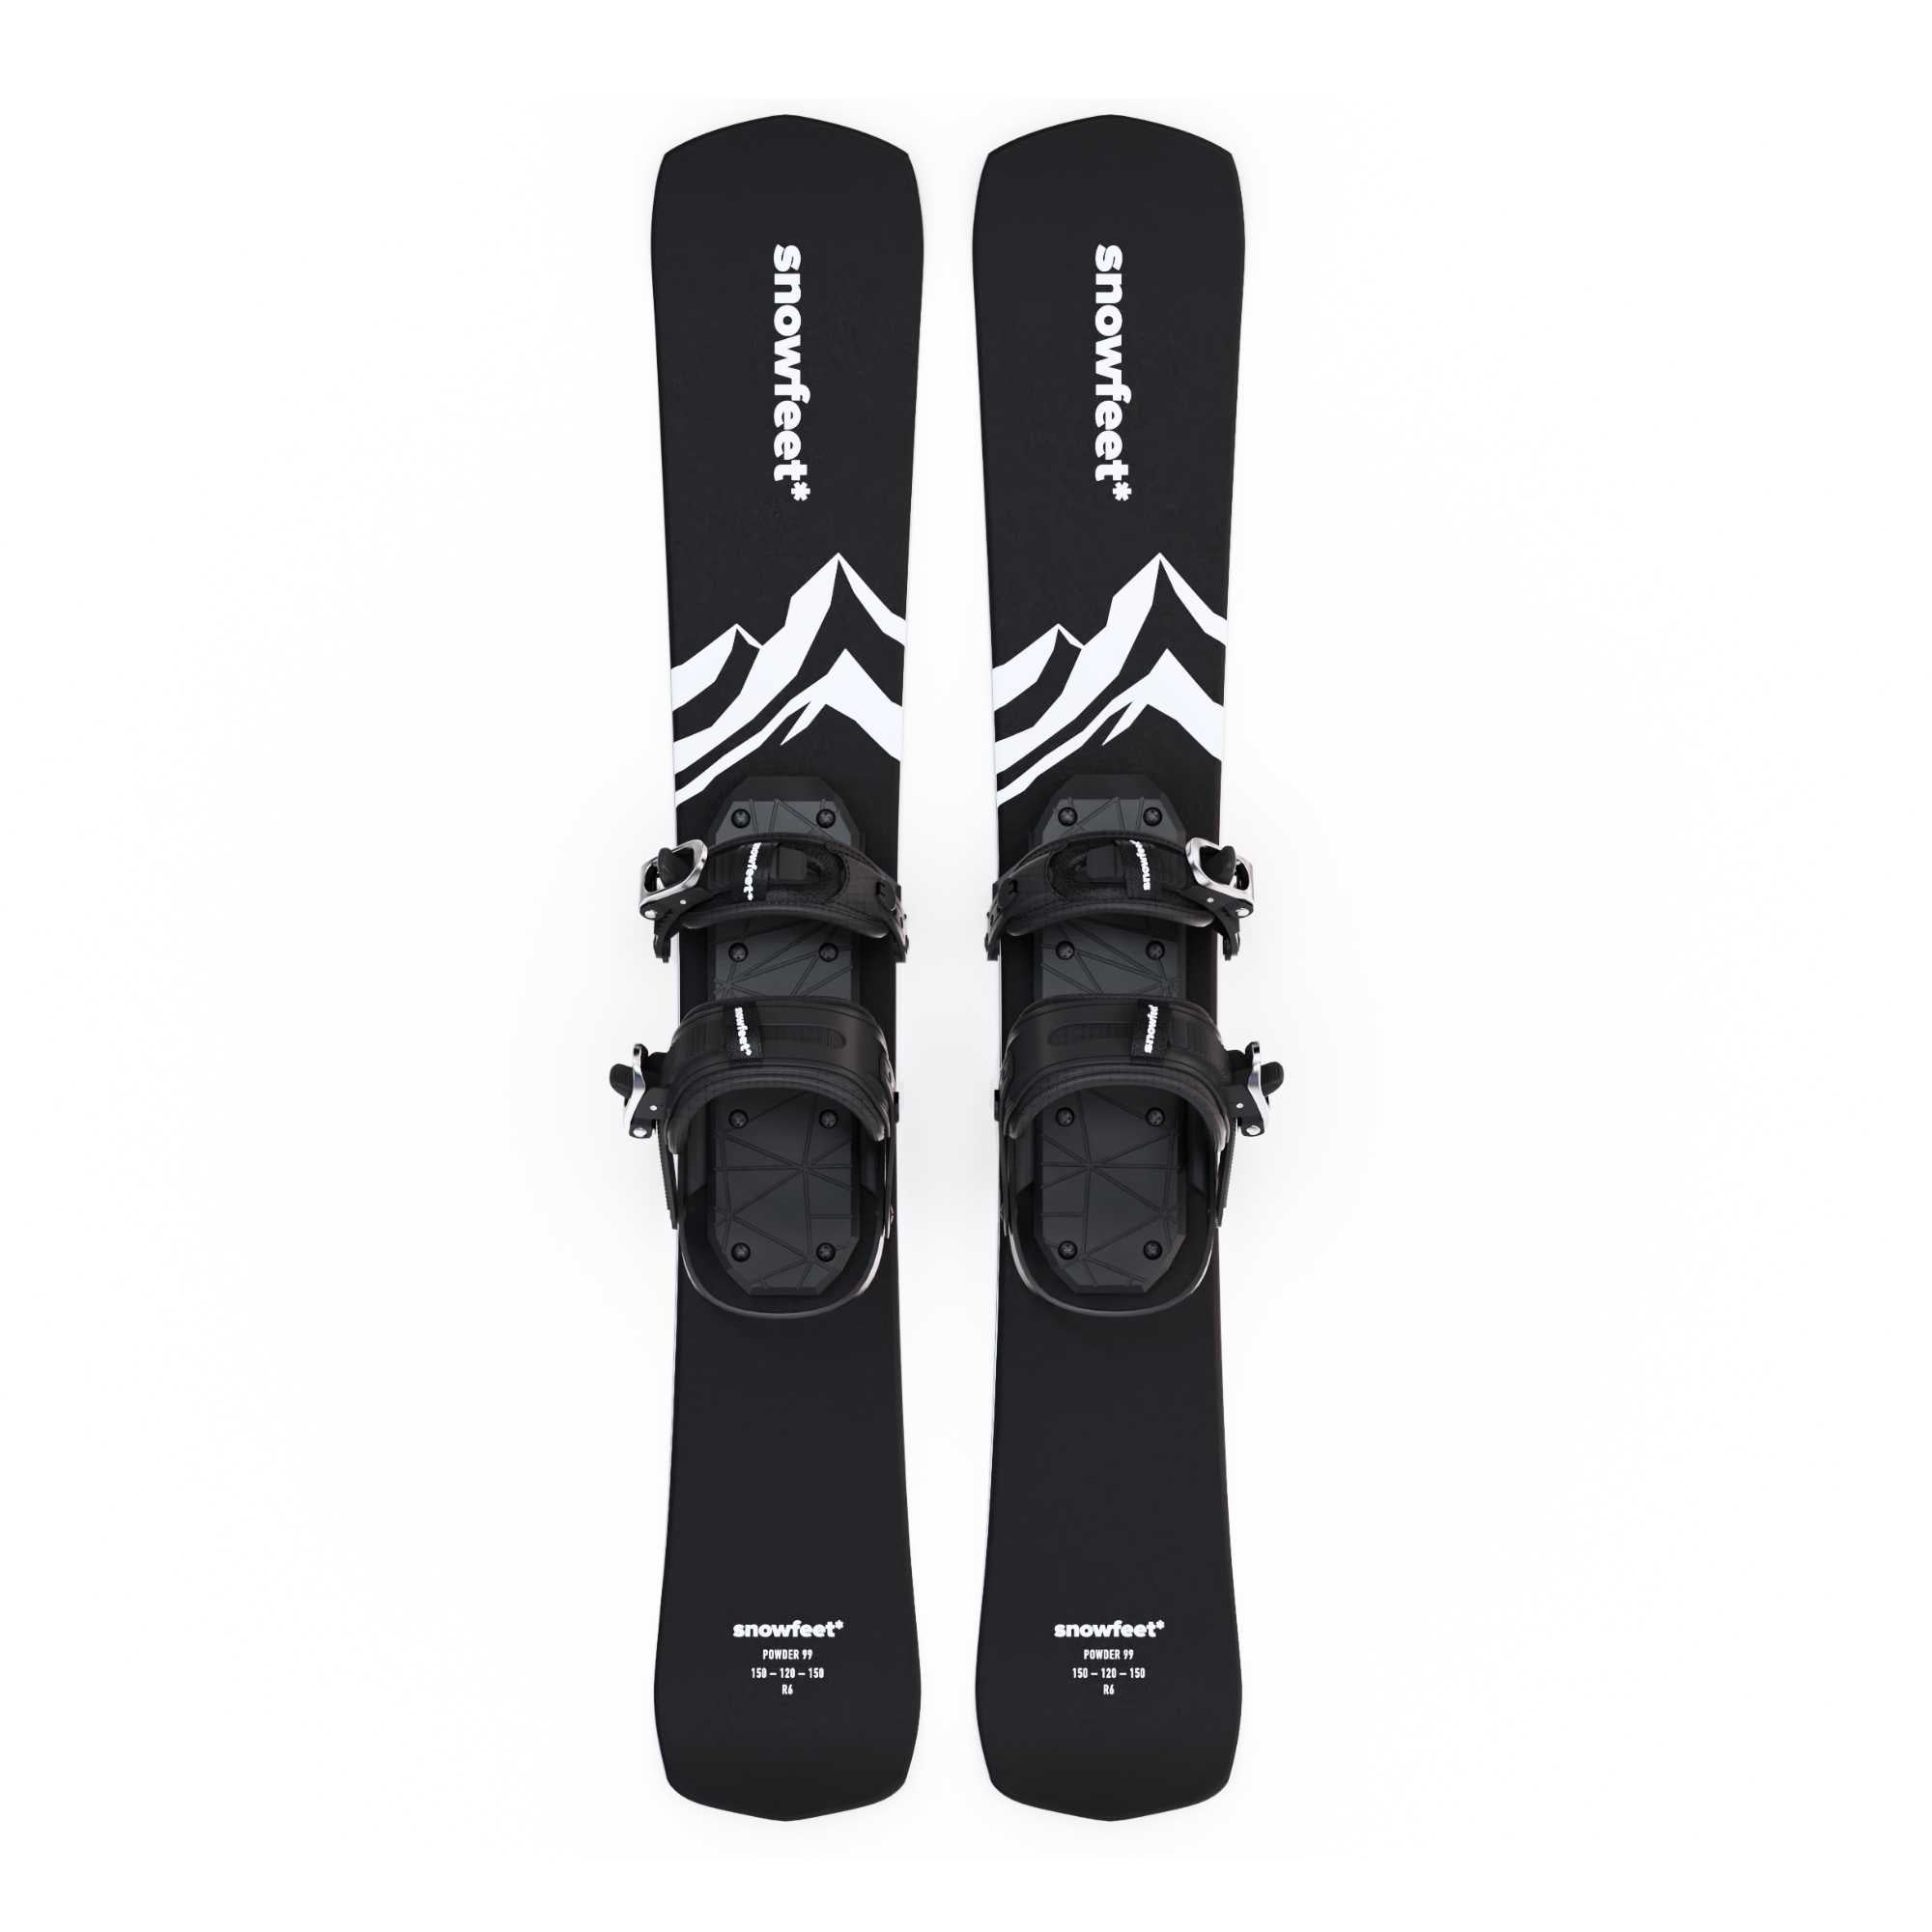
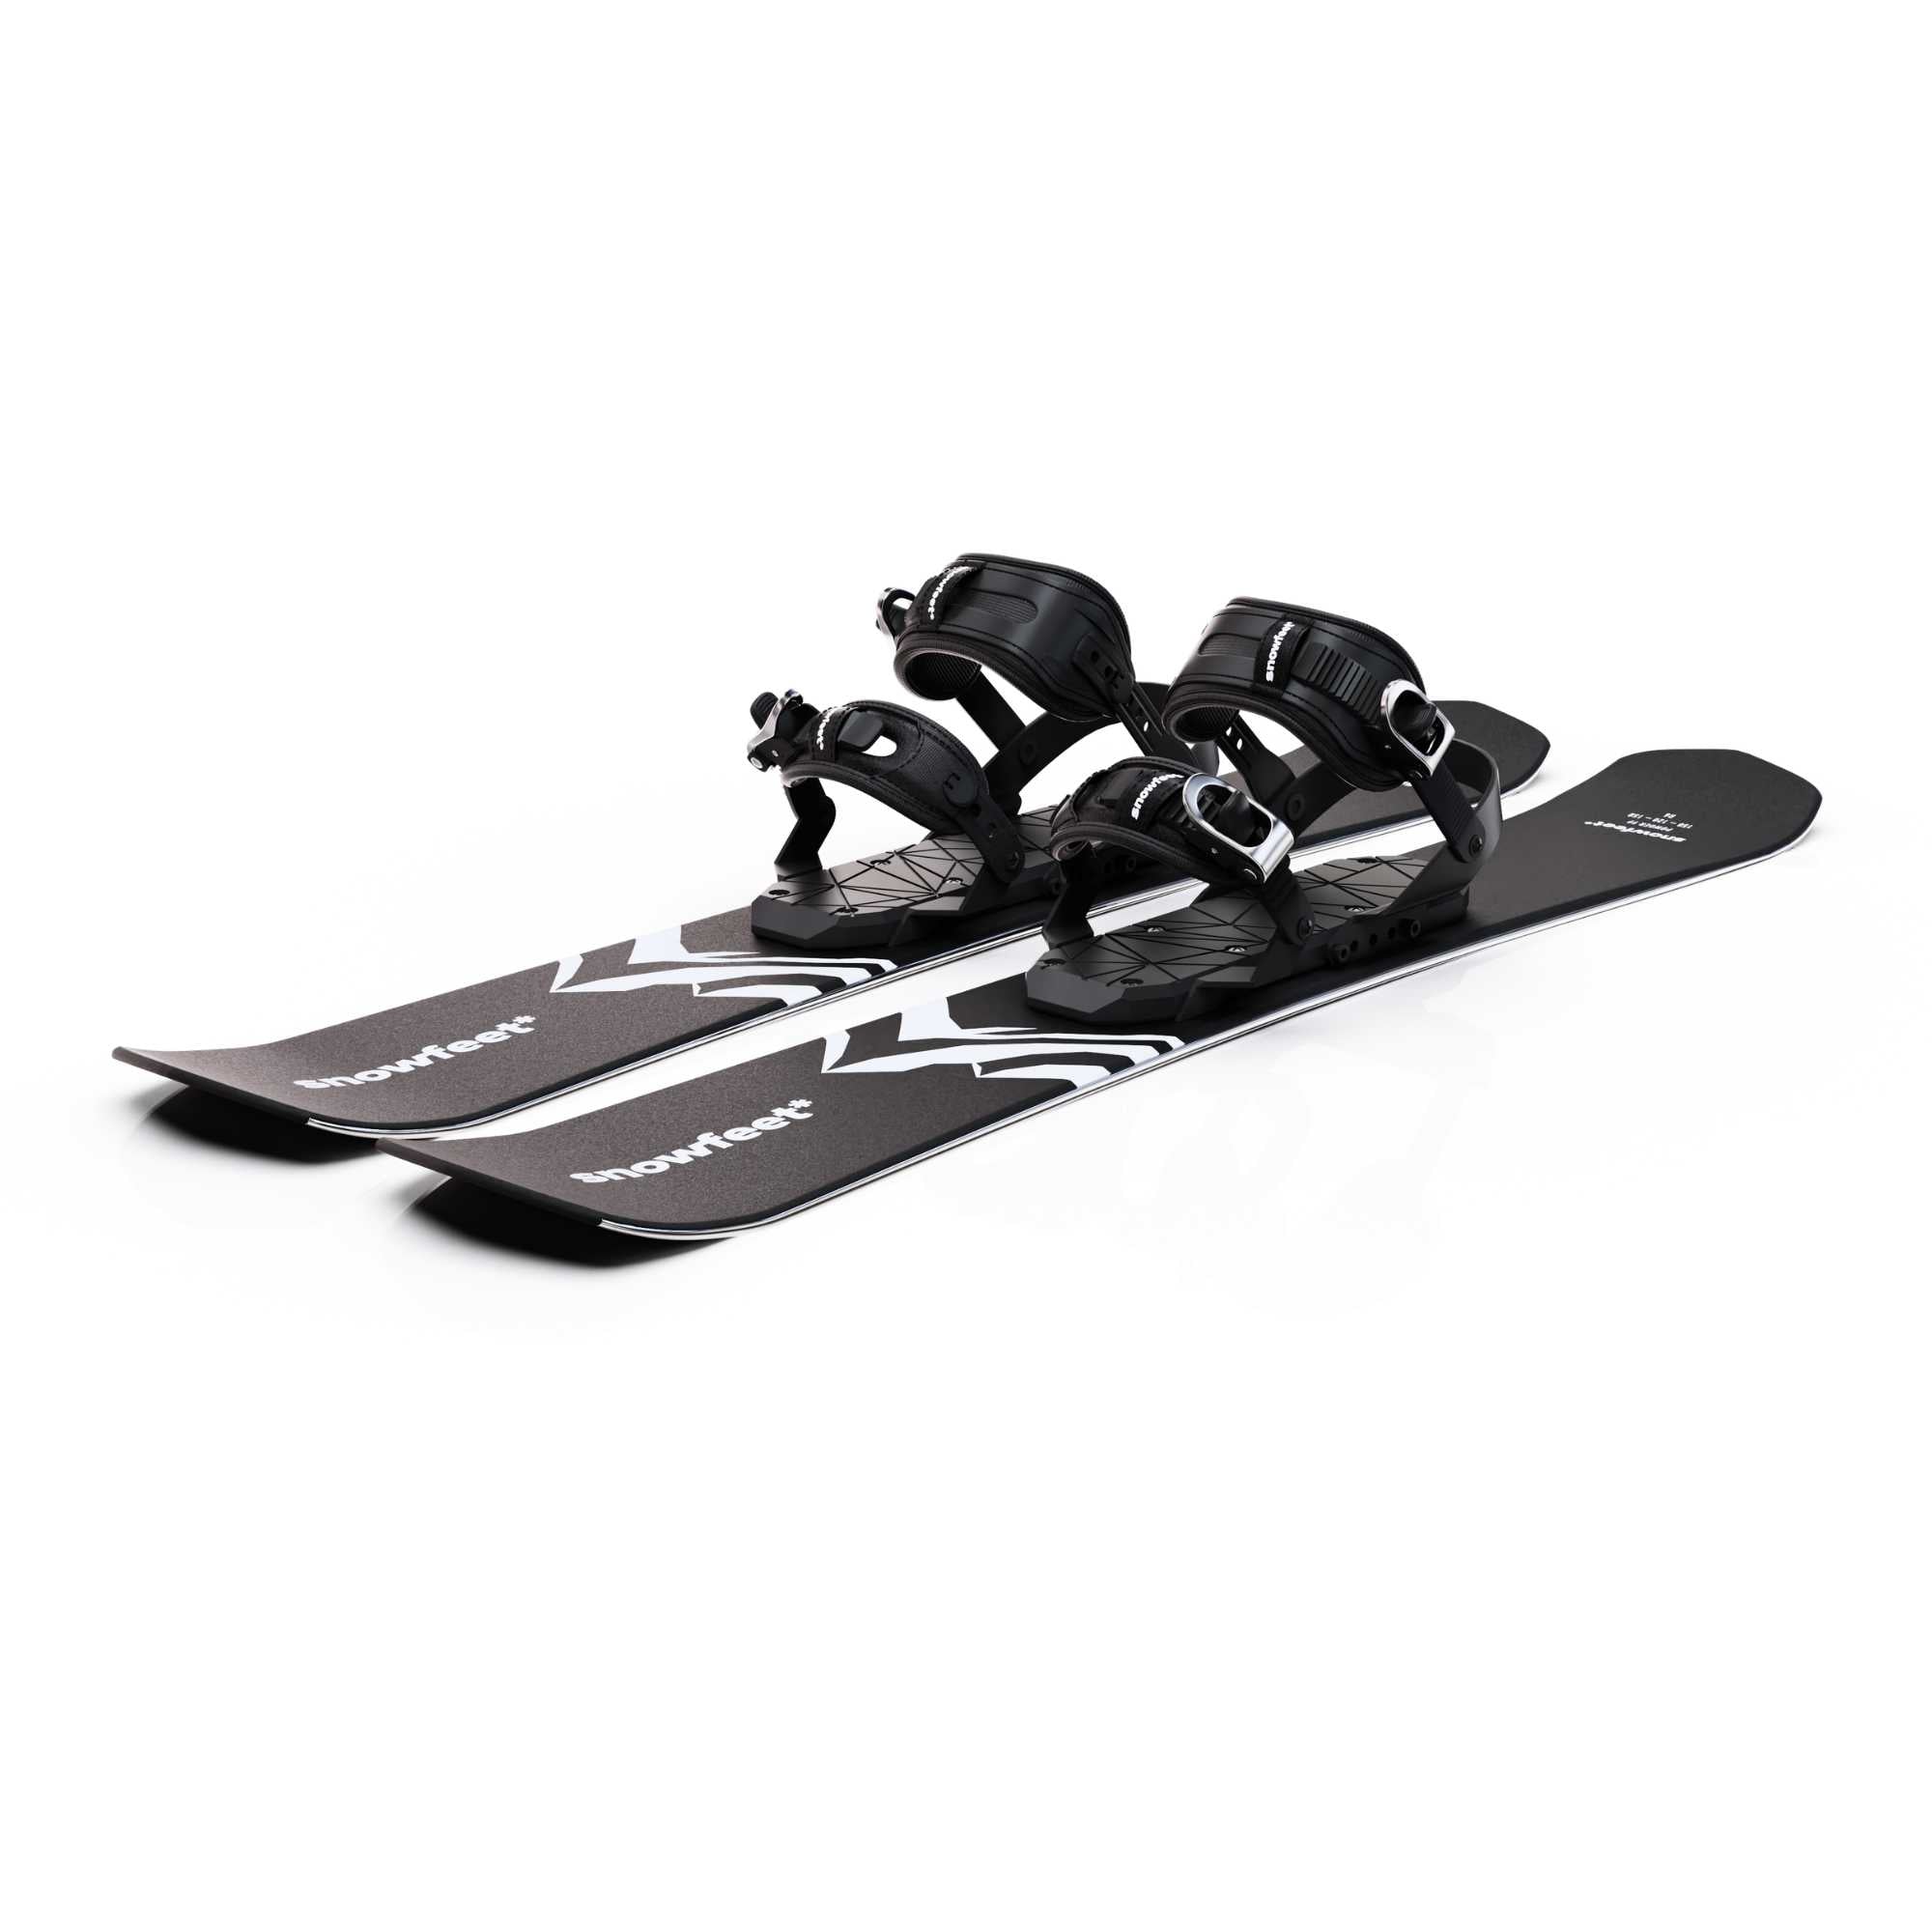
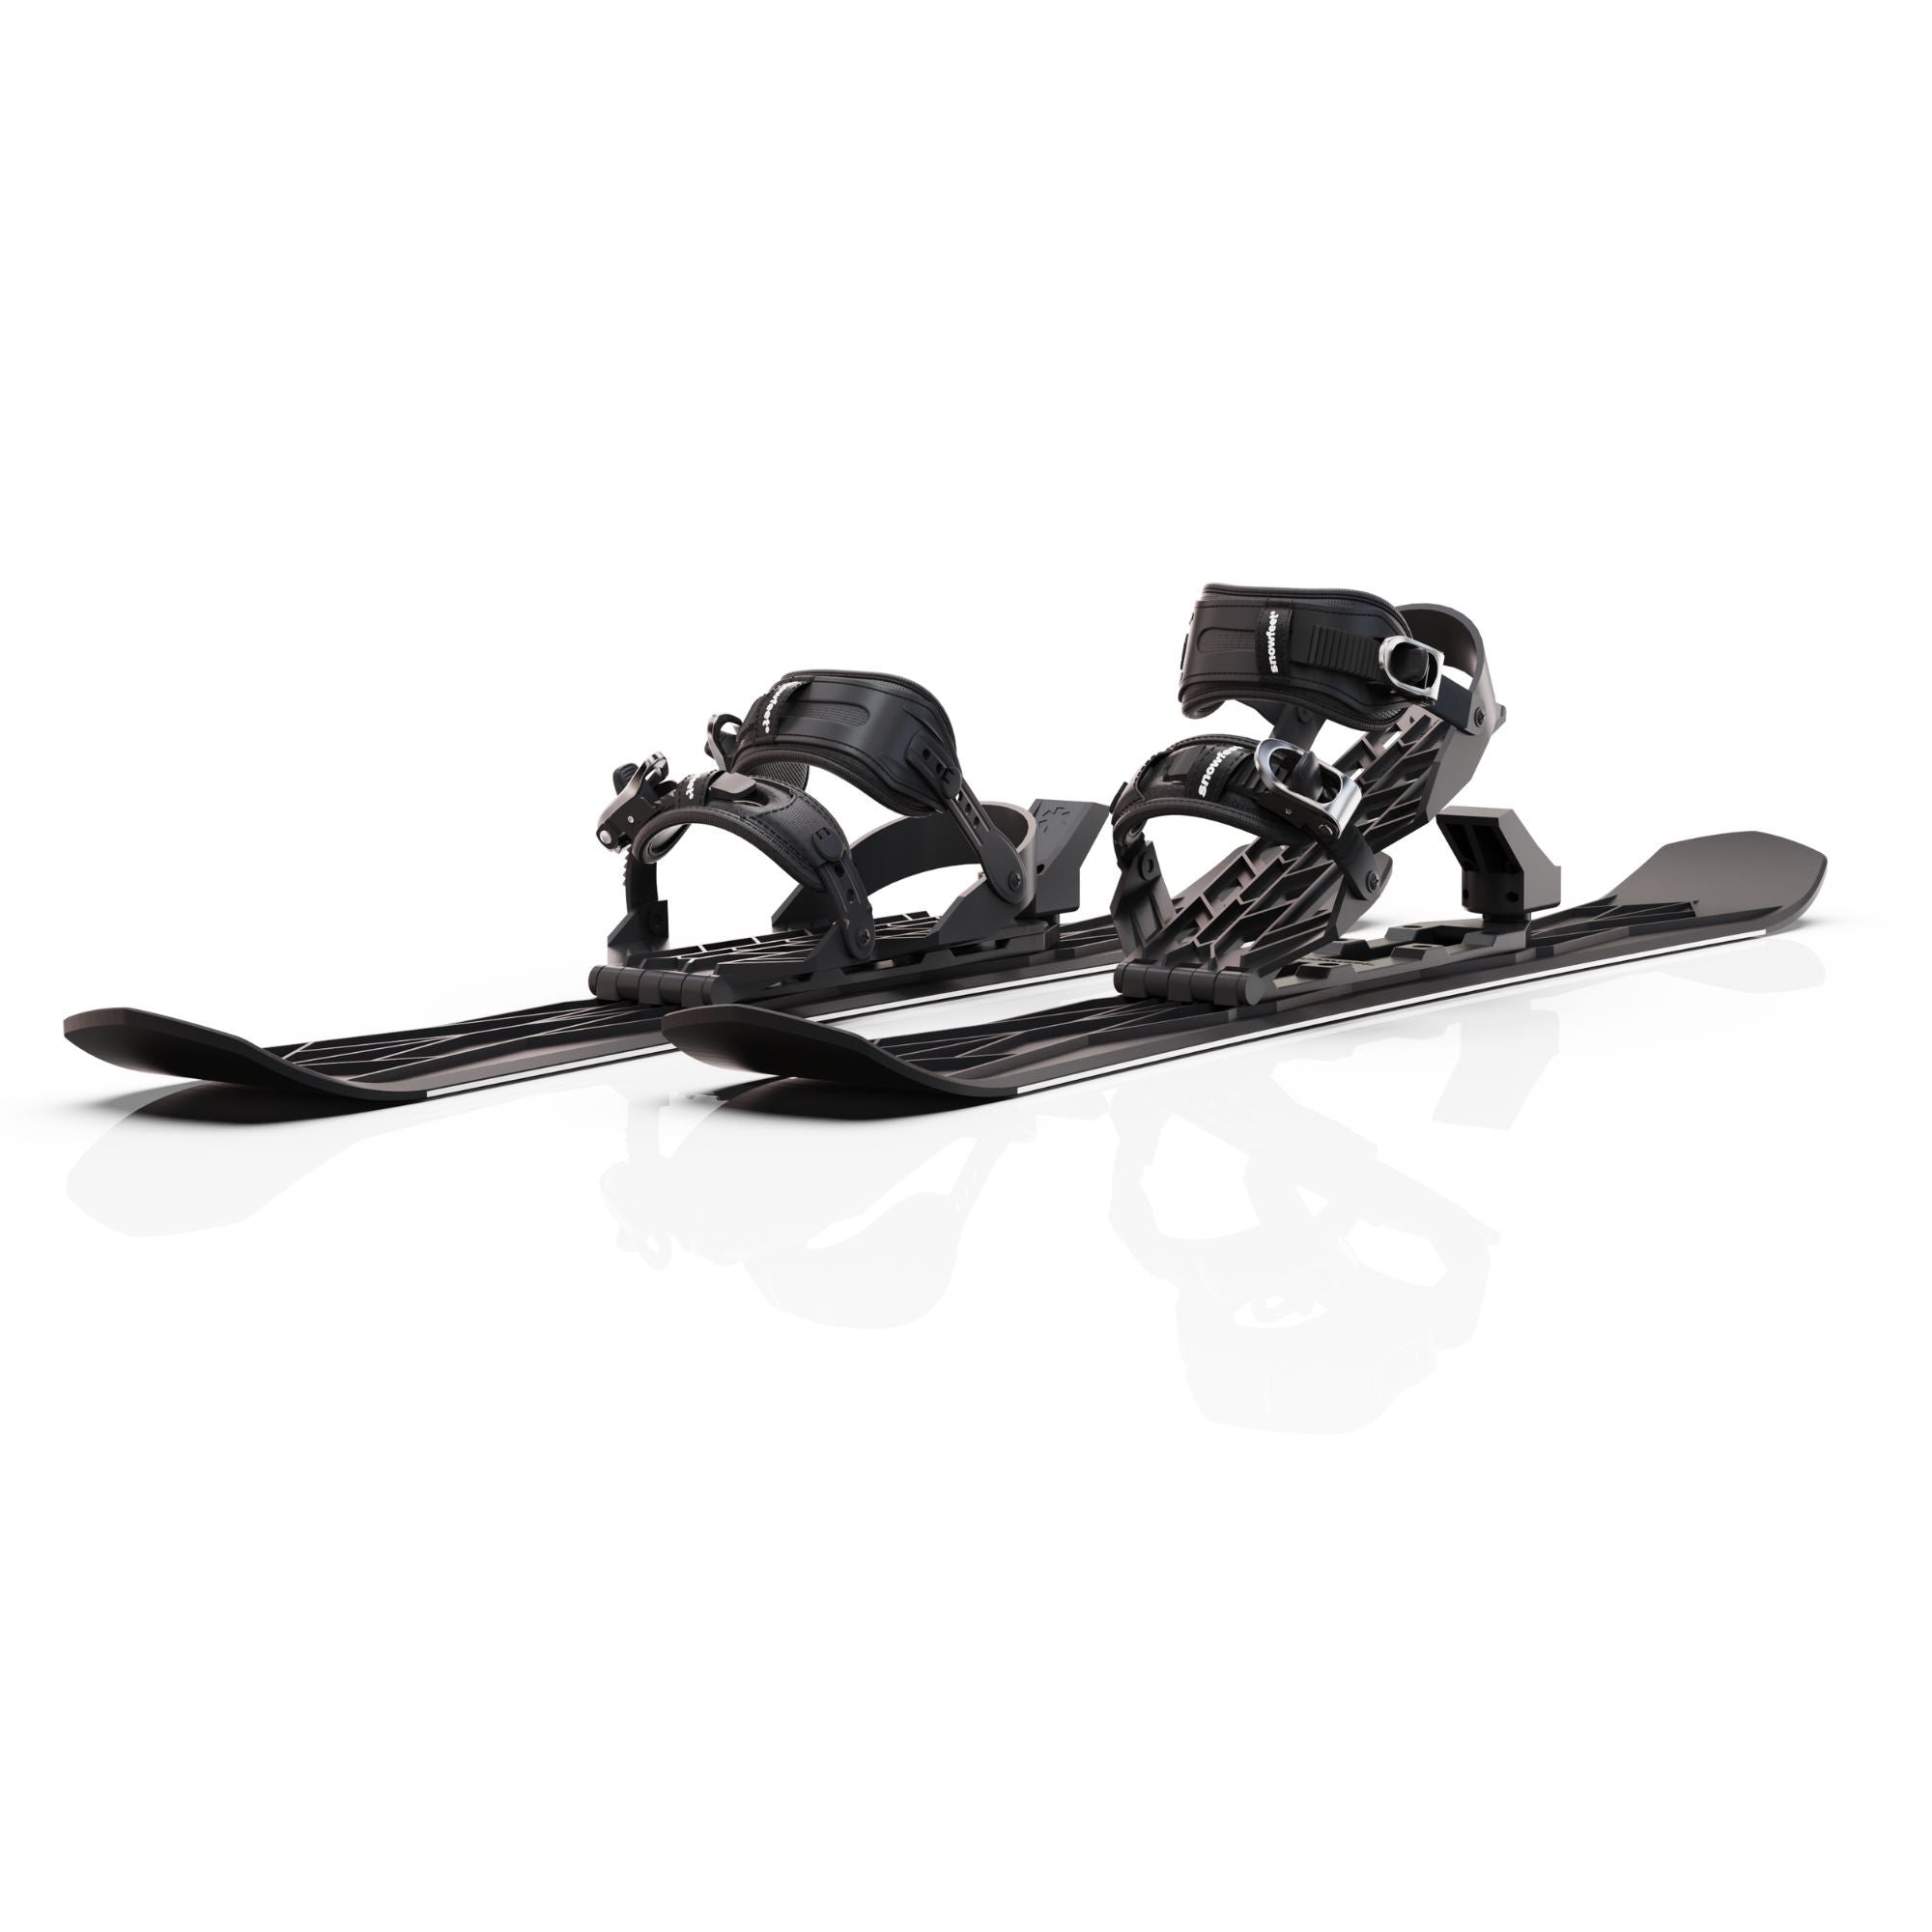
3. Snowboard Boot Bindings
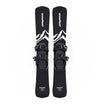
Designed to fit snowboard boots, these bindings combine the comfort of snowboard boots with the fun of skiblades, making them ideal for those who prioritize flexibility and ease of movement.
Each binding type requires slightly different steps to ensure they’re snug, secure, and ready for action.
Putting On Non-Release Bindings
Non-release bindings are simple, sturdy, and easy to put on, even if you’re new to skiblades. Here’s how to get them fitted perfectly for your boots:
1. Position the Skiblades
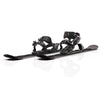
Start by placing your skiblades on a flat, stable surface with the bindings facing up. Make sure the metal brackets and toe clips are open and ready for your boots.
2. Slide Your Boot In
Step onto the skiblade and position the heel of your boot into the rear bracket. Push down gently until your heel is snugly in place.
3. Secure the Toe Clip
Now, press down on the toe clip to lock the front of your boot. The clip should feel snug but not overly tight.
4. Attach the Safety Leash
Wrap the leash around your ankle and secure it. This little detail ensures that if the binding does loosen, your skiblades won’t go rogue down the slope.
Quick Tip: Check the fit by moving your boot slightly. It should stay firmly in place with no wobbling. If it’s too loose, release the brackets, make minor adjustments, and try again.
Putting On Release Bindings
If your skiblades are equipped with release bindings, they’ll follow a similar process to traditional ski bindings. Here’s how to put them on like a pro:
1. Adjust Your Binding’s DIN Setting
The DIN setting controls the release pressure. Be sure it’s set correctly for your weight and skill level, usually done when you first get your skiblades. If in doubt, consult with a ski technician for safe adjustments.2. Align the Toe Piece
Start by placing the toe of your boot into the front part of the binding. Make sure the sole lines up, fitting neatly into the binding grooves.3. Step Down to Secure the Heel
Gently press down with your heel until you hear a “click.” This sound signals that the binding is secure and ready to go.4. Double-Check the Release Mechanism
Give your boot a gentle wiggle to ensure it’s secure. Release bindings are designed to keep your boot stable but will release if the pressure from a fall hits a certain threshold.Pro Tip: Remember that the DIN setting directly impacts how easily your skiblades release, so always confirm it’s set appropriately before your ride.

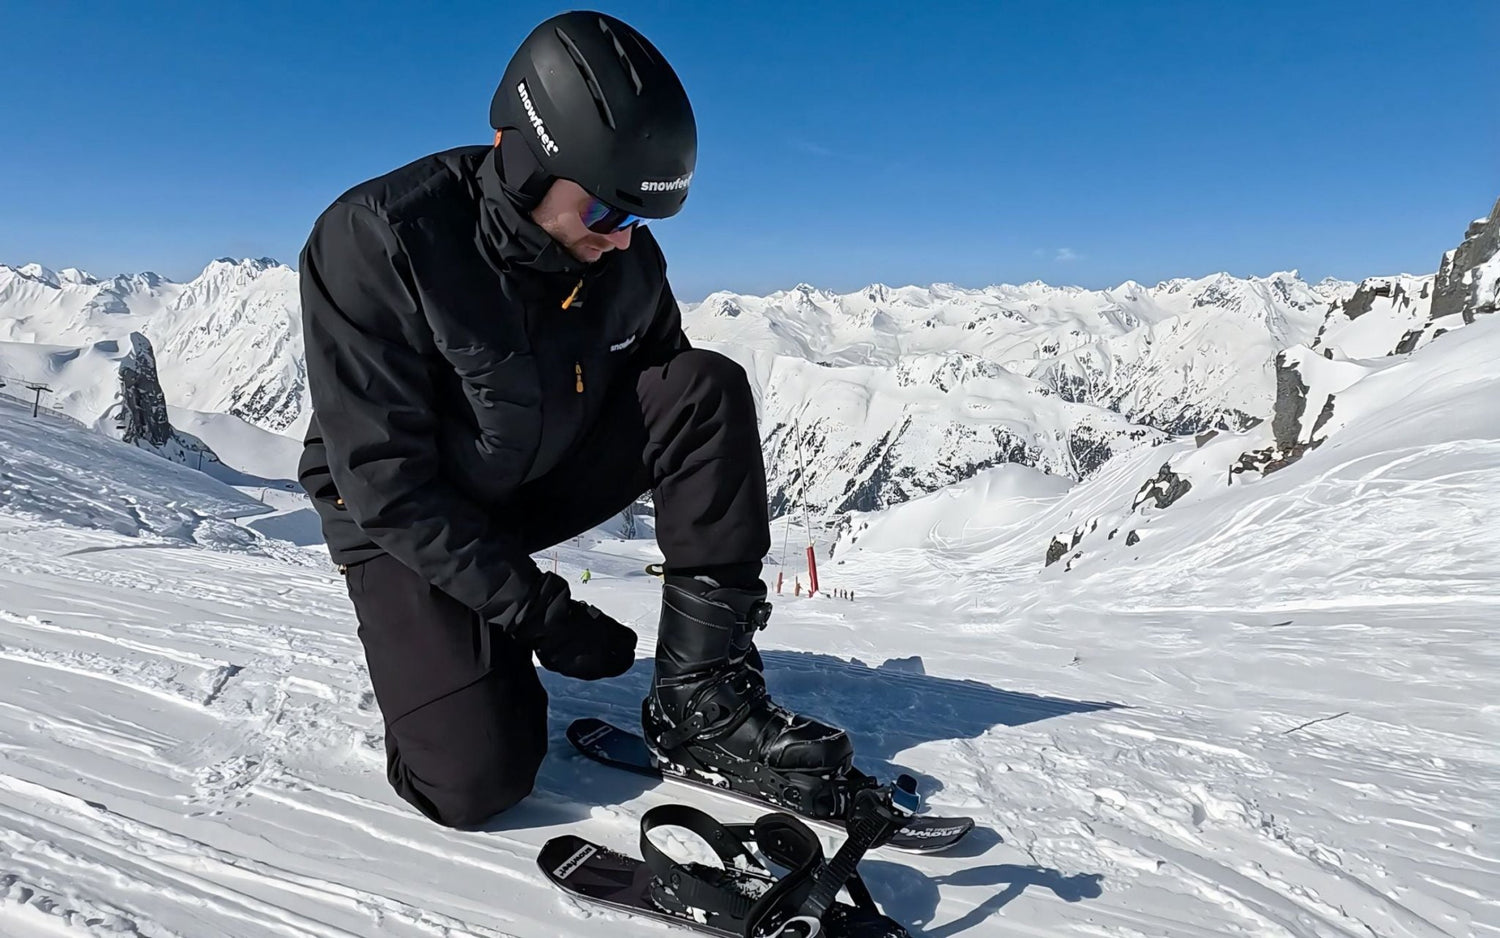
Putting On Snowboard Boot Bindings
Snowboard boot bindings are designed for comfort and are a bit different from ski bindings, but they’re equally easy to put on. Here’s the step-by-step:
1. Adjust the Straps
Start by adjusting the toe and ankle straps. You want these to be open enough to slide your boot in but not so loose that they’re flapping around.2. Place Your Boot In
Slide your snowboard boot into the binding, making sure it sits comfortably. The back of your boot should align with the heel plate, while the toe rests snugly against the front strap.
3. Secure the Ankle and Toe Straps
Tighten the ankle strap first, followed by the toe strap. Both should feel snug but not constrictive, allowing for easy movement while keeping your boots secure.
4. Check the Fit
Wiggle your boot slightly to ensure it’s secure. The skiblades should feel like an extension of your feet, with no movement or “give” in the straps.
Pro Tip: Snowboard boot bindings give you greater flexibility than ski boots, so feel free to loosen the straps slightly for freestyle skiing or keep them tight for added control on steeper runs.
Tips for a Smooth Start on Skiblades
Putting on your skiblades is the first step, but getting comfortable and stable takes a bit of technique. Here are some tips for getting off to a good start:
1. Choose a Flat Surface to Put Them On
Trying to put on skiblades on a slope can be tricky! Look for a flat area, ideally with a bench or other support nearby if you need balance.
2. Practice Shifting Your Weight
Skiblades are more compact than skis, so your weight distribution is key. Practice shifting your weight from side to side to get a feel for the balance before you head down the hill.3. Start with Easy Turns
Because skiblades are shorter, they’re more responsive to movement. Start with gentle turns to get comfortable with the quick response, and build up to sharper moves as you gain confidence.4. Don’t Forget the Leash (if applicable)
If you’re using non-release bindings, the leash is your friend! Always fasten it around your ankle to prevent losing a skiblade if it does detach.
5. Check Your Bindings Periodically
Whether you’re using non-release, release, or snowboard boot bindings, take a moment to check your setup occasionally, especially after falls or intense runs. It’s an easy way to ensure everything stays secure.
Common Mistakes When Putting On Skiblades (and How to Avoid Them)
Even the pros make mistakes from time to time, so here are some common slip-ups and how to avoid them:
Forgetting to Adjust the Straps Properly: With snowboard boot bindings, it’s tempting to just strap in quickly and go, but loose straps can make for an uncomfortable ride. Take a few extra seconds to ensure they’re snug.
Over-tightening Non-Release Bindings: With non-release bindings, it’s easy to go too tight. The fit should be secure but not overly tight, allowing a bit of natural movement.
Skipping the Safety Leash: If you’re using non-release bindings, the leash is crucial for keeping your skiblades nearby during a fall. Always wrap it around your ankle before taking off.
Neglecting to Test the Release Setting: For release bindings, having the DIN setting too high or low can impact safety. If you’re unsure, a quick trip to the ski shop can help ensure the setting is correct for your weight and skill level.
Next time you’re heading out to the mountains, put on your skiblades, make sure your bindings are secure, and enjoy every twist, turn, and trick along the way. Have a great ride!















Leave a comment
This site is protected by hCaptcha and the hCaptcha Privacy Policy and Terms of Service apply.