Backcountry skiing is awesome, but it’s not without risks. One of the biggest dangers? Terrain traps. These natural features - like gullies, cliffs, and tree wells - can turn even a small avalanche into a serious threat. Here’s the deal:
- What are terrain traps? Features that funnel or collect snow, like gullies, creek beds, or dense forests, making avalanches deadlier.
- Why are they dangerous? They increase burial depth and the risk of injury from impacts with rocks, trees, or cliffs.
- How to avoid them? Plan routes carefully, use topographic maps, check avalanche forecasts, and stick to high ground when possible.
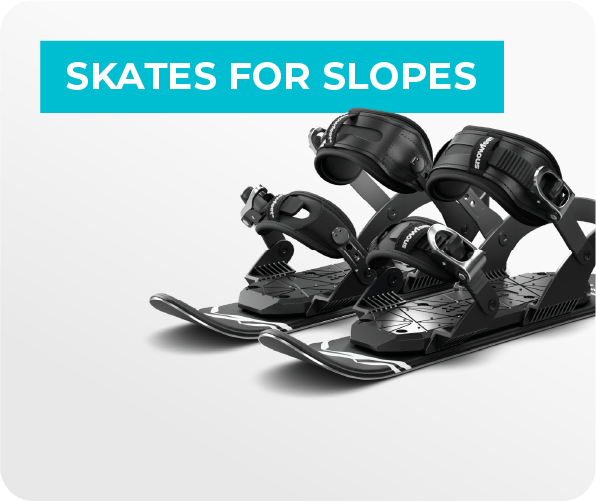
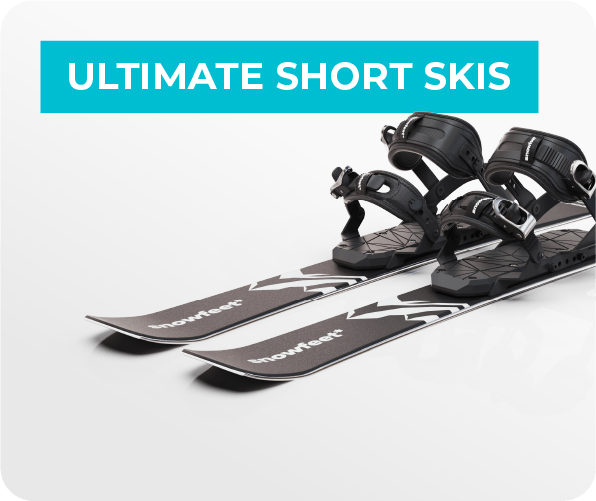
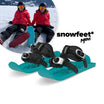
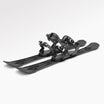
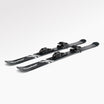
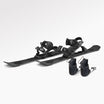
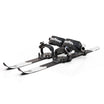
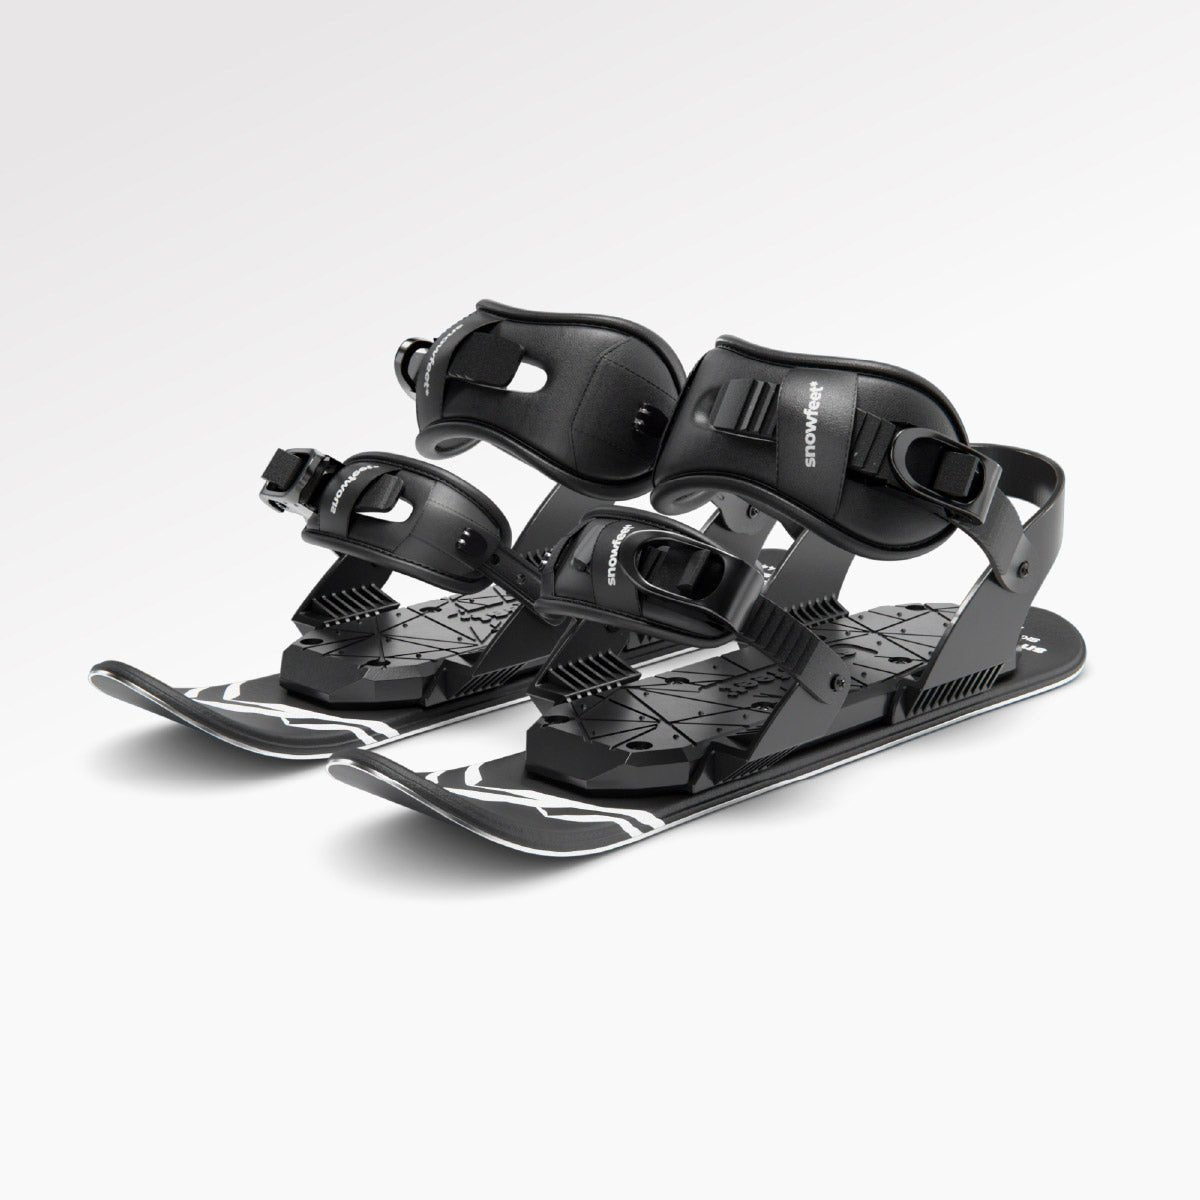
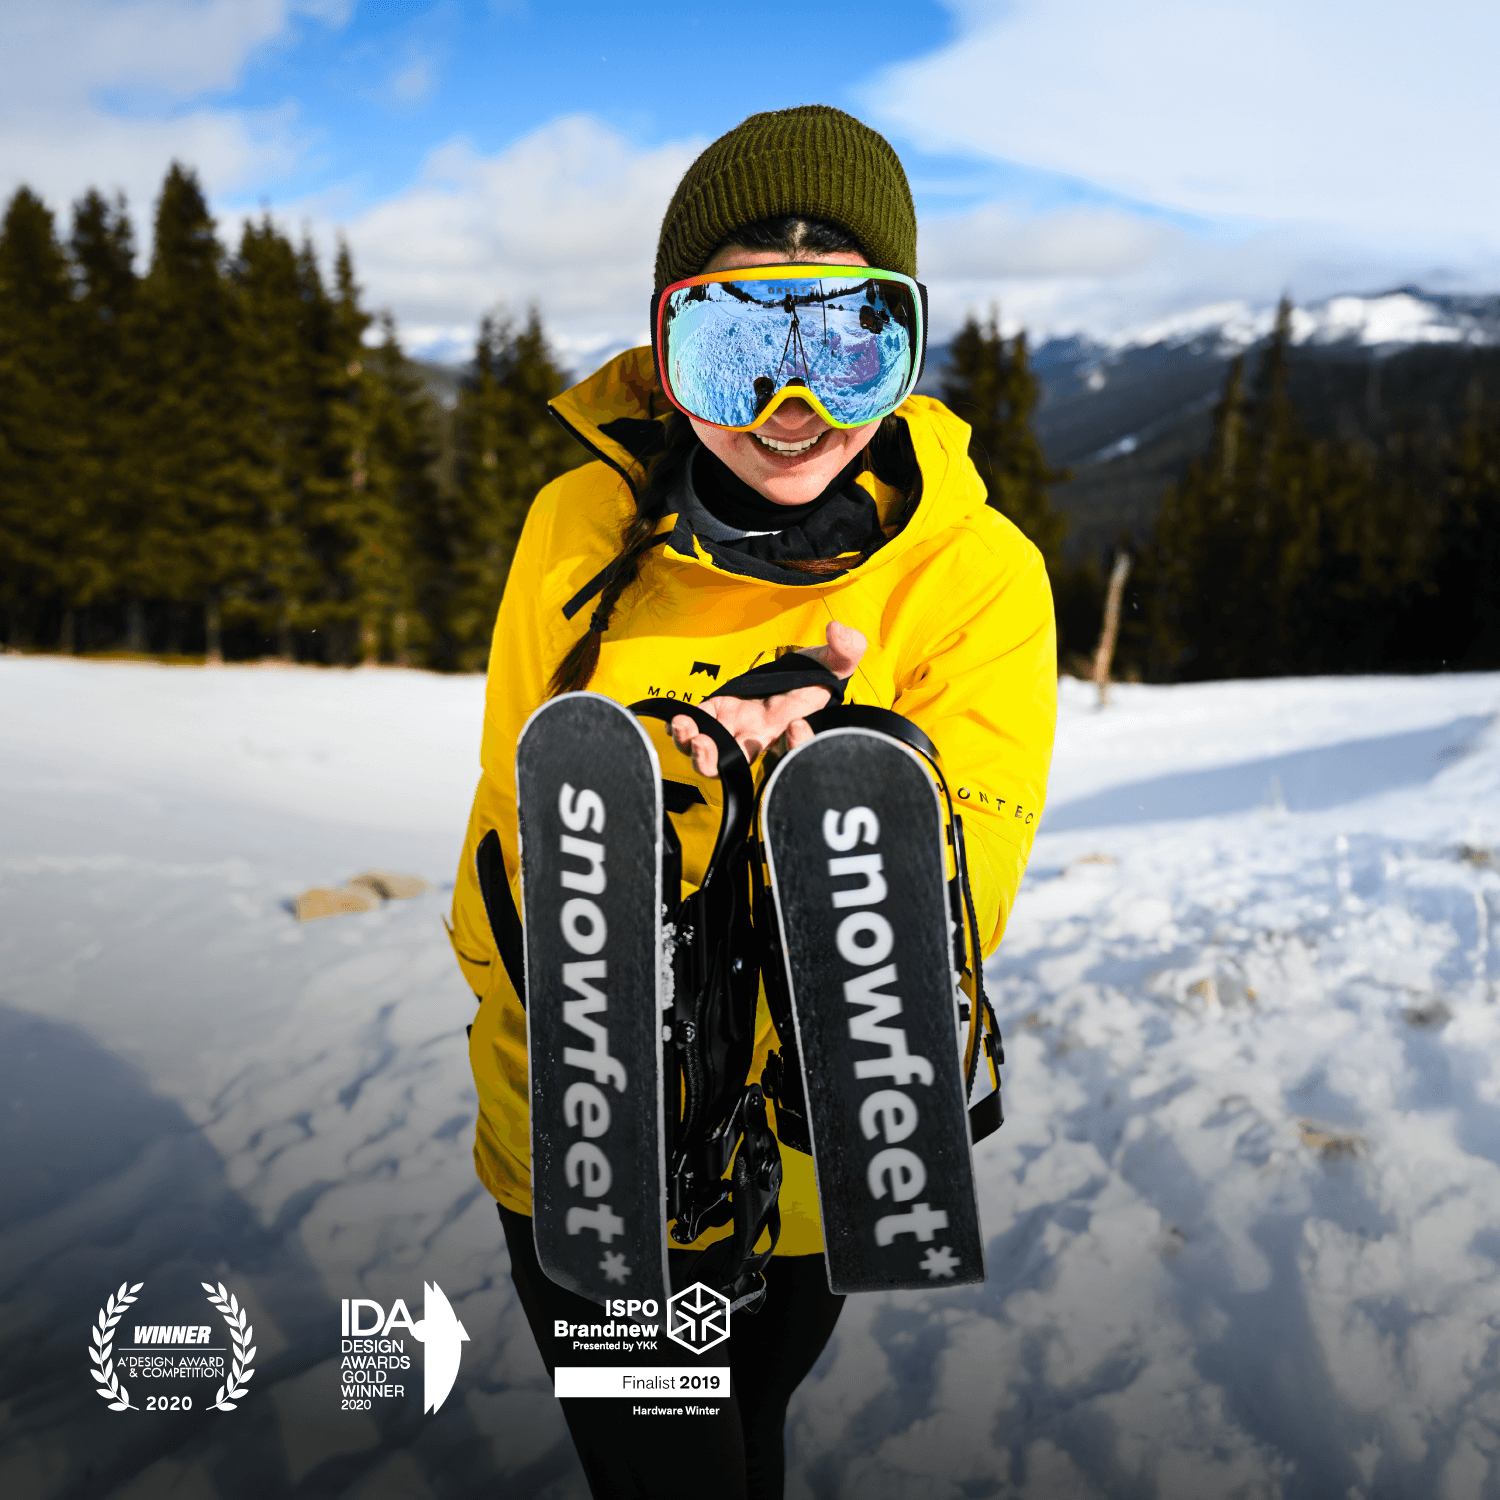
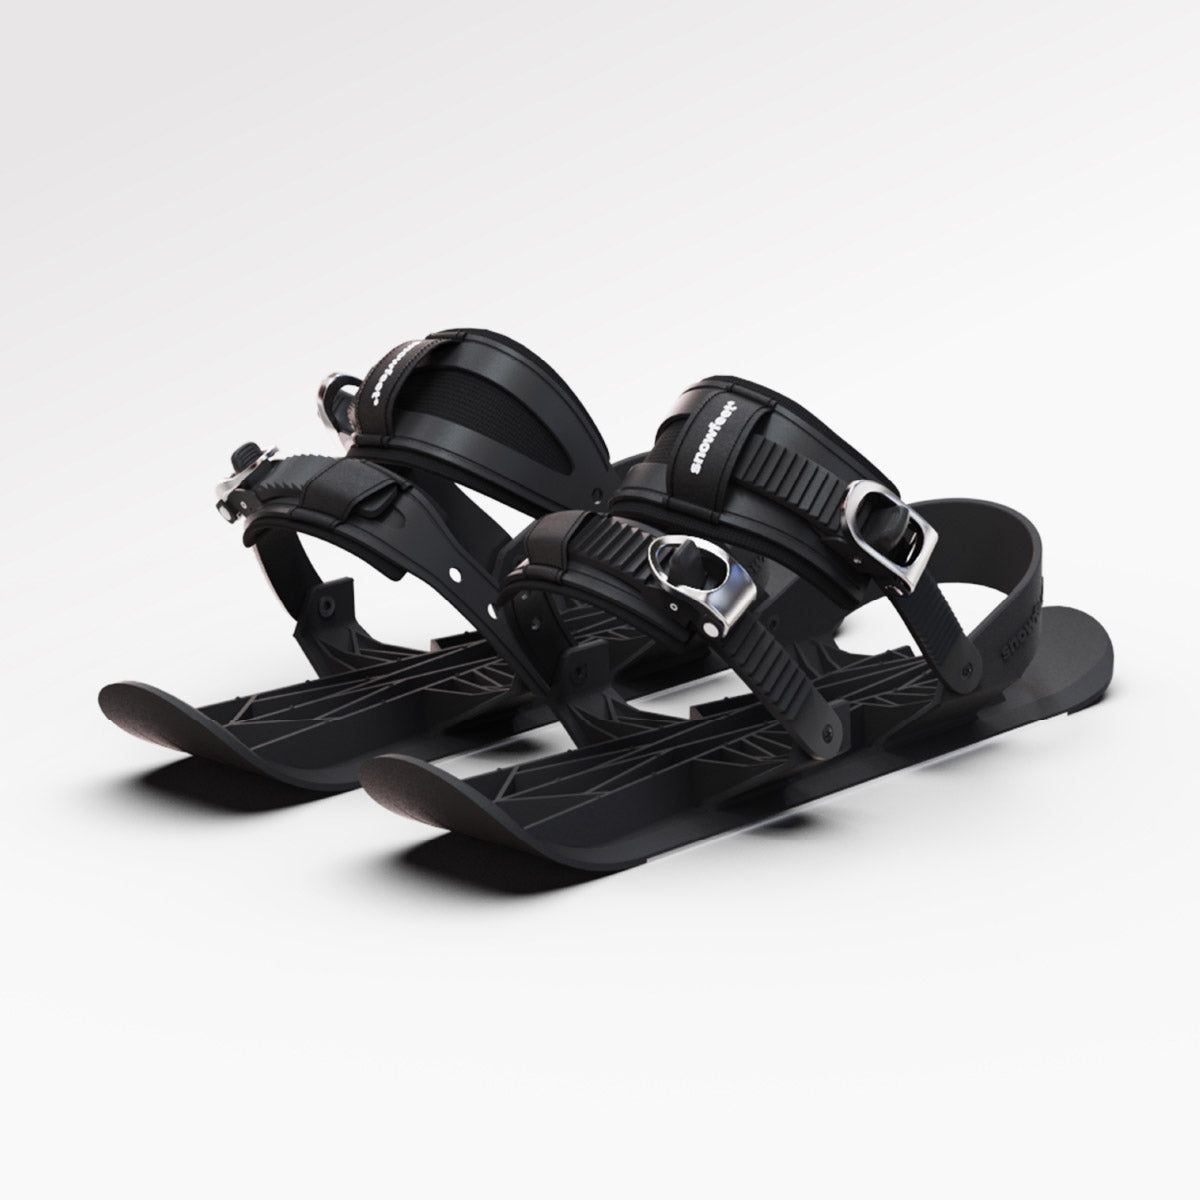
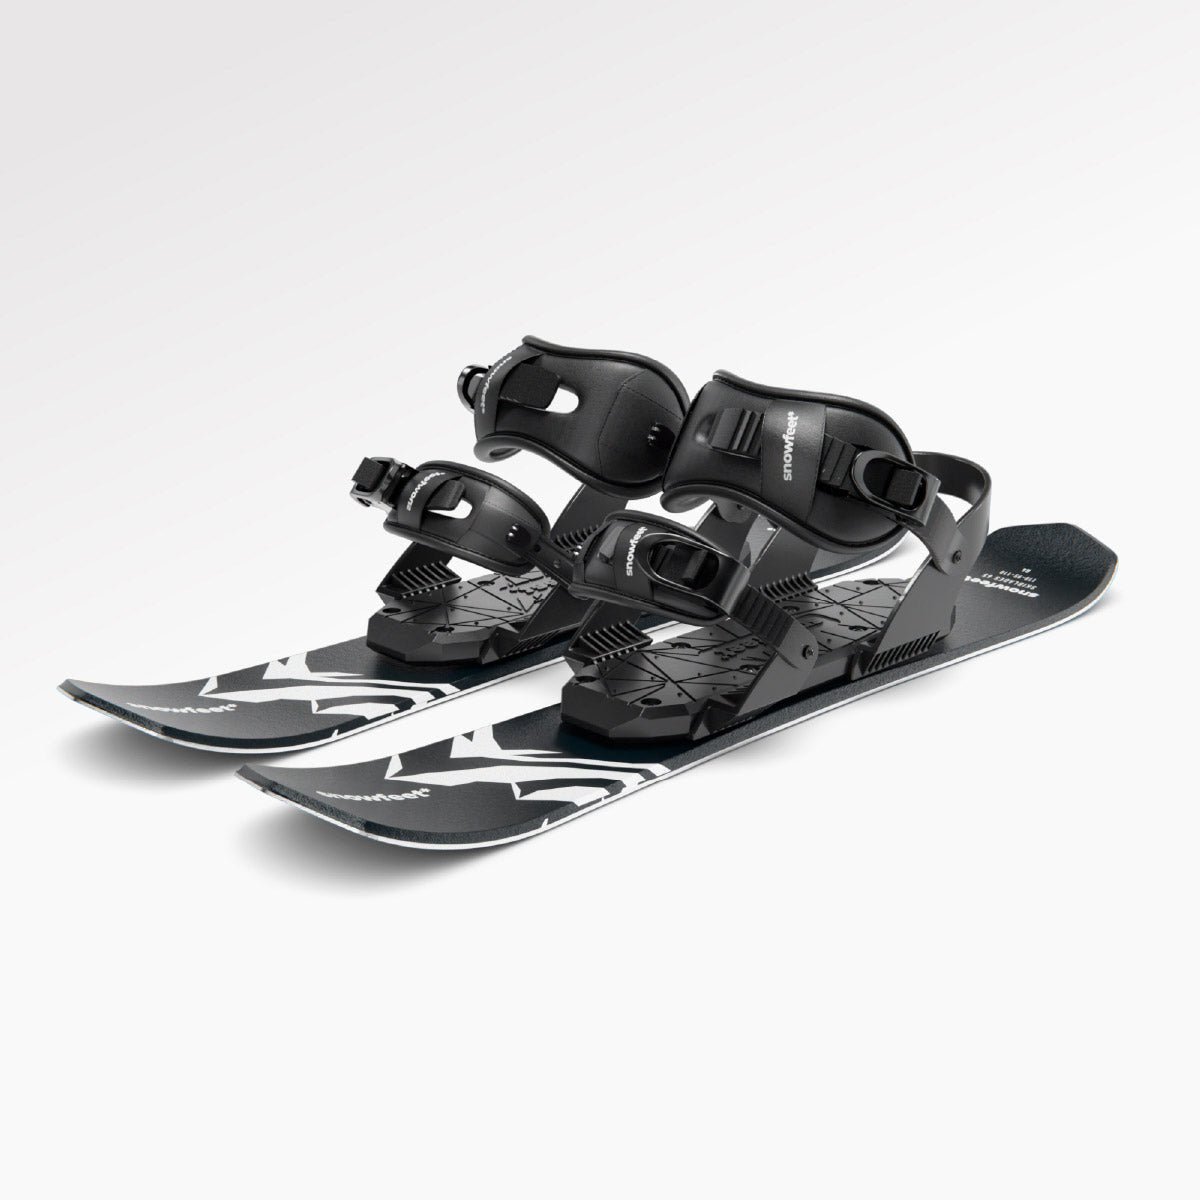
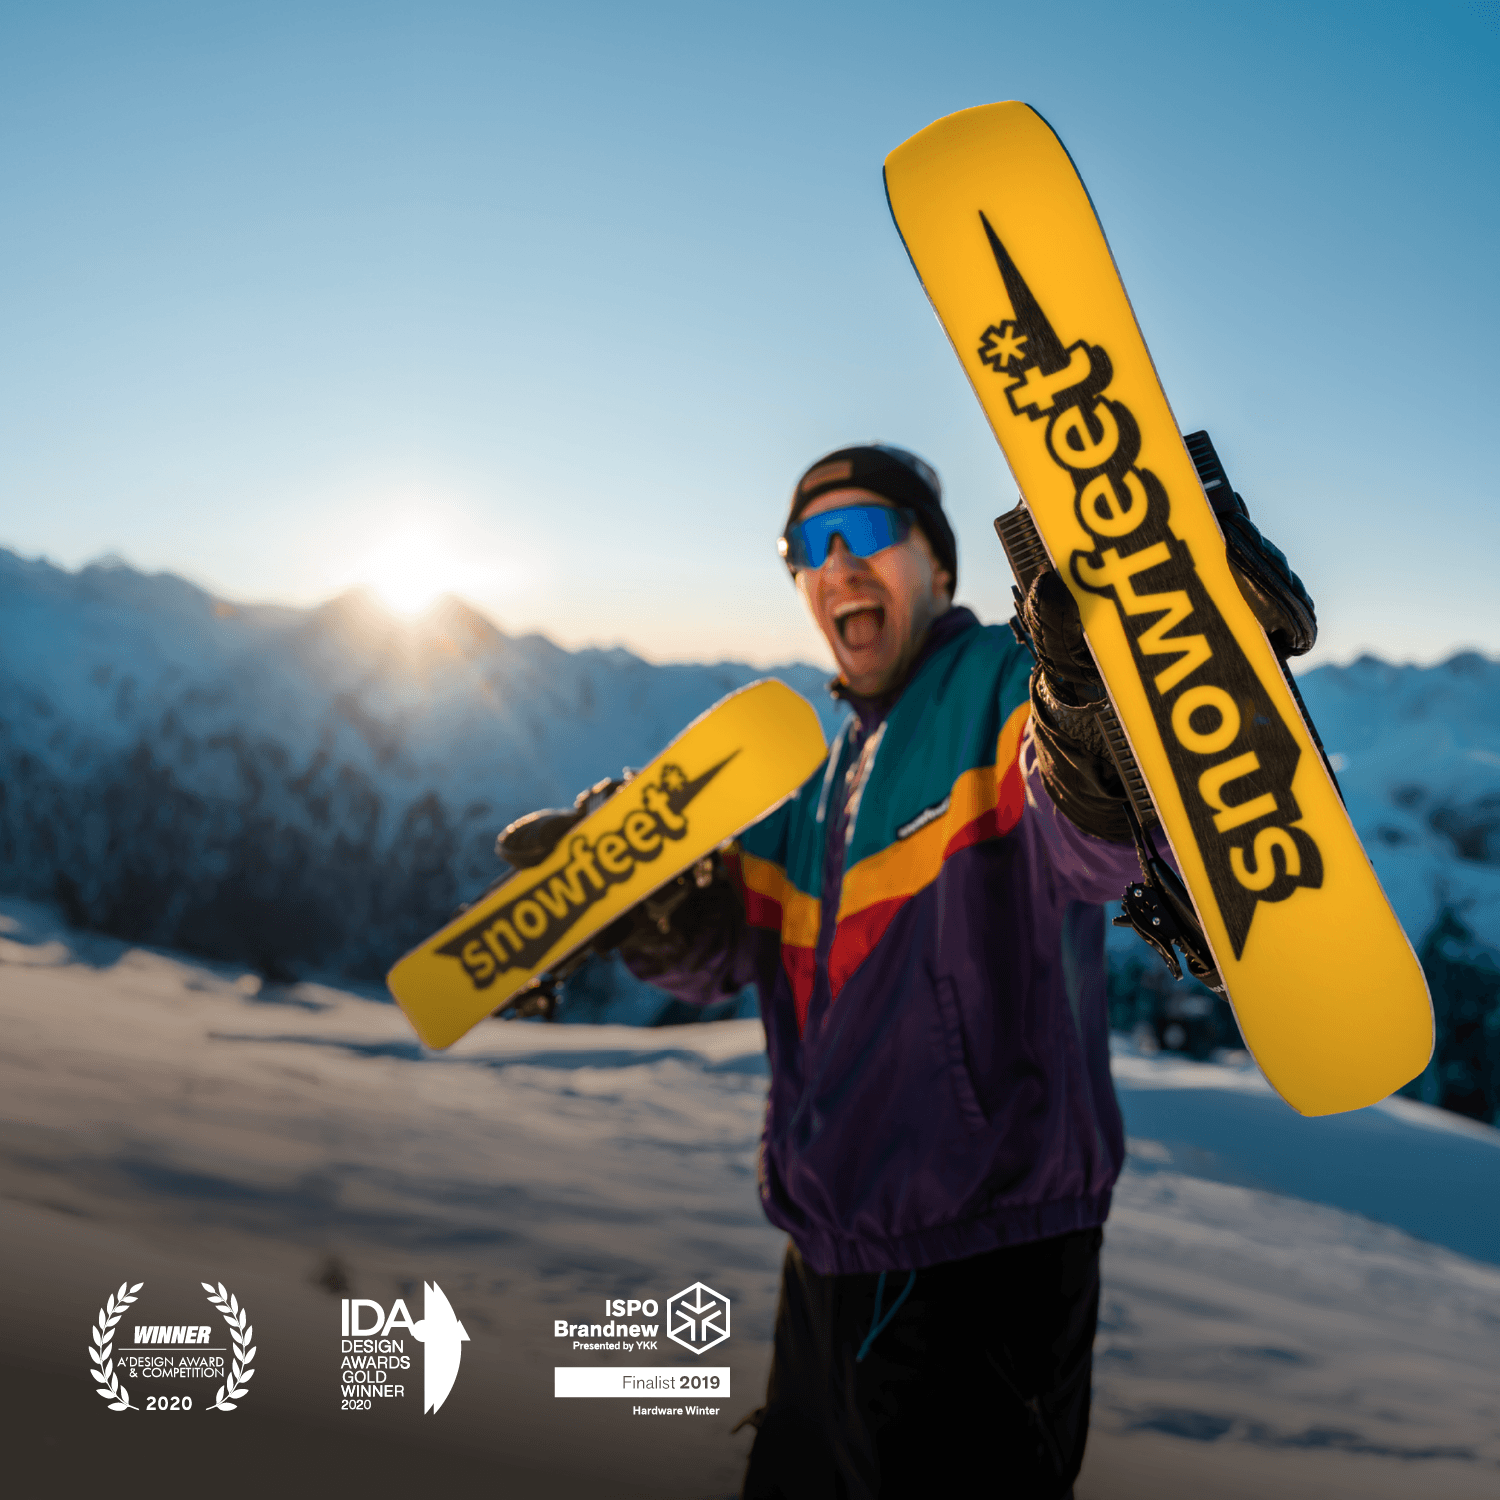
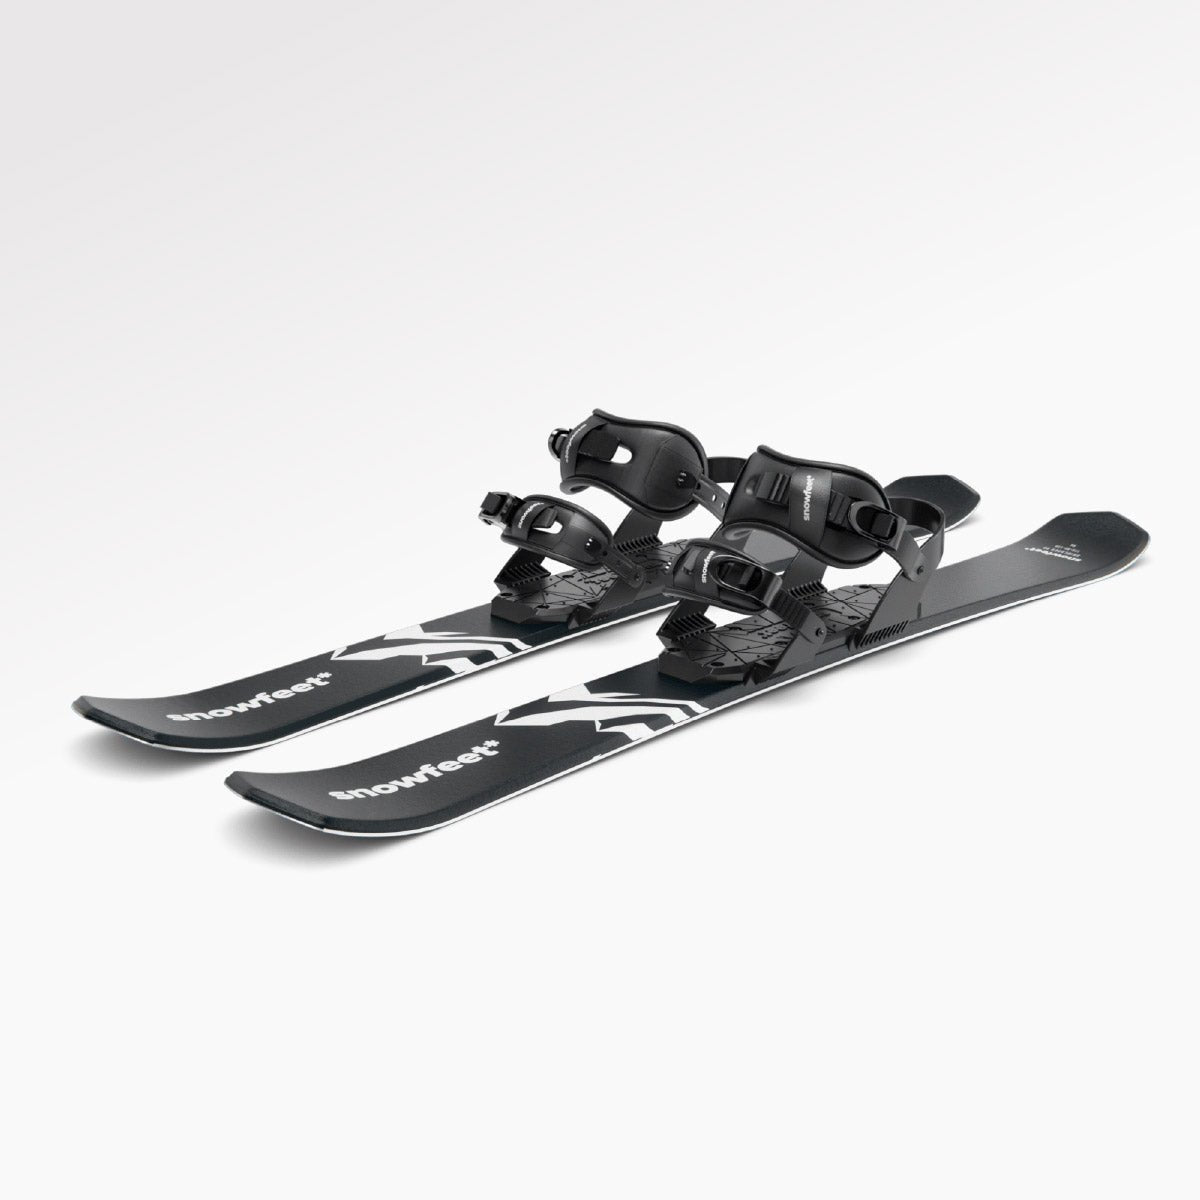
And here’s a gear tip: shorter skis, like Snowfeet Walkski Backcountry Touring Skis (100 cm), offer better control in tight spots, helping you dodge hazards more easily. Stay safe out there!
Terrain Traps Animation
Common Types of Terrain Traps and Their Dangers
When exploring the backcountry, understanding terrain traps can be crucial for staying safe. These natural features can turn even a small avalanche into a serious hazard. Knowing how they work helps with better planning and quicker decision-making when it matters most.
Gullies and Depressions
Gullies and depressions are some of the most dangerous terrain traps. They act like funnels, collecting snow and avalanche debris into deep, concentrated piles. Even a small slide can result in dangerous accumulations in these areas. Creek beds, road cuts, and bowl-shaped depressions are particularly risky because they gather windblown snow, creating unstable conditions that can worsen if an avalanche starts above them.
Tree Wells and Dense Forests
Tree wells are another hidden danger, especially in dense forests. These pockets of loose snow around tree bases can collapse when a skier or snowboarder falls in, making it hard to escape. Dense forests also trap avalanche debris, blocking escape routes and making maneuvering during emergencies much harder. In tight spaces like these, having gear that allows for quick, precise movements is essential.
Cliffs, Rocky Outcrops, and Abrupt Transitions
Cliffs and rocky outcrops add another layer of risk. They not only pose impact dangers during a slide but also act as collection zones for snow and debris. Even small cliffs can lead to serious injuries if you're caught in a slide. Wind-loaded cornices near cliffs can collapse without warning, triggering avalanches. Similarly, abrupt terrain changes - like where a steep slope flattens out - become natural deposit zones for moving snow, increasing the risk of burial. Rocks embedded in snow can also sustain or worsen debris flows, making these areas especially hazardous.
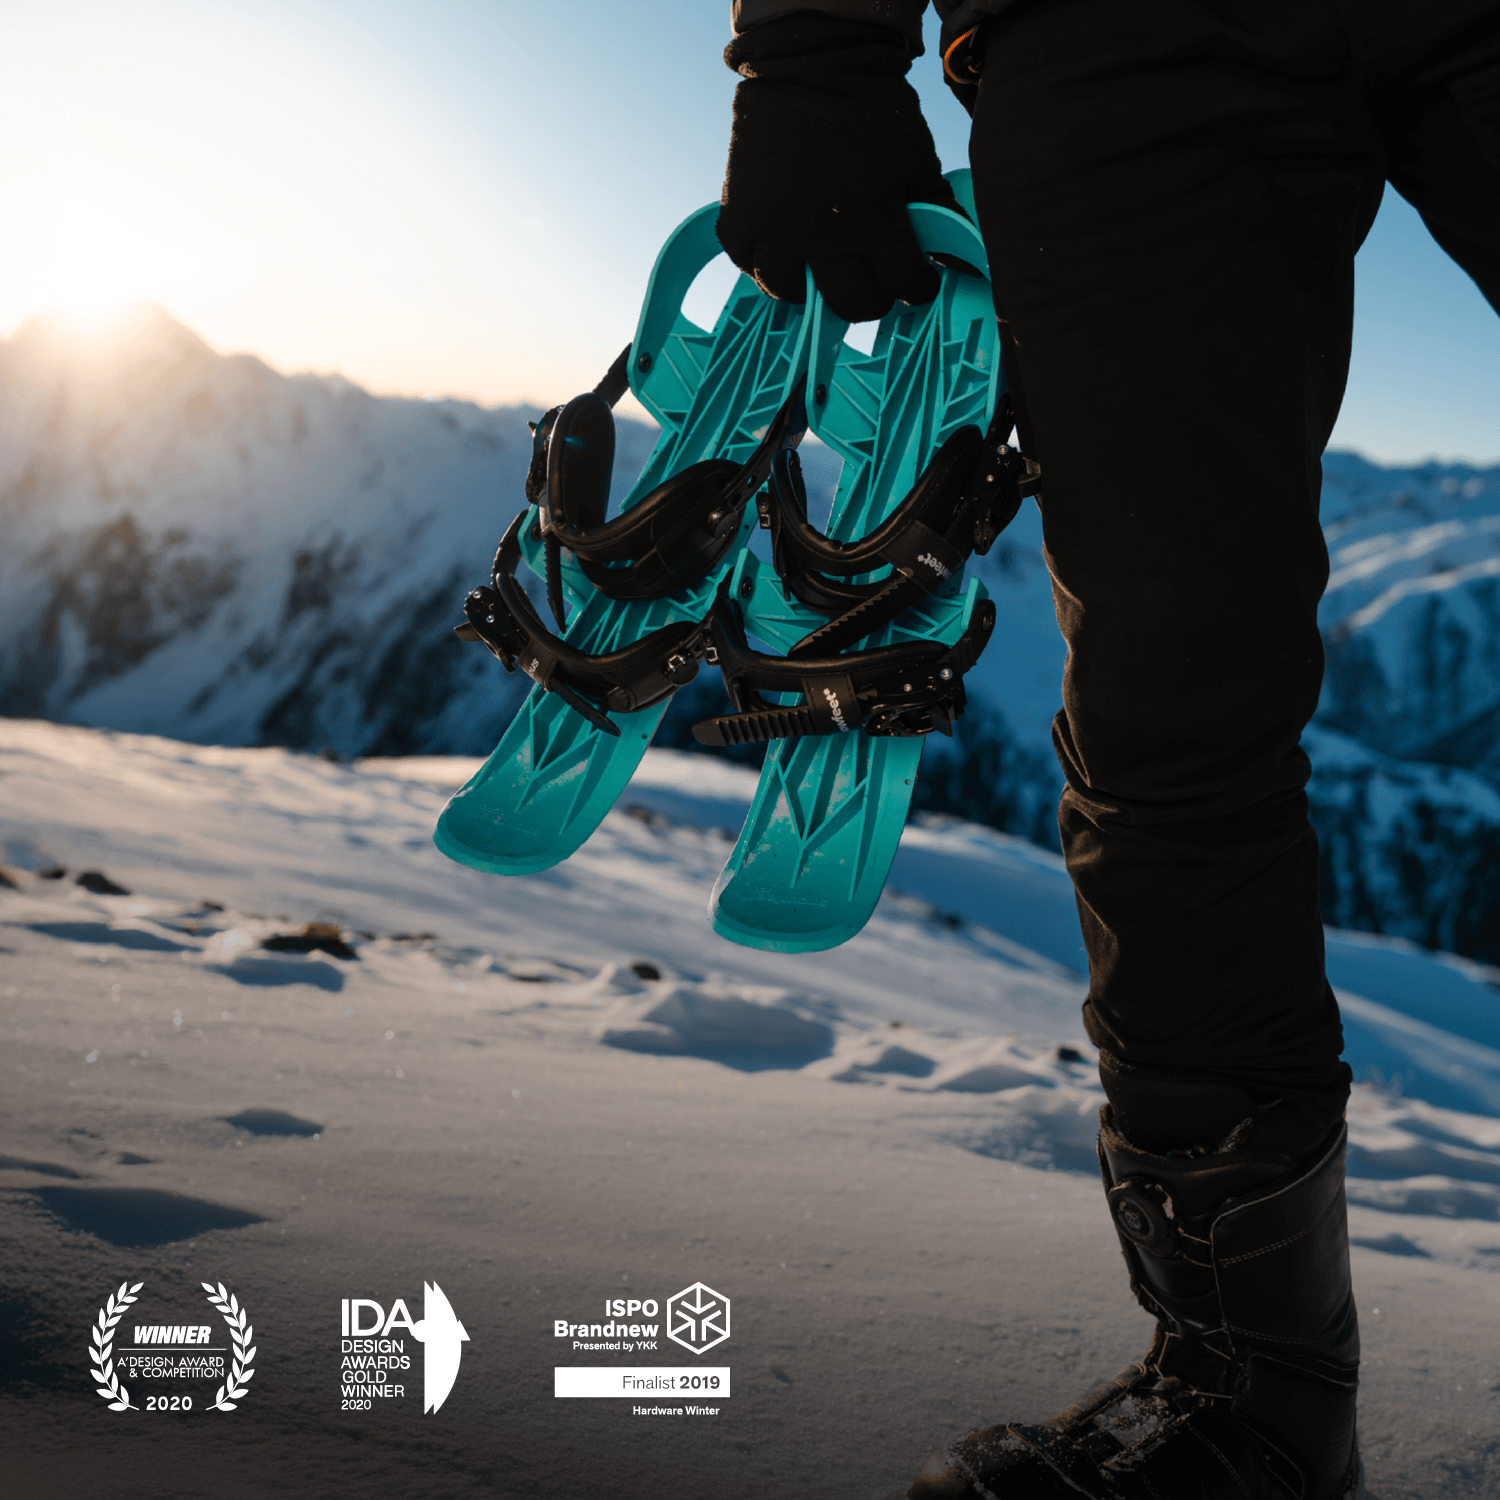
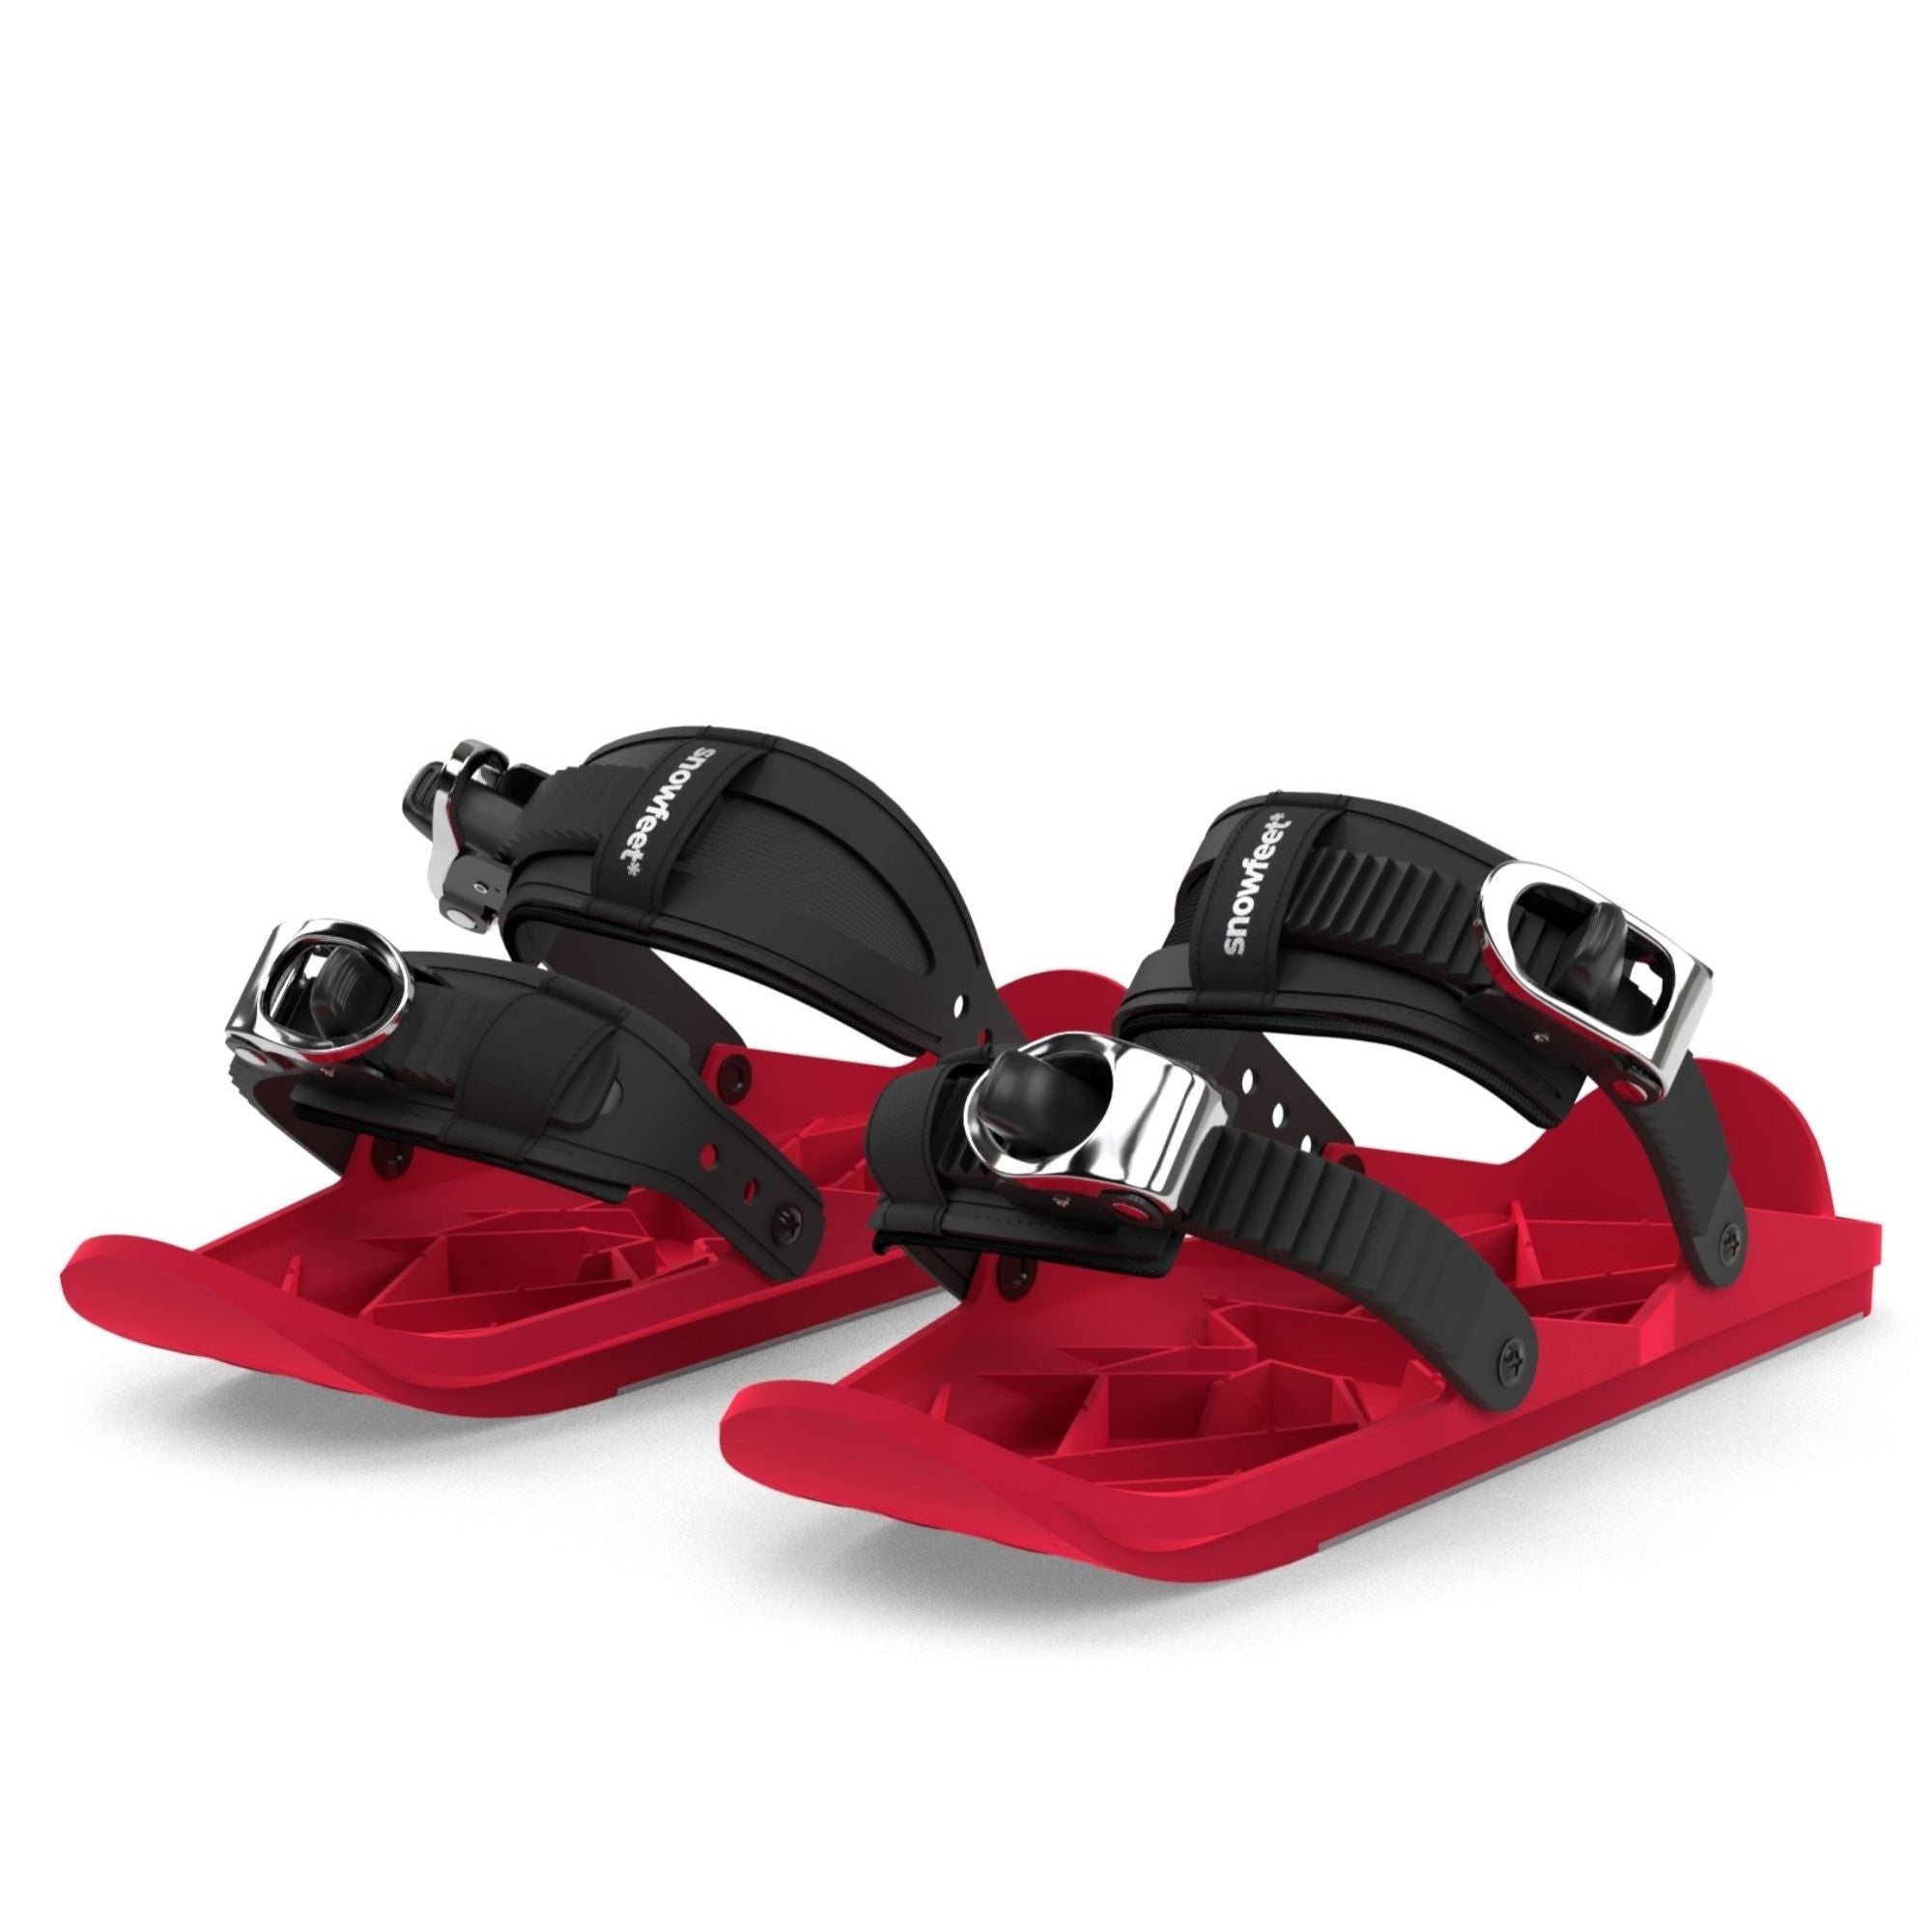
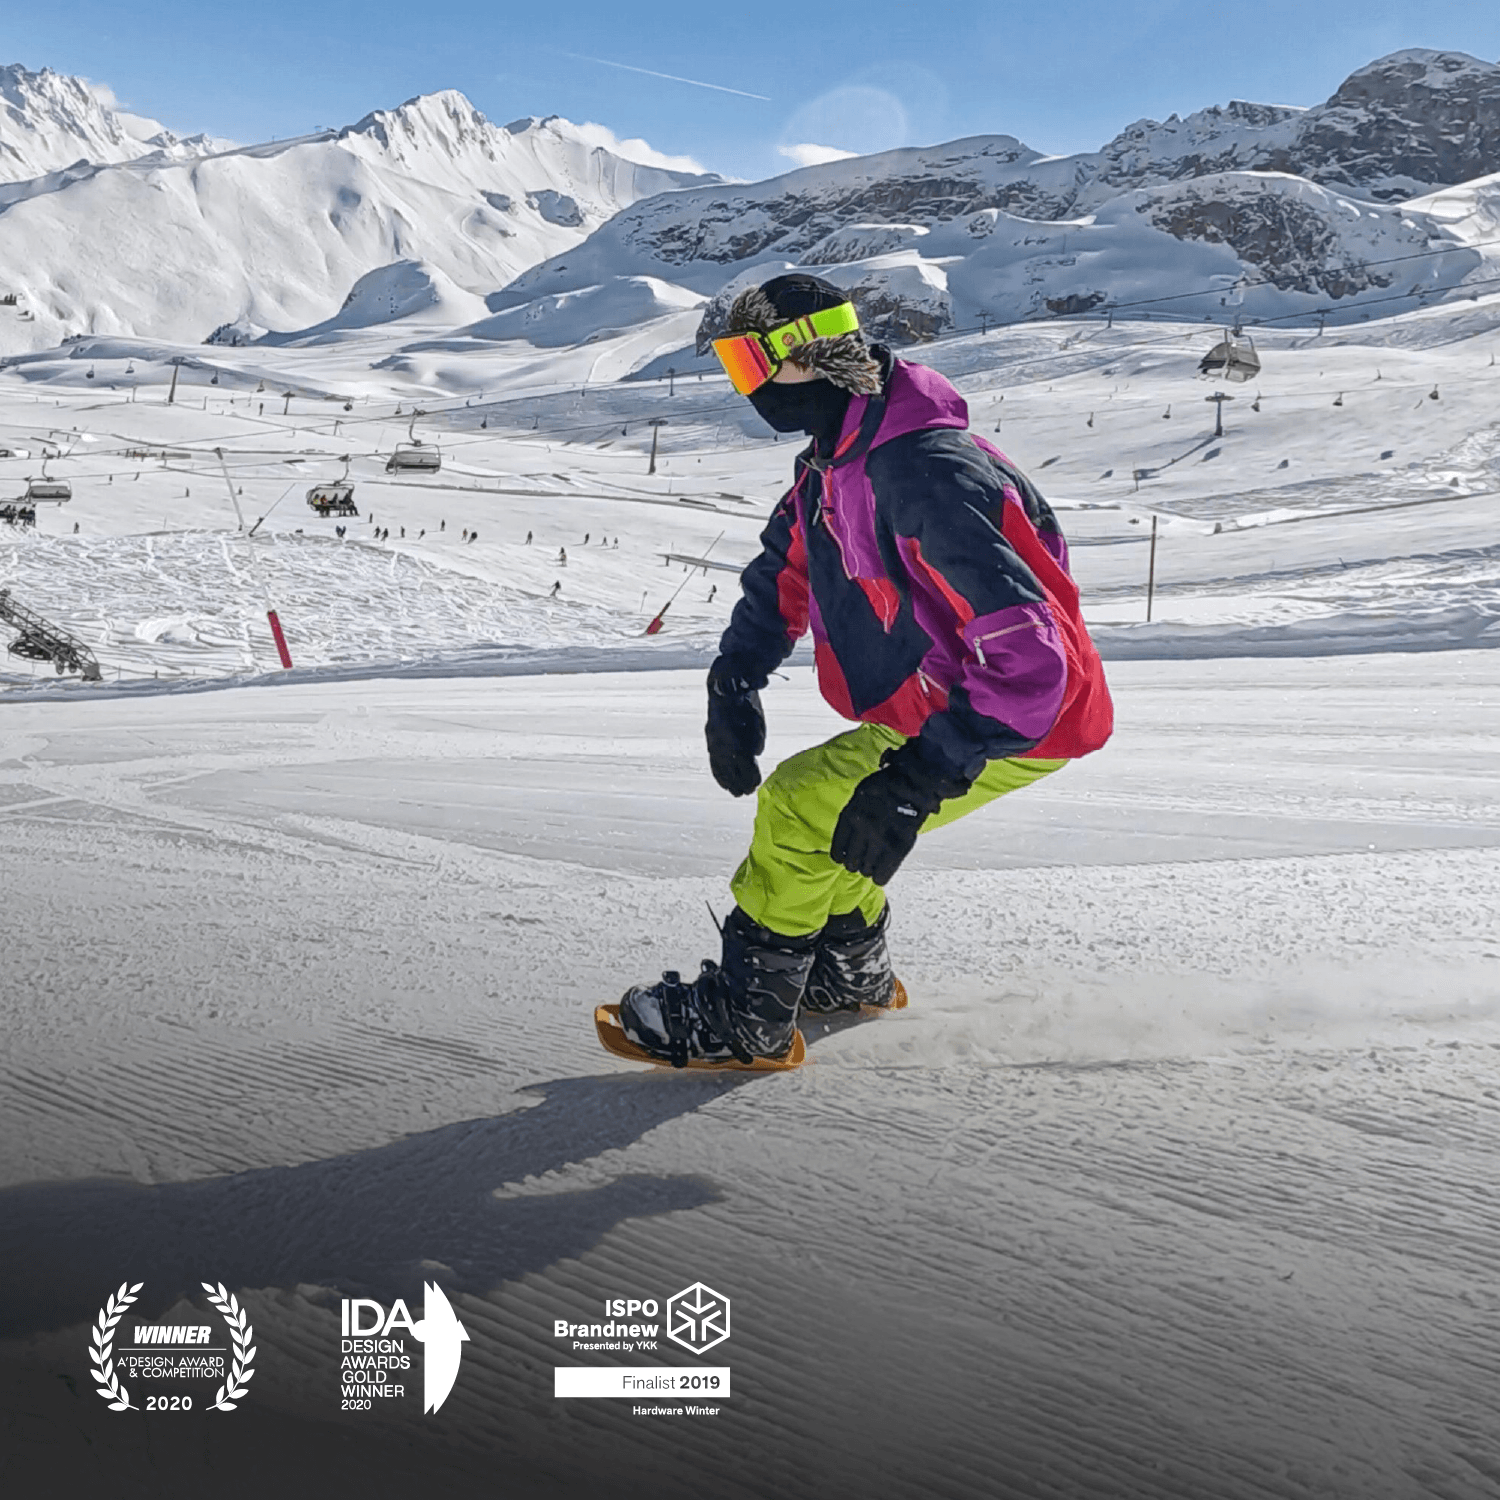
When navigating these tricky spots, having the right gear can make all the difference. For instance, Snowfeet* Walkski's compact design - just 100 cm long - offers the agility needed for quick direction changes in tight or dangerous terrain. This kind of control can be a lifesaver when avoiding terrain traps, giving you an edge over traditional, longer skis.
How to Identify Terrain Traps in the Field
A good topographic map is your best friend when it comes to spotting terrain traps before you’re out in the wild. These maps give you a clear picture of terrain features and steepness - closer contour lines mean steeper slopes. For example, cliffs are easy to recognize on these maps because their contour lines are stacked tightly together. But don’t stop there - pair your map reading with on-site inspections and avalanche forecasts to confirm any hazards.
Using Visual Clues to Spot Terrain Traps
Once you’re out in the field, your eyes become your most important tool. Keep an eye out for obvious signs like depressions, gullies, or creek beds - these can act like funnels for avalanche debris. Notice areas where the snow looks deeper or has been wind-loaded; these spots can be more dangerous. Tree wells, those darker areas around large trees after fresh snowfall, are another clue to watch for.
Certain terrain features naturally collect snow and debris. Things like cliff bands, rocky outcrops, and sudden changes in slope angle are visual red flags. Pay special attention to places where steep slopes flatten out - these are often where avalanche debris piles up.
Reading Topographic Maps for Hazard Zones
Before you even head out, spend some time studying your topographic map. Look for V-shaped contour lines pointing uphill - these indicate gullies or drainage areas, both classic terrain traps. Also, note areas with tightly packed contour lines. These show steep slopes that could feed debris into flatter zones below.
Mark potential escape routes and safe spots on your map. Pay close attention to areas where the terrain narrows or where multiple slopes meet. These convergence zones are especially risky because they can collect debris from several avalanche paths.
Using Avalanche Forecasting Resources
Always check the latest avalanche forecast from your local avalanche center before heading out. These forecasts often highlight specific terrain features to avoid based on current conditions. Many forecasting tools even break it down by slope aspect and elevation, making it easier to plan your route.
Use this forecast information alongside your knowledge of terrain traps. For instance, if the forecast warns about wind-loaded slopes, focus on gullies and depressions on the leeward side of ridges where wind-blown snow tends to gather. By combining terrain analysis with current conditions, you’ll make smarter decisions about where to go and where to avoid. This layered approach is key to staying safe in avalanche terrain.
sbb-itb-17ade95
Methods and Tips to Avoid Terrain Traps
Now that you can identify terrain traps, let’s dive into some practical strategies to keep yourself out of harm’s way. The secret? Smart planning, solid field techniques, and choosing the right gear.
Route Planning and Path Selection
When mapping out your backcountry route, stick to high ground whenever possible. Ridgelines are your best friend - they naturally steer you clear of gullies, creek beds, and other low-lying areas where avalanche debris tends to pile up. If you do need to cross hazardous terrain, take the time to identify the shortest, safest crossing points and plan your escape routes ahead of time.
Opt for open slopes with clear runouts. These spaces give you multiple exit options if conditions take a turn. Avoid shortcuts through narrow gullies or dense tree clusters - they might save you a few minutes but could put you in serious danger. Use a topographic map to pinpoint areas where slopes funnel into debris zones, and reroute to avoid steep-walled depressions or sharp transitions. Finally, make sure your group is spaced out properly as you navigate these safer paths.
Group Spacing and Communication
Spacing out your group is critical - never let more than one person be exposed to a terrain trap at the same time. For example, if someone is crossing a gully or navigating a tricky section, the rest of the group should wait in a safe spot until it’s clear.
Good communication is just as important. Assign roles within the group to keep things organized, and establish clear protocols before setting out. Radios are great for longer distances, but don’t rely on them completely - batteries die, and signals can fail. Instead, teach your group simple hand signals and agree on specific regrouping points along the route. And whatever you do, don’t stop or regroup in or below known terrain traps.
Research from avalanche safety organizations shows that proper spacing and route planning can dramatically lower the risk of multiple burials and improve survival rates during avalanche incidents. These practices also set the stage for using Snowfeet* to navigate tricky terrain with greater agility.
Using Snowfeet* for Safer Navigation

Even with the best planning and communication, having the right gear can make all the difference. This is where Snowfeet* comes into play. Their compact design offers a level of responsiveness that traditional long skis or bulky snowboards just can’t match.
In tight spots like dense forests or narrow gullies, shorter skis give you more control. With the Snowfeet* Walkski Backcountry Touring Skis (100 cm), you can pull off sharp kick-turns or side-step steep sections where longer skis might box you into dangerous situations. If you need to make a quick escape, their lightweight build reduces fatigue and allows for faster, more precise movements.
What’s more, shorter skis let you pivot quickly, maintain a lower center of gravity for better stability, and, if needed, you can remove them in a snap during an emergency. While longer skis might offer extra float in deep powder, the agility of Snowfeet* shines when navigating the tight, complex terrain where traps often hide. They let you ski with a defensive mindset, keeping multiple exit options open instead of locking you into wide, sweeping turns that could lead straight into trouble.
Comparing Snowfeet* to Long Skis and Snowboards
When you're exploring backcountry terrain, the gear you choose can make all the difference - sometimes even between a near miss and a serious accident. Long skis and snowboards have been the go-to for open slopes and deep powder for years. But when it comes to the tight, technical demands of modern backcountry skiing, they might not be the best fit.
Long skis, typically 160–190 cm (63–75 inches) in length, are built for cruising down wide, open runs. Snowboards, with their side-on stance, can limit your peripheral vision and make quick reactions harder in tricky terrain. Both require plenty of space to turn and can feel clunky when you're trying to dodge obstacles or maneuver through narrow spots. Their larger turning radius makes quick adjustments tough, which isn't ideal when you're navigating hazardous areas.
Why Snowfeet* Shines in Tight, Hazardous Terrain
Snowfeet* offers a solution for those moments when agility and control are critical. Here's a quick comparison of its features against traditional skis and snowboards:
| Feature | Snowfeet* | Traditional Skis/Snowboards |
|---|---|---|
| Maneuverability | Short length allows sharp turns and quick direction changes | Larger turning radius, better suited for wide-open areas |
| Portability | Compact and lightweight, fits in a backpack | Bulky and heavy, difficult to carry over rough terrain |
| Ease of Learning | Quick to pick up, letting you focus on safety | Steeper learning curve, requiring more practice |
| Price | $675 for Walkski Backcountry Touring Skis | Over $1,000 for a full backcountry setup |
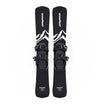
Snowfeet* Walkski Backcountry Touring Skis, at about 100 cm (39 inches) long, are perfect for sharp kick-turns in narrow spaces. When you're faced with a hidden creek bed or an unexpected slope, their shorter length lets you pivot quickly instead of getting stuck in a potentially dangerous spot.
Portability is another big win for Snowfeet*. Backcountry adventures often mix skiing with hiking and scrambling, and lugging around heavy, traditional gear can drain your energy before you even reach the fun part. Snowfeet* products are lightweight and compact enough to stash in your backpack, keeping your hands free and your energy focused on the trail ahead.
Then there’s the learning curve. Snowfeet* is easier to master, which means you can spend more time focusing on the terrain and less time wrestling with your gear. This is especially important in backcountry settings, where changing snow conditions and unpredictable weather demand your full attention.
And let’s talk about cost. A high-quality backcountry setup with traditional skis, bindings, boots, and safety gear can easily top $1,000. Snowfeet* Walkski Backcountry Touring Skis, on the other hand, come in at $675, offering a more affordable option without sacrificing safety or performance. This makes it easier for more people to access the right gear and avoid the risks of heading out with equipment that’s not up to the task.
When you're dealing with terrain traps and unpredictable conditions, the ability to pivot quickly and maintain control isn’t just a nice-to-have - it’s essential. While traditional gear might shine in open powder fields, Snowfeet* is built to handle the tight, technical challenges of backcountry skiing with confidence and ease.
Key Takeaways for Safer Backcountry Skiing
Staying safe in the backcountry means honing your ability to adapt to fast-changing conditions. Often, the line between an epic day and a dangerous one comes down to spotting warning signs early and having the right tools to handle the situation.
Preparation is your best defense. Always carry essential safety gear like a beacon, probe, and shovel. This combo isn’t just about being prepared - it’s about being ready to manage hazards effectively.
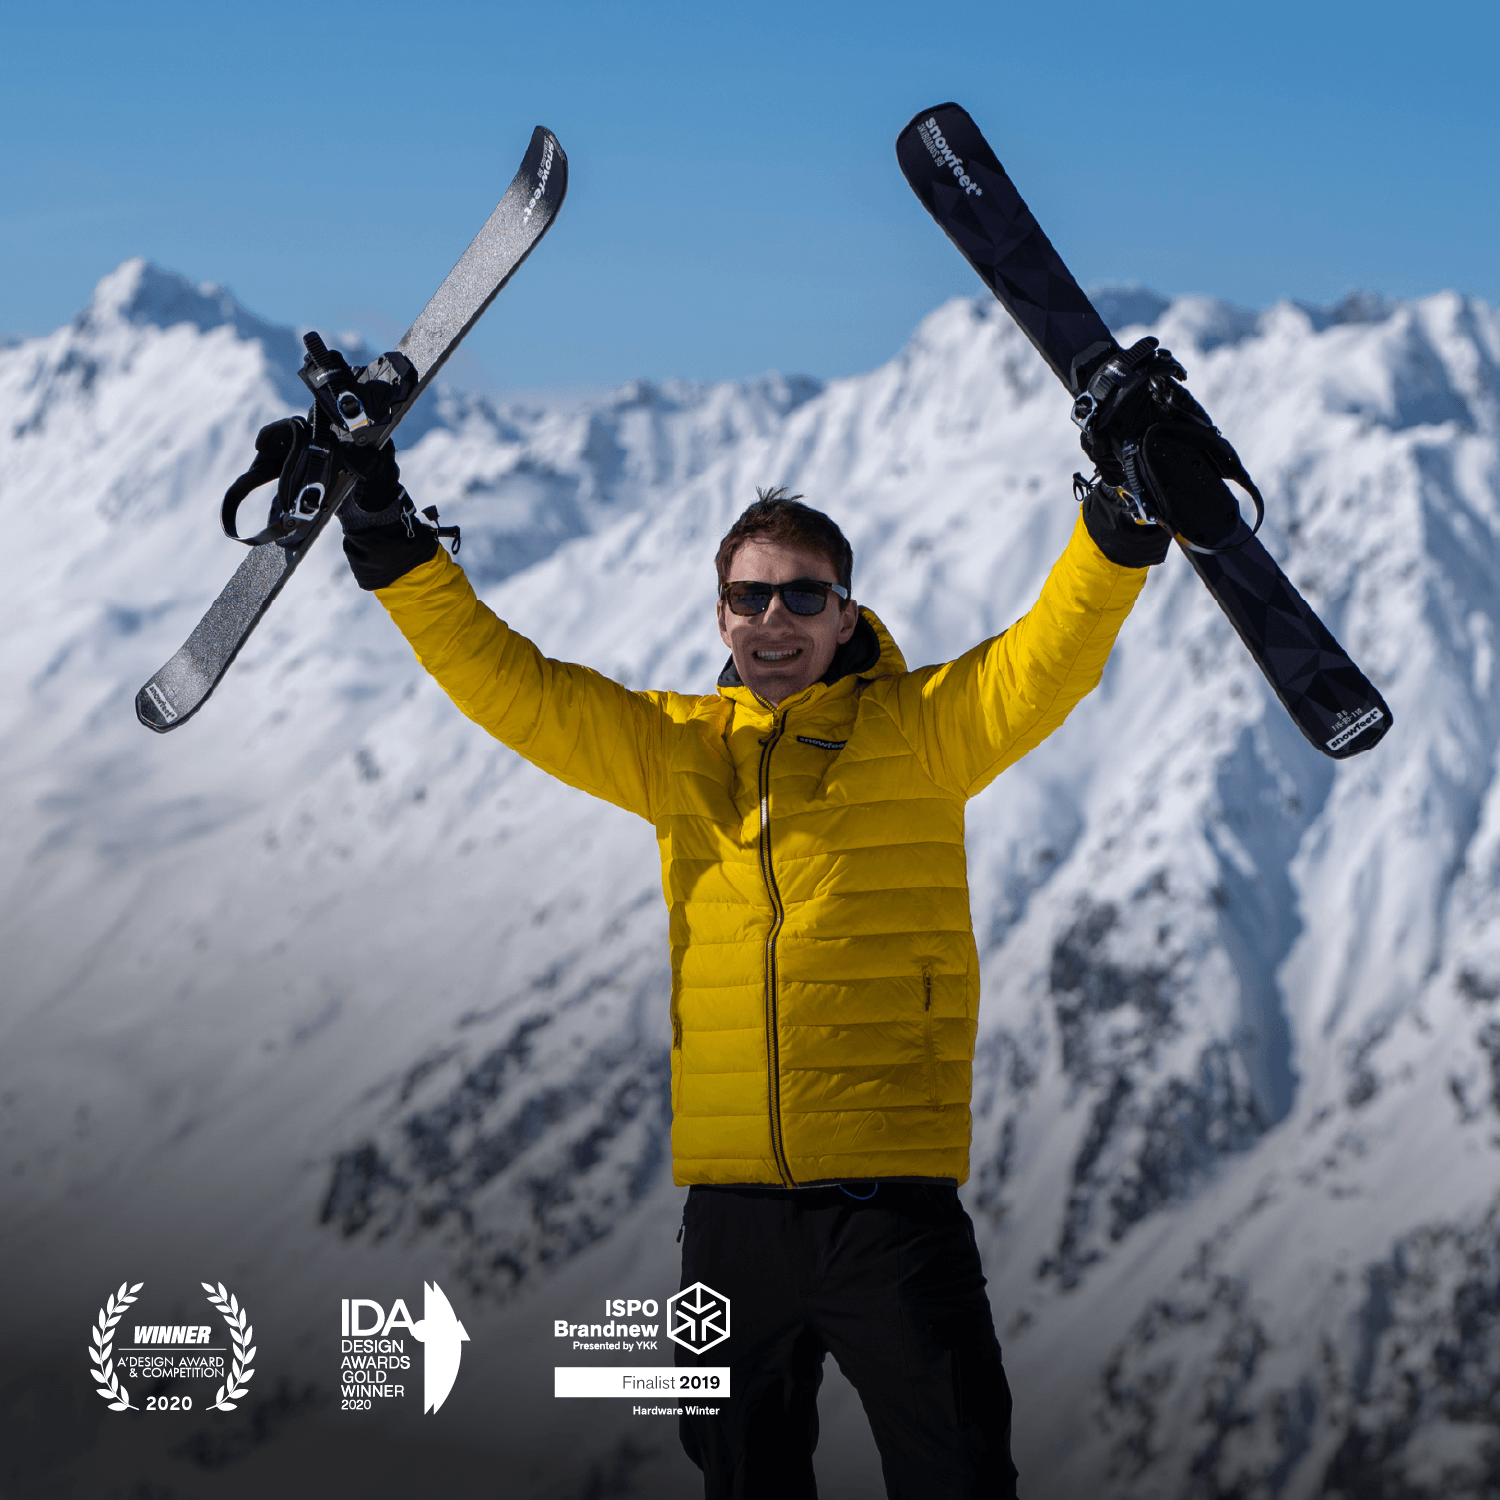
When it comes to tricky terrain, agility can make all the difference. For example, navigating out of a terrain trap or avoiding a wind slab often requires quick, precise movements. That’s where Snowfeet* shines. With their compact 100 cm length, they allow for sharper, faster turns compared to traditional skis or snowboards. In tight, technical spots, long skis or boards can feel like a liability, but Snowfeet* gives you the edge to pivot and react with confidence.
As mentioned earlier, Snowfeet* offers a level of agility that’s hard to match, making them a smart choice for navigating hazardous terrain. But gear alone isn’t enough. Group coordination and communication play a critical role. Always maintain visual contact with your group, space yourselves appropriately, and use clear hand signals to stay connected. The goal isn’t to charge boldly through danger - it’s to avoid it or handle it safely when you have no other choice.
The backcountry will always come with risks, but combining knowledge, preparation, and the right equipment can significantly lower those risks. In this environment, every decision matters. With the right mindset, solid gear, and disciplined teamwork, you’re not just skiing better - you’re ensuring you make it home safely every time.
FAQs
How can I use topographic maps and visual clues to spot and avoid terrain traps while backcountry skiing?
To spot terrain traps in the backcountry, start by examining topographic maps. Look for features like steep gullies, cliffs, depressions, or tree wells. Pay close attention to contour lines - when they're tightly packed, it usually means steep slopes, which can increase avalanche danger. On the ground, watch for visual cues like sudden changes in terrain, dense clusters of trees, or open pits, as these might indicate potential hazards.
Tools like satellite imagery or terrain analysis can be incredibly helpful for evaluating slope angles, aspects, and other risky areas before you head out. Pairing these insights with the right gear, like Snowfeet Walkski Backcountry Touring Skis*, can give you more control and make navigating tricky terrain a bit safer. Preparation is key - stay aware of your surroundings to enjoy a safer backcountry adventure.
What makes Snowfeet Walkski Backcountry Touring Skis better than traditional long skis or snowboards for navigating tight or hazardous terrain?
Snowfeet Walkski Backcountry Touring Skis are built to shine where traditional long skis and snowboards often fall short. With a compact length of just 100 cm, they’re incredibly easy to handle, making tight spots, dense forests, and rugged terrain much less intimidating. They’re perfect for steering clear of tricky hazards like tree wells, gullies, and other terrain traps.
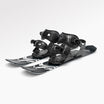
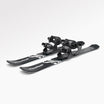
Crafted from fiberglass-reinforced materials, these skis strike a solid balance between strength and flexibility. Plus, the integrated bindings make uphill travel simpler and give you better control on the way down. Unlike bulkier traditional gear, Snowfeet Walkski Touring Skis combine agility, safety, and user-friendly design, giving backcountry adventurers the tools to handle tough conditions with confidence. Whether you're a seasoned pro or just dipping your toes into backcountry skiing, these skis provide a practical and versatile option.
What essential safety gear should I bring to stay prepared for avalanche risks while backcountry skiing?
To stay safe in areas prone to avalanches, always have the basics: an avalanche transceiver, a snow probe, and a snow shovel. These tools are crucial for finding and rescuing someone trapped under the snow. If you want an extra layer of safety, consider using an avalanche airbag - it can help keep you closer to the surface during a slide.
But having the gear isn’t enough. You need to know how to use it. Take the time to practice and get comfortable with your equipment before heading out. Also, using maneuverable skis like the _Snowfeet Walkski Backcountry Touring Skis (100 cm)_* can make navigating tricky terrain a bit easier and give you more confidence in the backcountry.





Leave a comment
This site is protected by hCaptcha and the hCaptcha Privacy Policy and Terms of Service apply.