


Ski bindings connect your boots to your skis and are essential for safety and performance. Here’s what you need to know:
-
Types of Bindings:
- Alpine Bindings: Best for downhill skiing; feature DIN-certified safety mechanisms.
- Touring Bindings: Lightweight for uphill and downhill; require special boots.
- Telemark Bindings: Allow free-heel movement for telemark skiing.
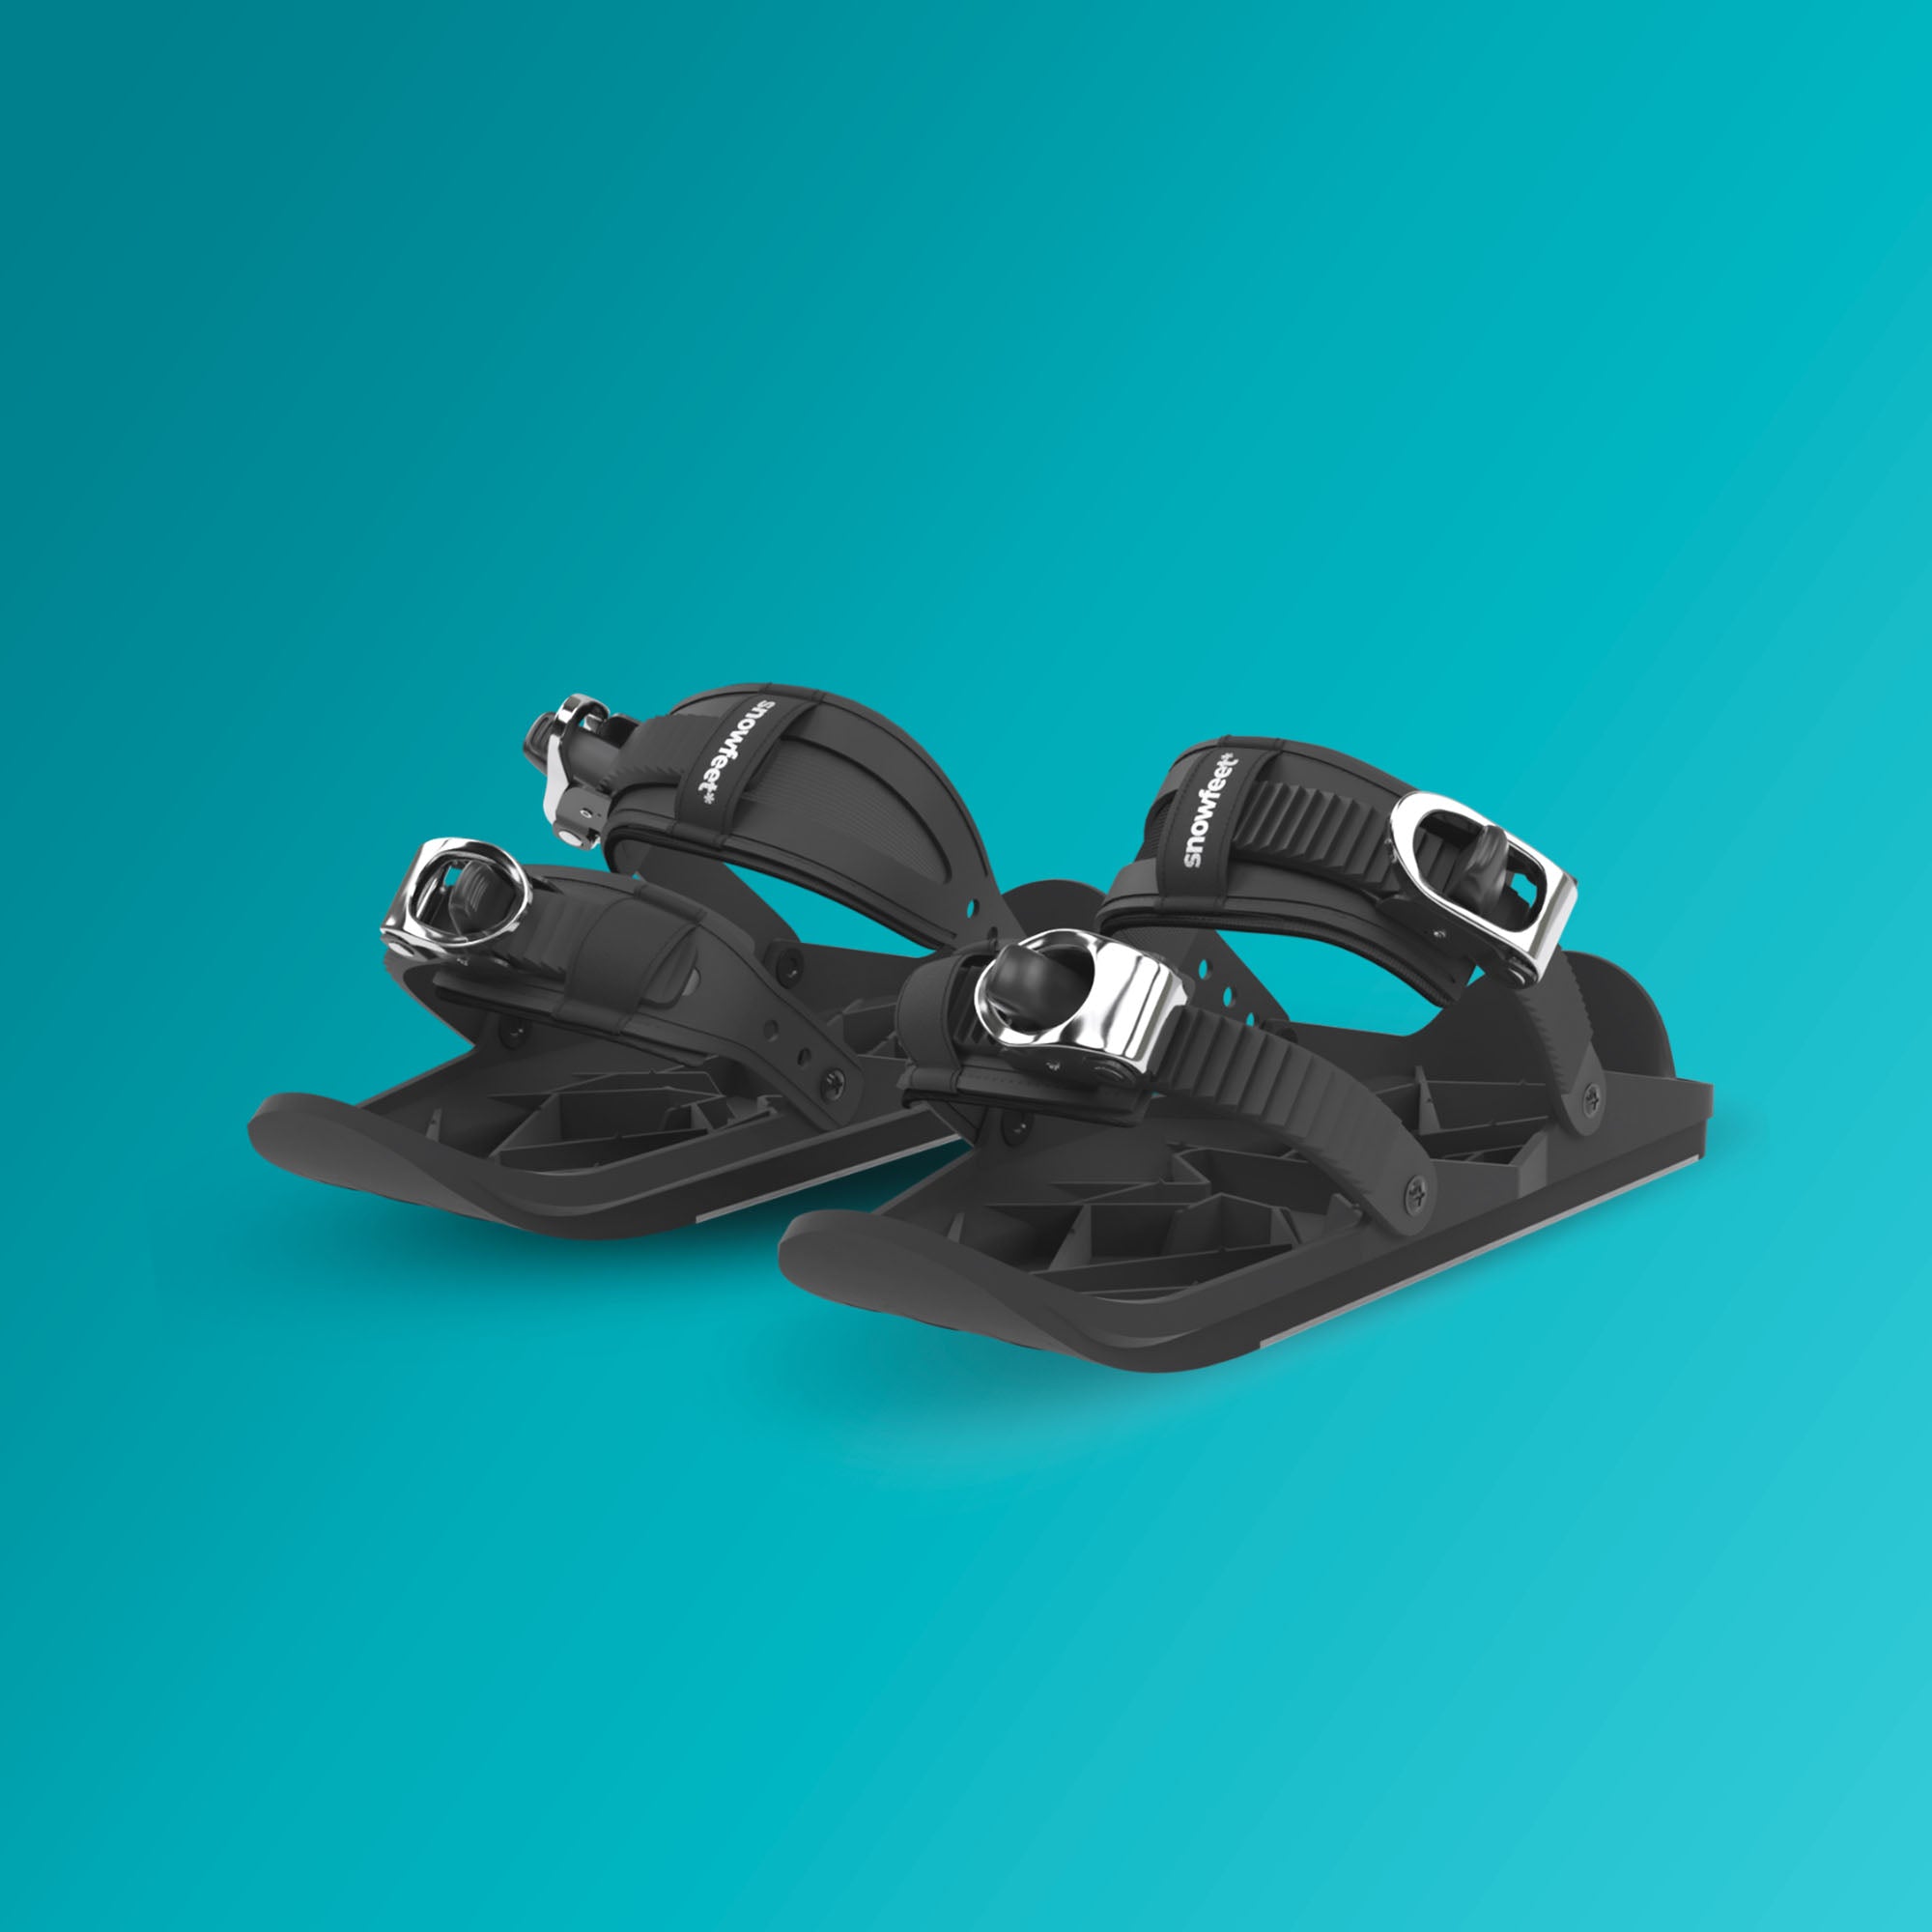
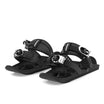
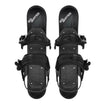
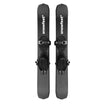
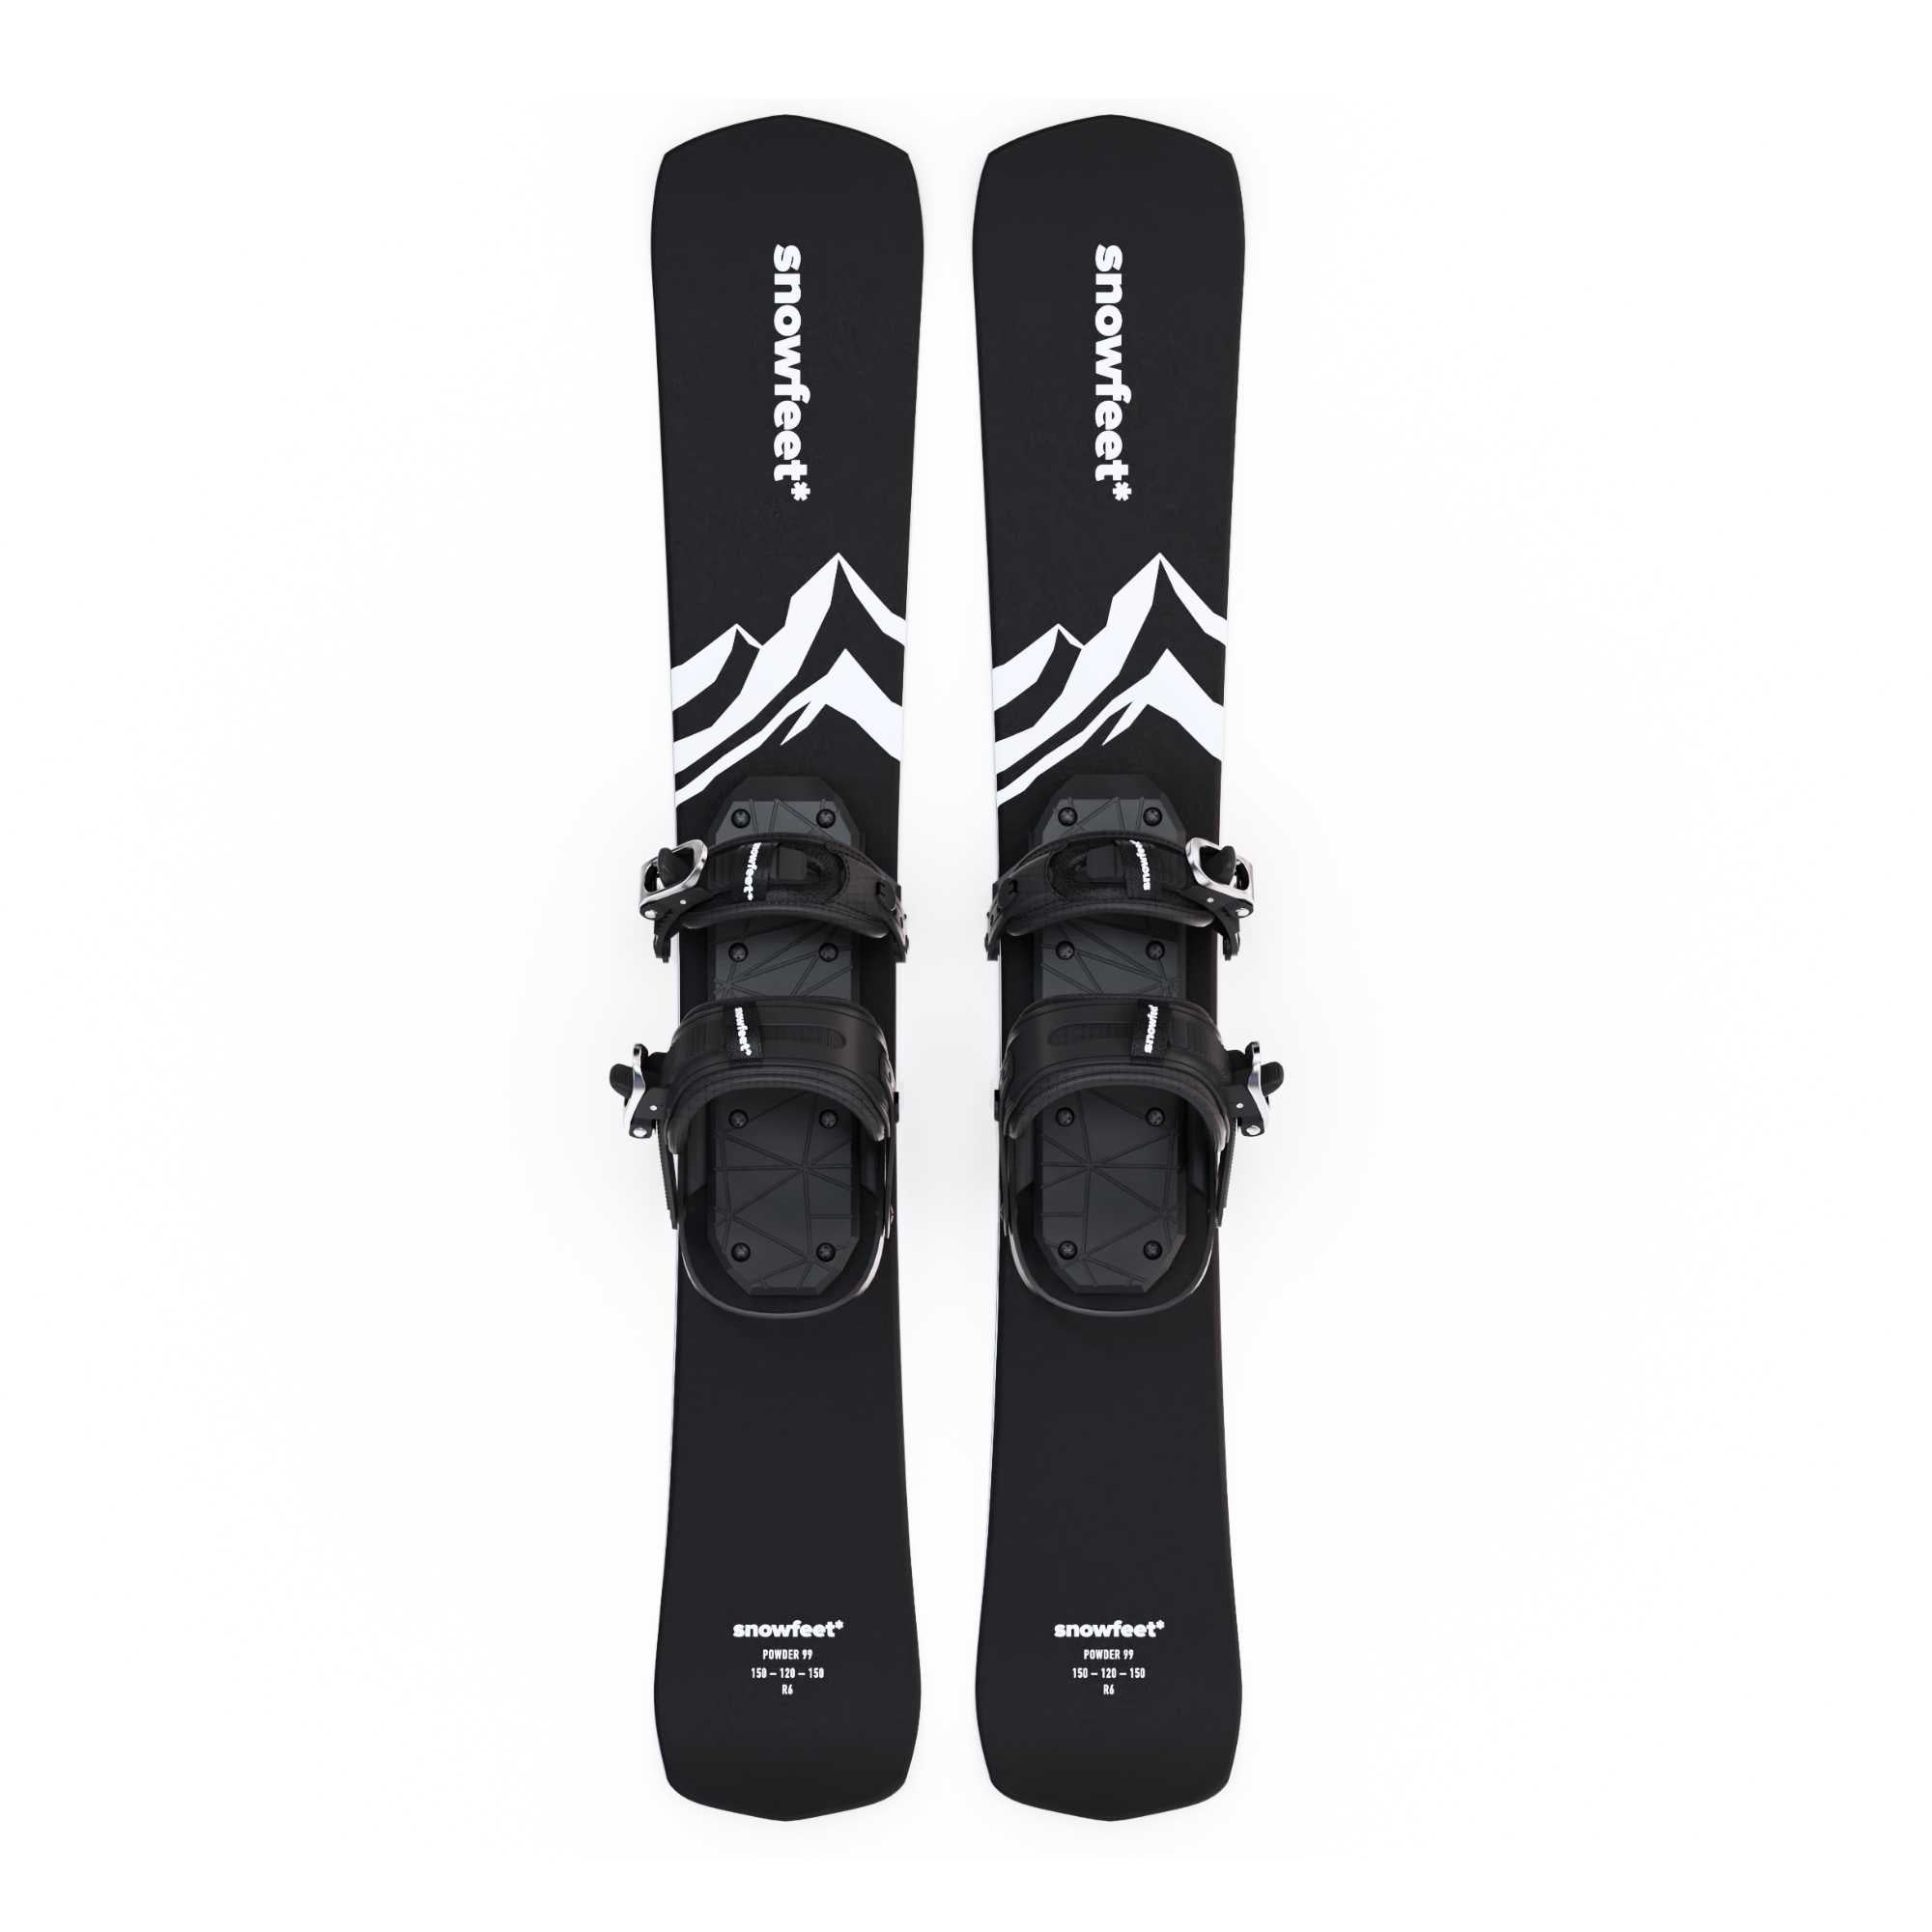
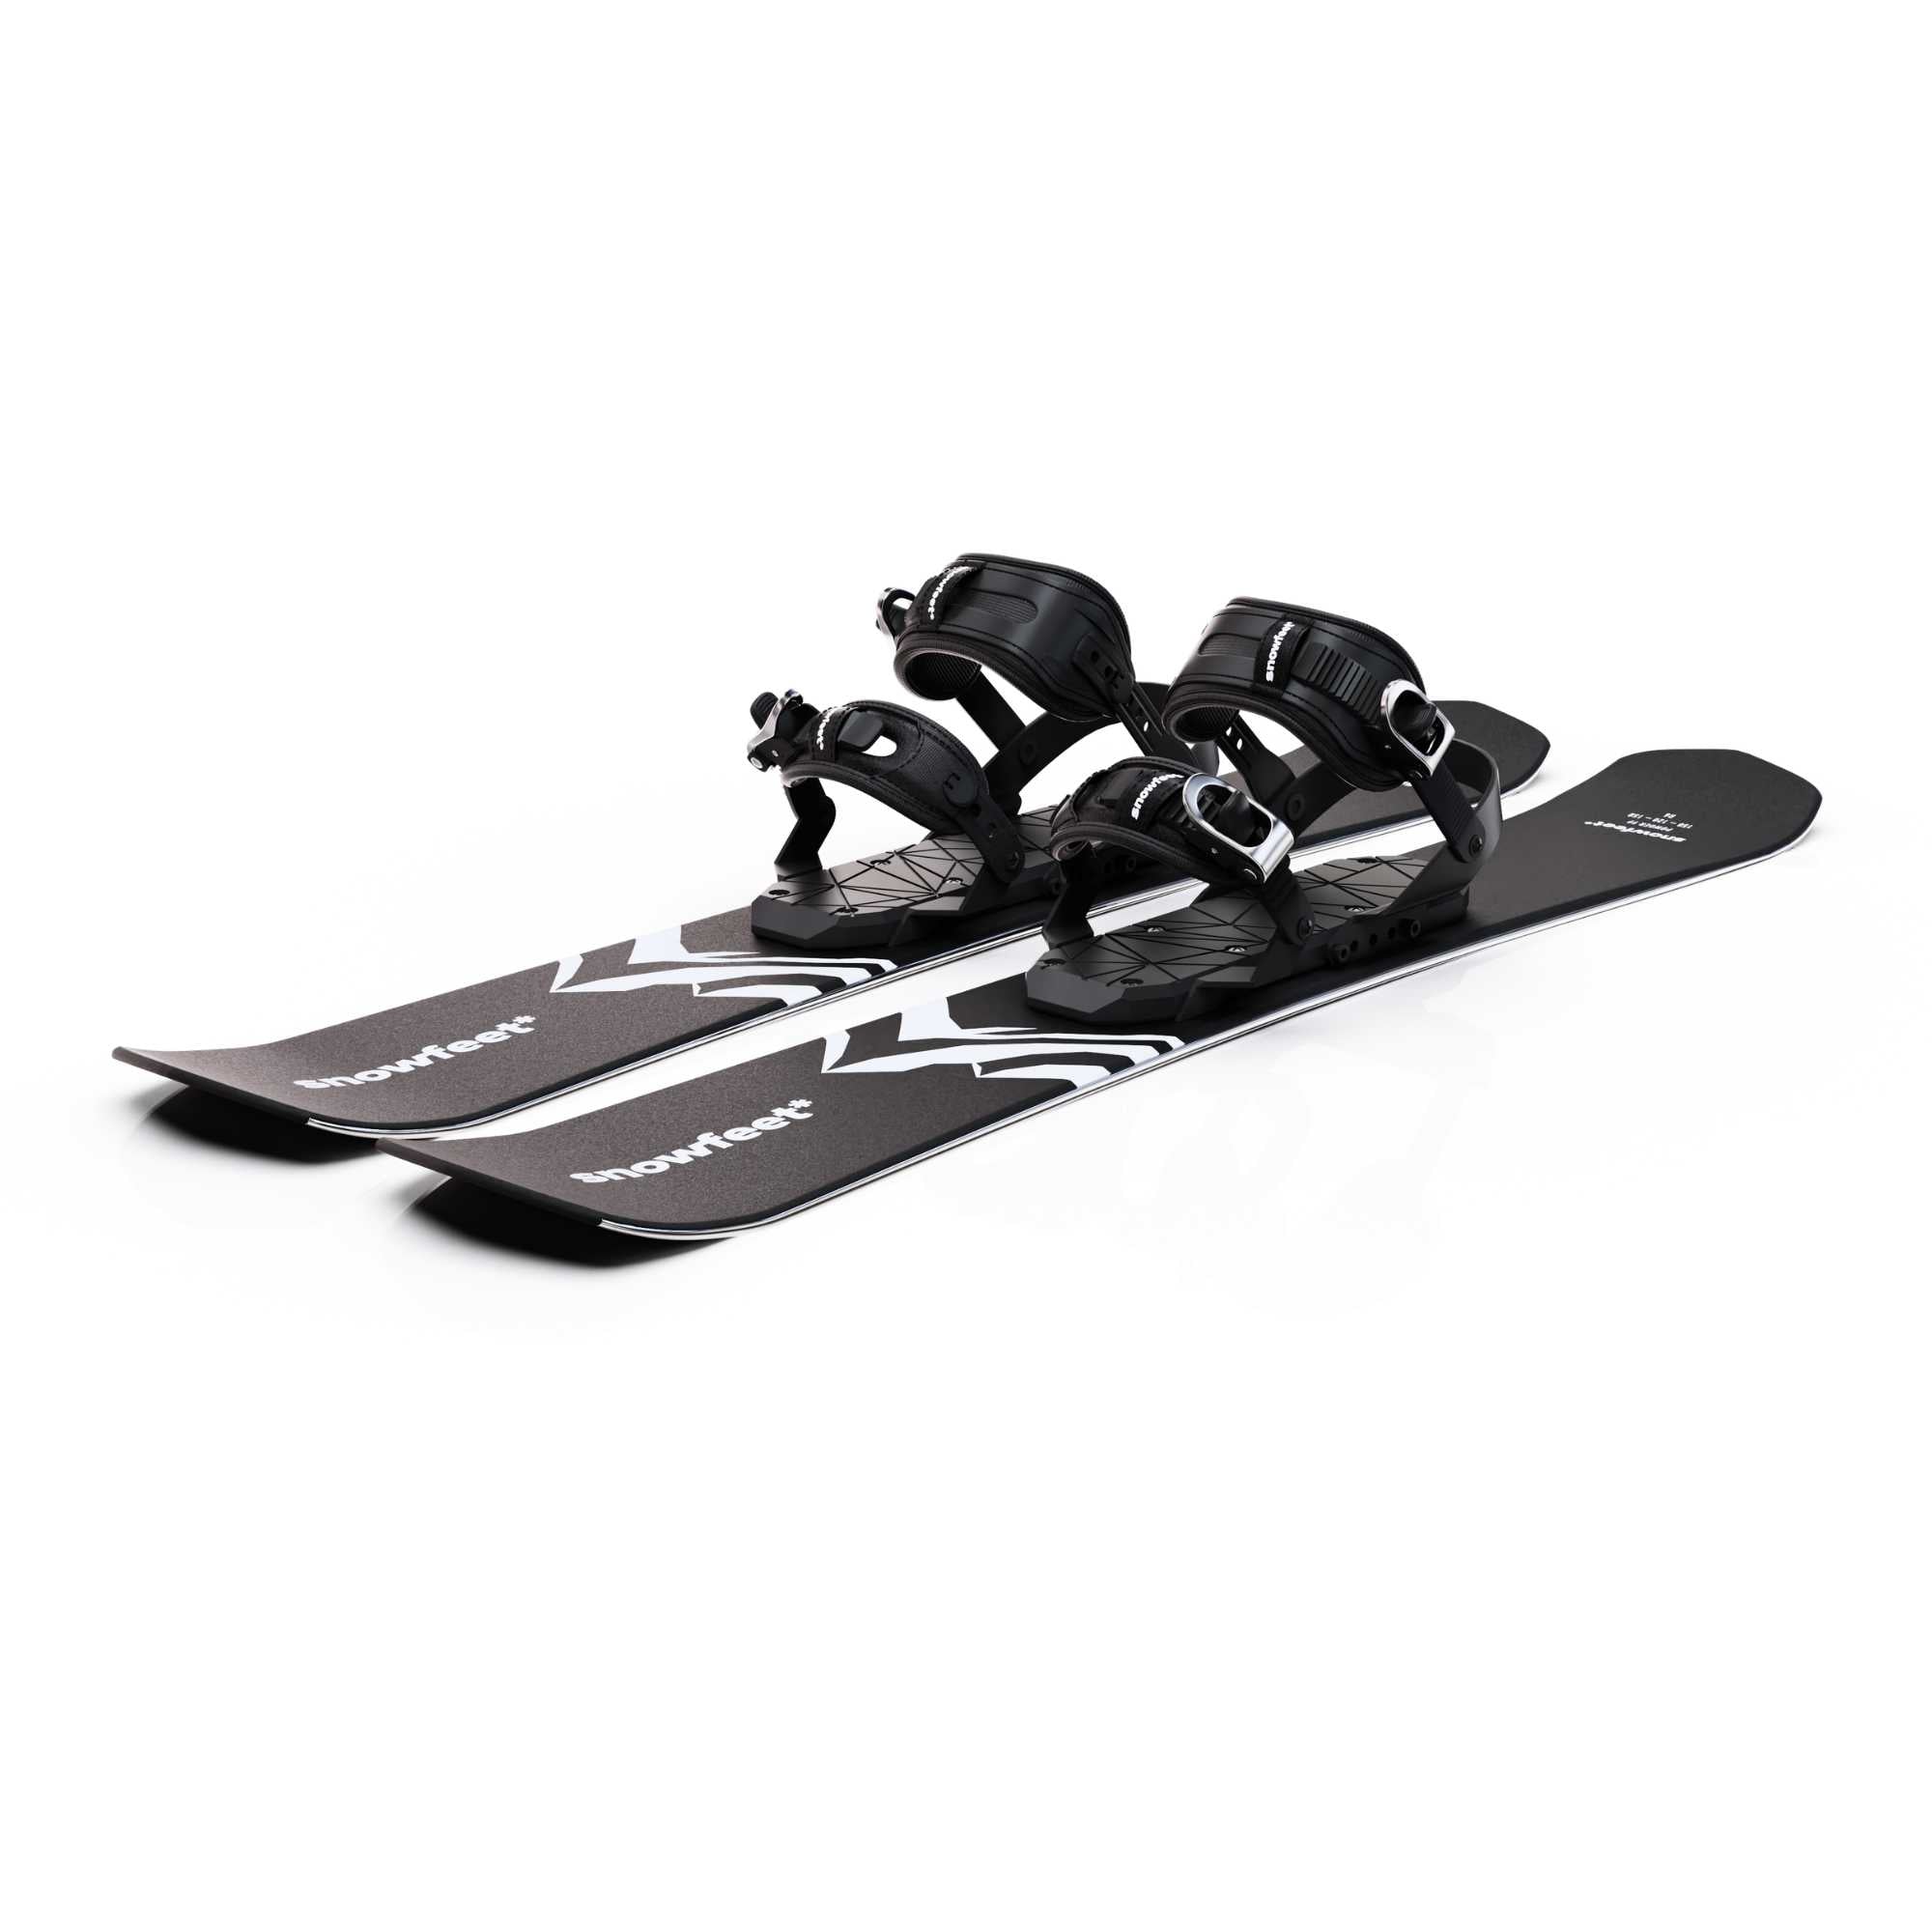
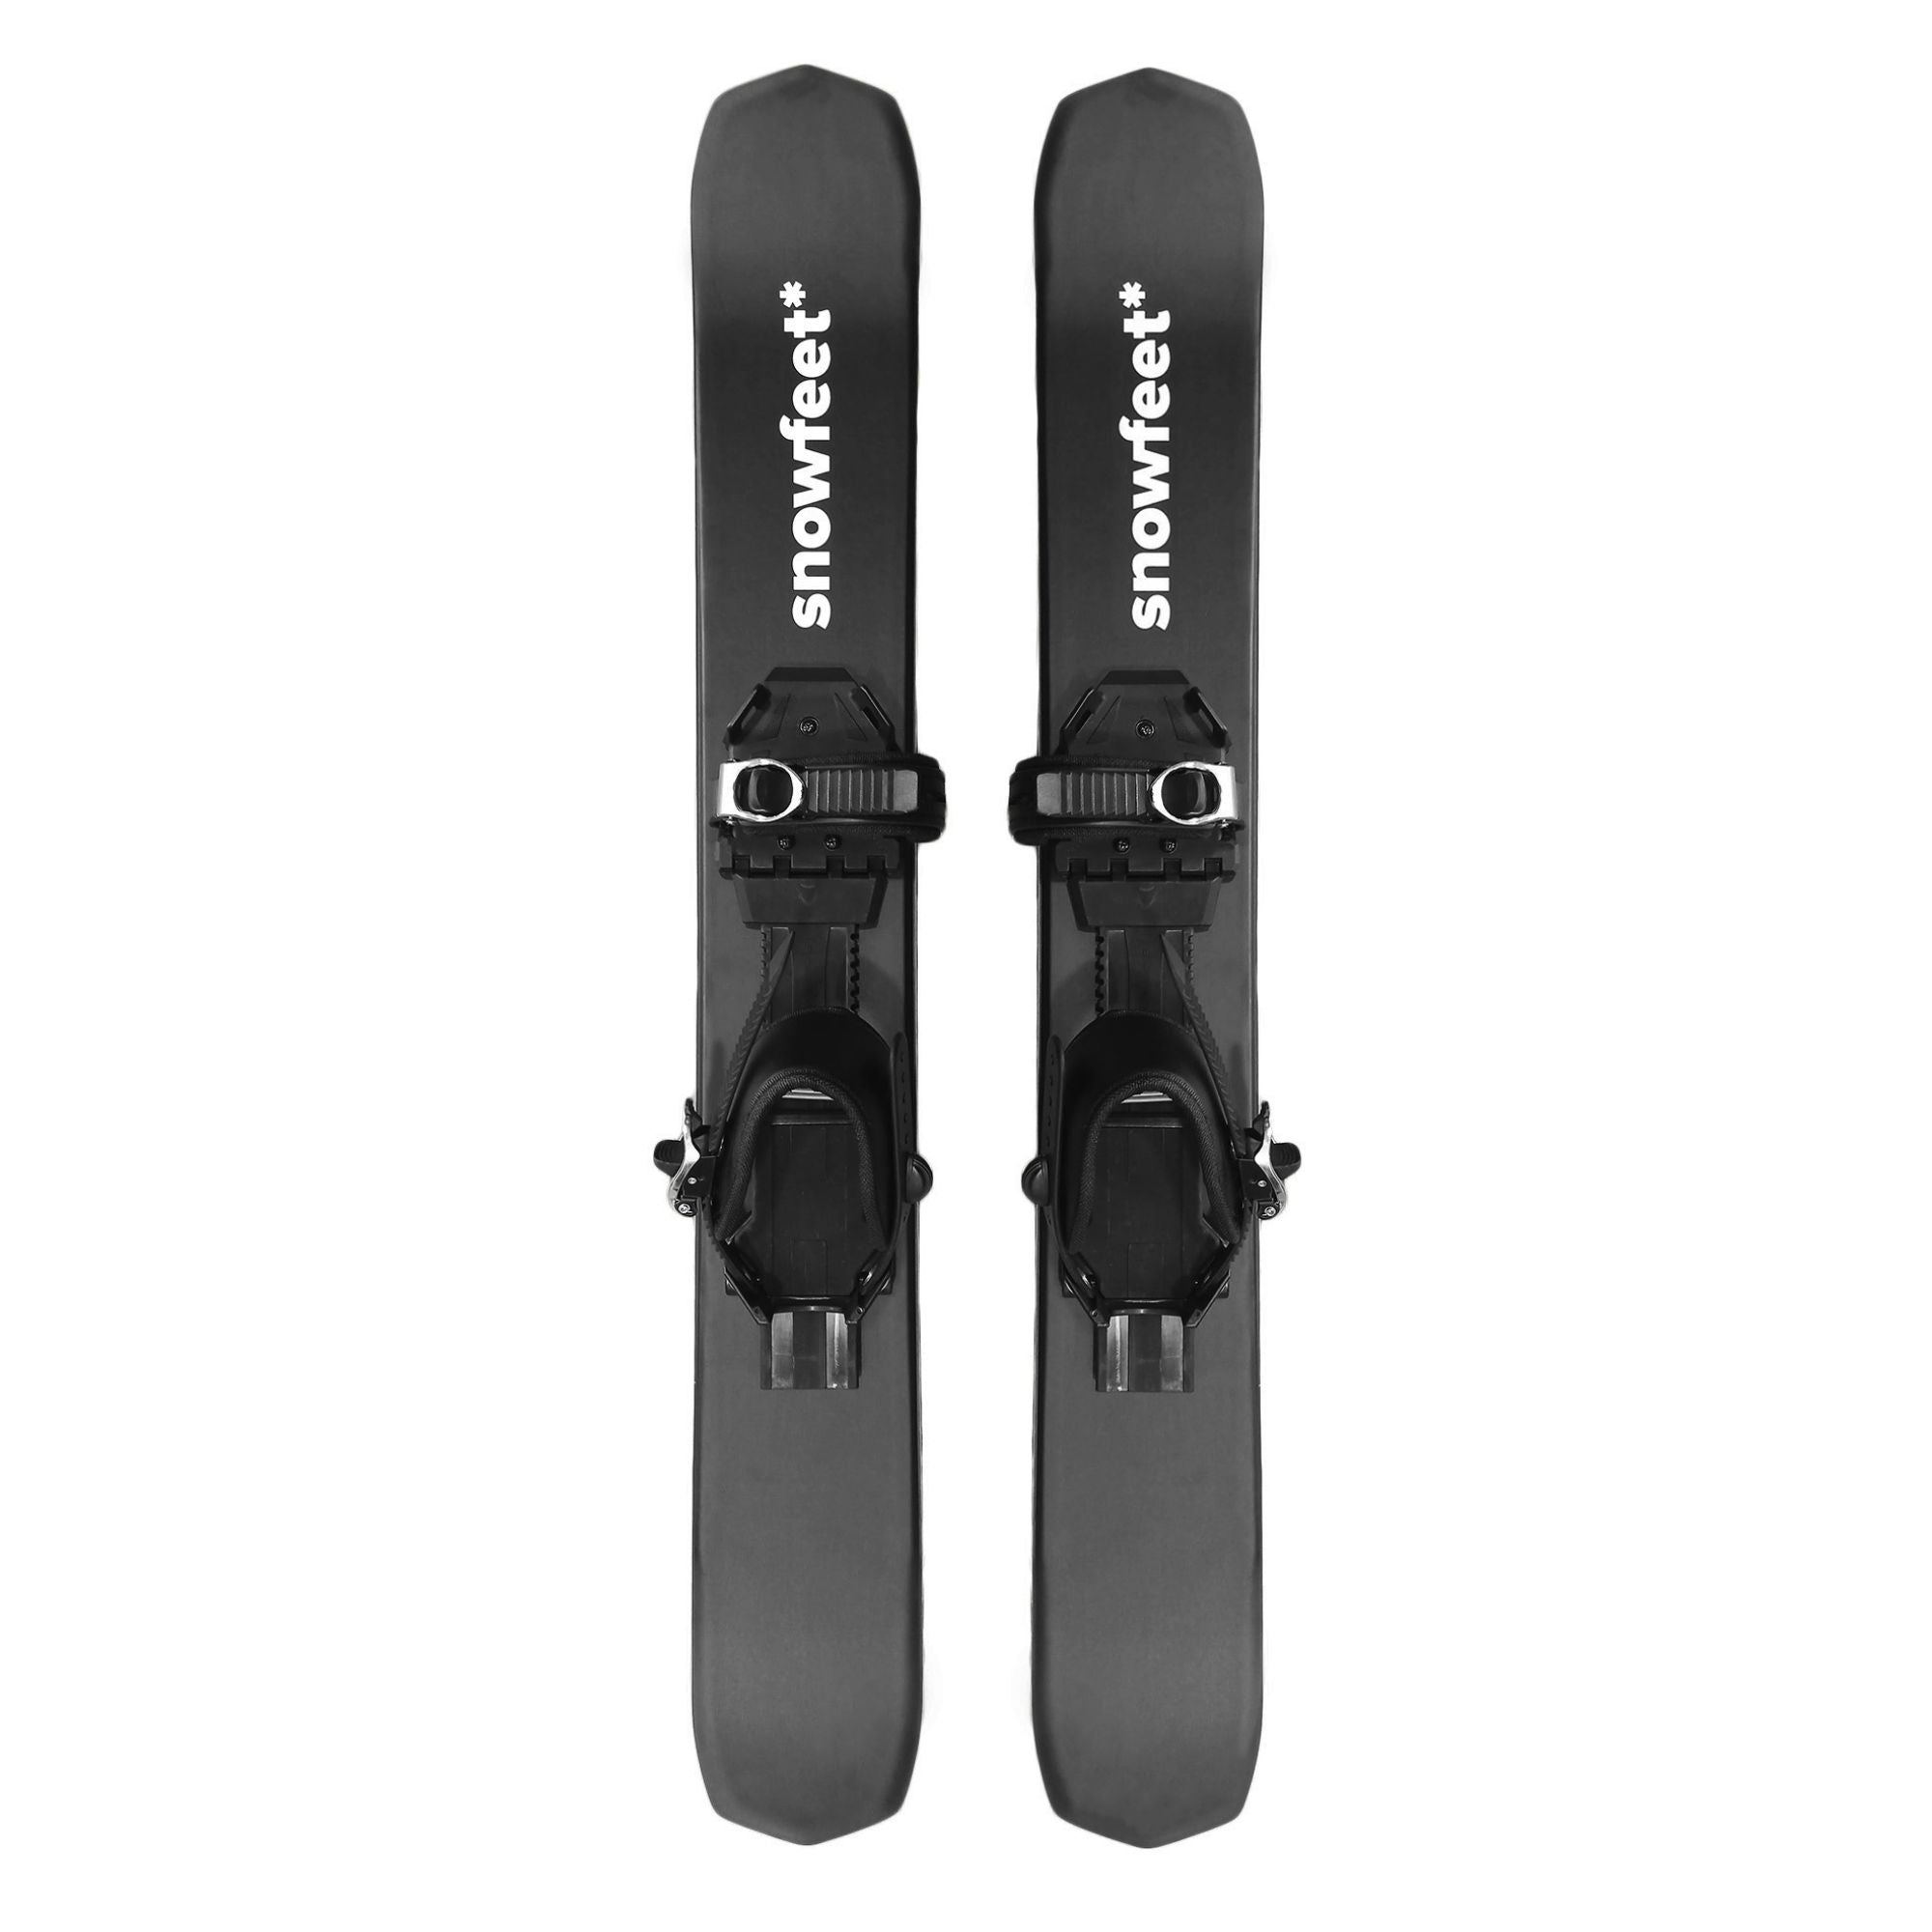
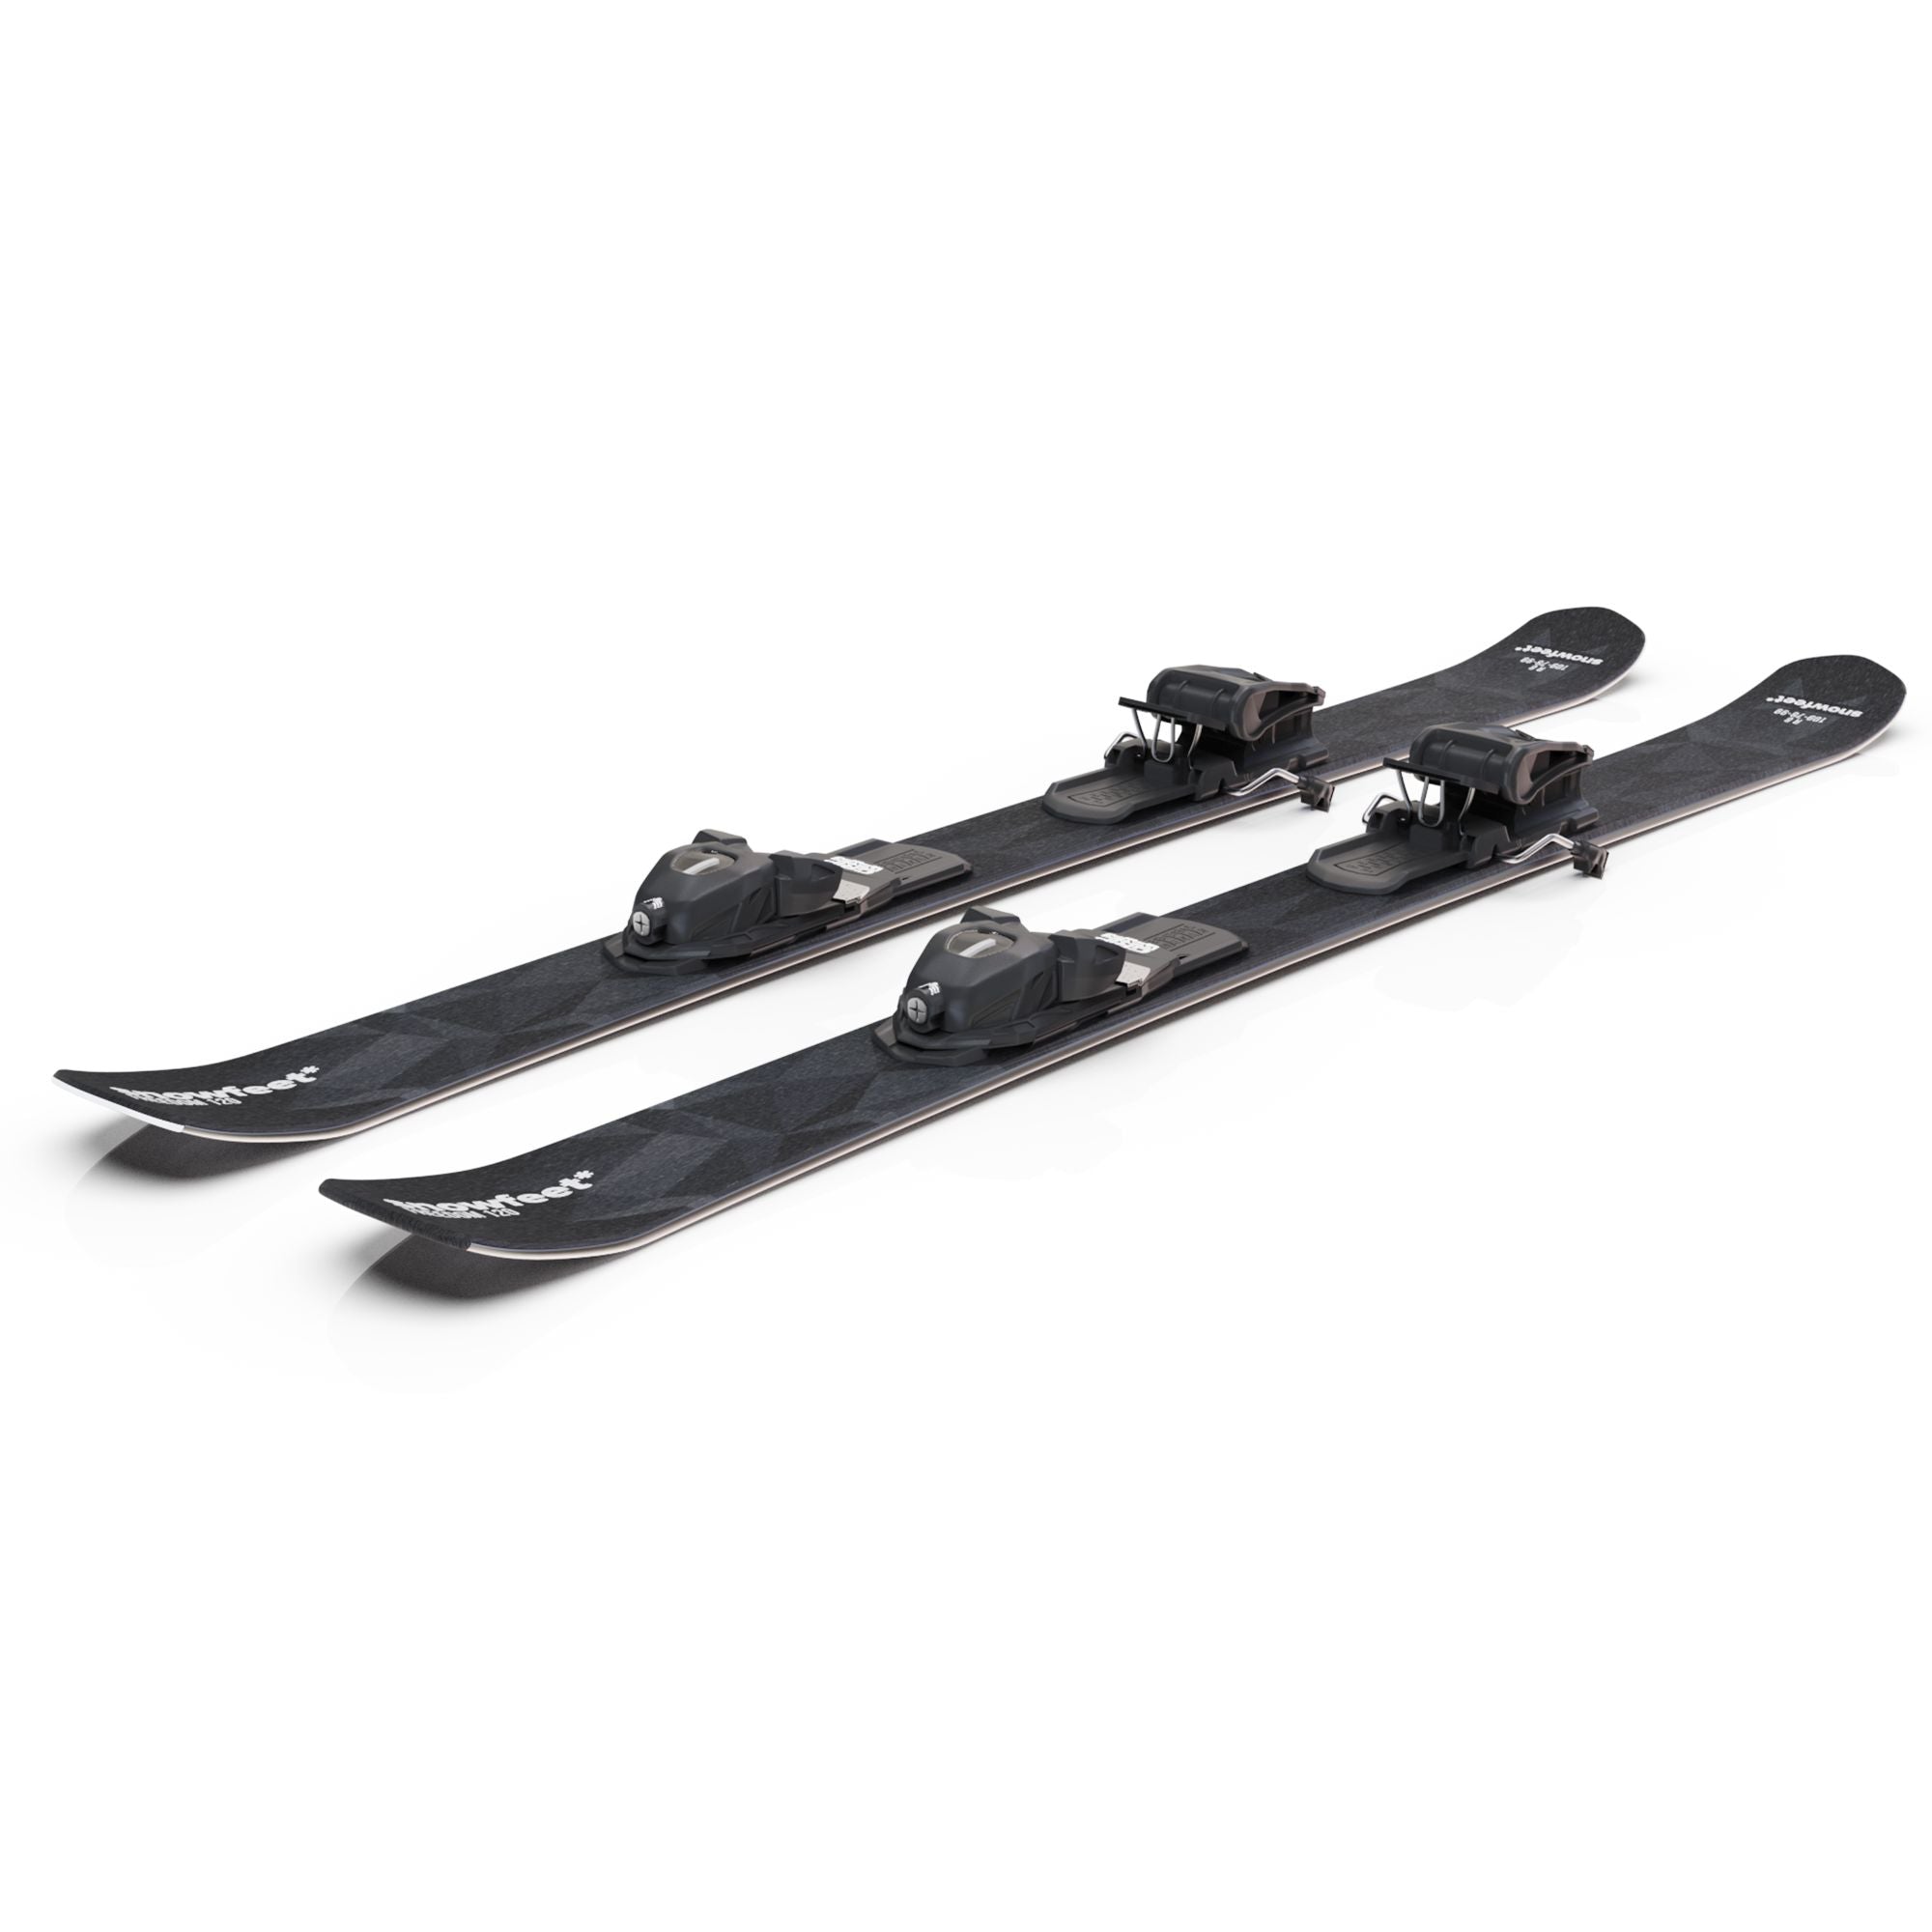
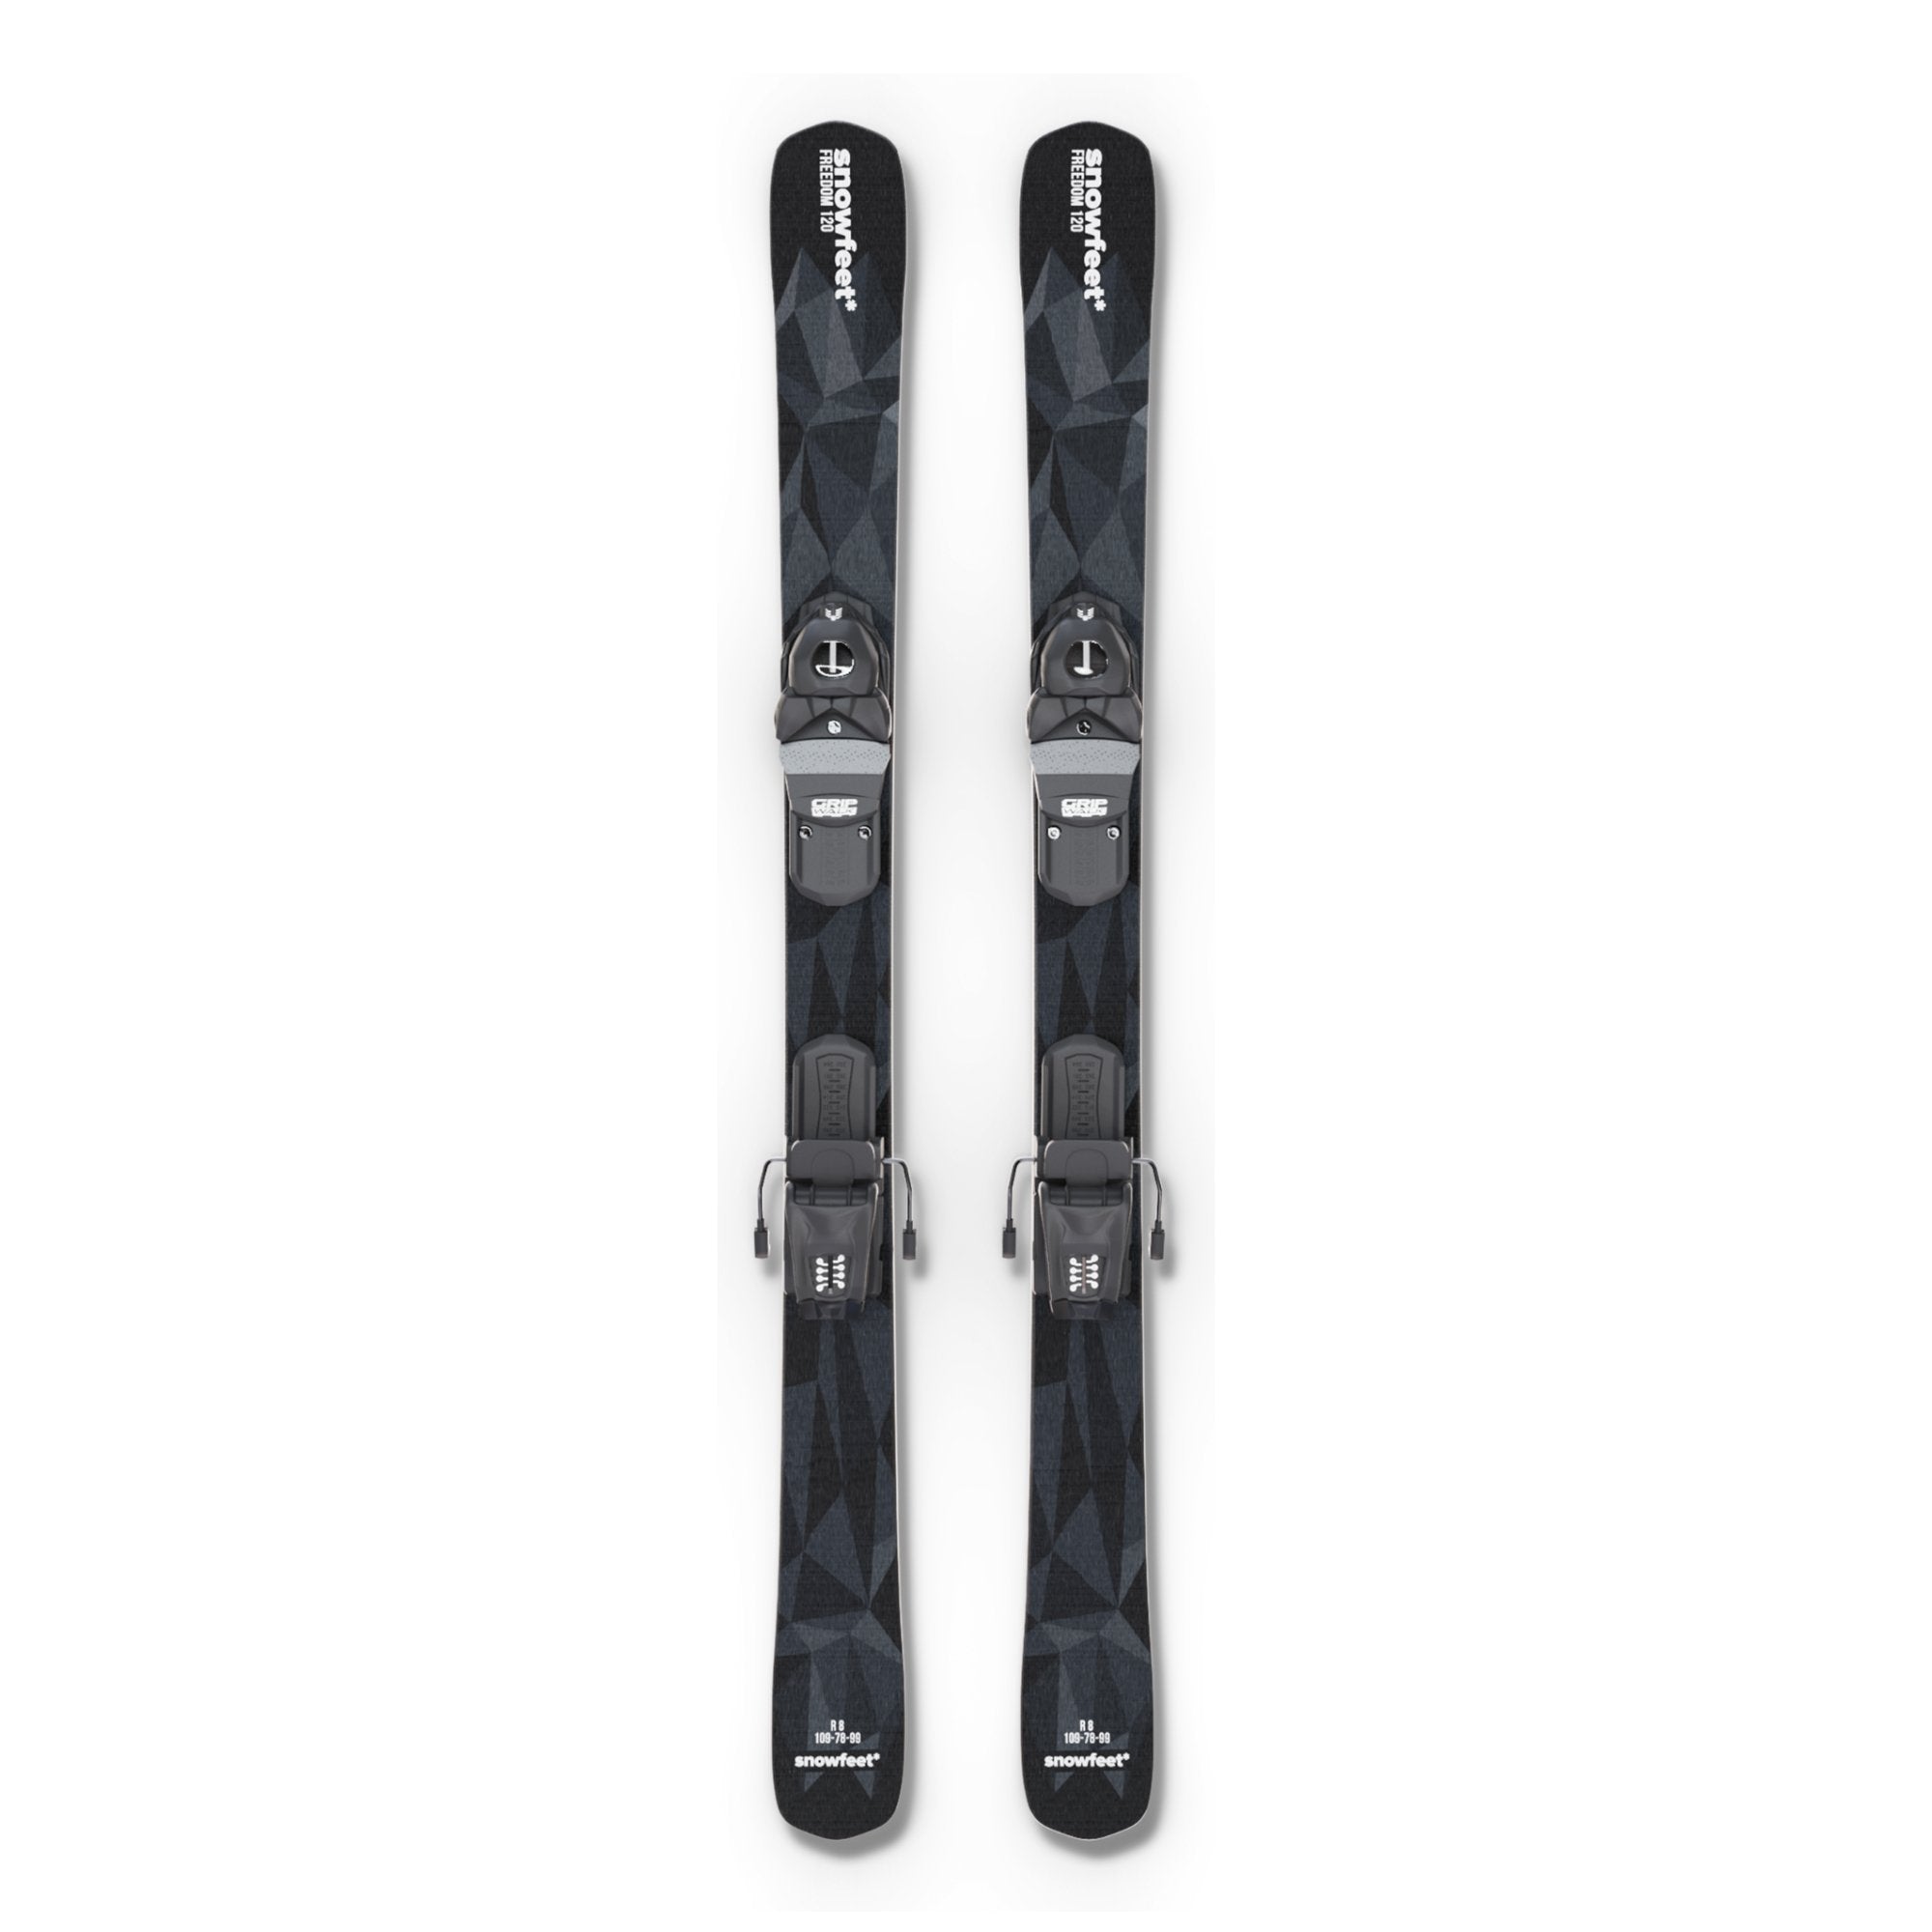
- Snowfeet Bindings: Non-release, lightweight, and compatible with winter shoes.
-
Safety Features:
- Anti-friction devices (AFD) for smooth boot release.
- Ski brakes to stop skis after a fall.
- DIN settings tailored to weight, height, age, skill, and boot length.
-
Choosing Bindings:
Match your skiing style, ability, and boots. Beginners need lower DIN settings, while advanced skiers need higher settings for aggressive movements. -
Snowfeet Advantage:
Snowfeet bindings are easy to adjust at home with a screwdriver, ideal for shorter skis and casual use.
| Feature | Alpine Bindings | Touring Bindings | Snowfeet Bindings |
|---|---|---|---|
| Safety | DIN-certified release mechanisms | Varies by model | Non-release design |
| Boot Compatibility | Alpine boots | Pin-compatible boots | Winter shoes, snowboard boots |
| Setup | Requires professional adjustment | Requires professional adjustment | DIY with a screwdriver |
| Weight | Heavier for stability | Lightweight for climbing | Lightweight |
Pro Tip: Always have traditional bindings professionally inspected before each season to ensure safety. Snowfeet bindings offer a simpler, user-friendly alternative for recreational skiers.
How To Choose Ski Bindings
How Ski Bindings Work
Modern ski bindings are designed to securely attach ski boots to skis while prioritizing safety. The system consists of two main parts: the toe piece and the heel piece, which work together to keep the boots firmly attached during skiing.
Main Safety Features
Ski bindings are equipped with mechanisms to release the boot when excessive force is applied, helping to prevent injuries. Here's how they work:
- Anti-friction devices (AFD): Located under the toe piece, these help ensure smooth boot release during falls [2].
- Ski brakes: Spring-loaded metal arms that stop skis from sliding away after a binding release [2].
- Forward pressure system: Keeps the boot securely in place while allowing for ski flex during use [3].
"For your safety, they release you from the ski when pressure exerted on them exceeds their release settings." - REI Expert Advice [2]
These safety features are crucial, but they rely on properly calibrated release forces, which are standardized through DIN settings.
DIN Settings Explained
DIN settings determine how much force is required for the bindings to release. These settings are adjusted based on several factors:
| Factor | Impact on DIN Setting |
|---|---|
| Weight | Heavier skiers require higher settings |
| Height | Taller skiers often need higher settings |
| Age | Younger and older skiers use lower settings |
| Skill Level | Advanced skiers typically use higher settings |
| Boot Length | Influences leverage and release force |
For instance, a beginner male skier might use a DIN setting of 6 (194-271 Nm), while an advanced male skier might need a DIN of 8.5 (271-380 Nm) [4]. These settings allow for about 10% adjustment flexibility for fine-tuning [4].
"If anything about the parameters of height, weight, or boot length change, you will want to have [your ski bindings] re-evaluated." - Geoff Curtis, Marker's marketing vice president [4]
Marker’s research shows that a binding lift of 11 to 12mm works best for the majority of skiers, ensuring both retention and release mechanisms function properly [2].
To stay safe, always have your bindings inspected and adjusted by certified professionals before each season. They use specialized tools to confirm release settings and ensure your bindings comply with safety standards [4].
Common Binding Types
Selecting the right ski binding is crucial for both performance and safety. Each type serves different skiing styles and needs.
Alpine and Touring Bindings
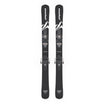
Alpine bindings are the go-to choice for downhill skiing. They feature a secure locking system for the toe and heel, prioritizing safety and downhill performance with DIN certification.
Key features of Alpine bindings:
- Limited boot movement before release
- Anti-friction devices
- Certified safety mechanisms
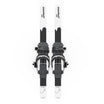
Touring bindings, also known as AT or pin tech bindings, are lighter and designed for both uphill and downhill travel.
| Feature | Alpine Bindings | Touring Bindings |
|---|---|---|
| Weight | Heavier (more stability) | Lighter (better for climbing) |
| Safety Features | Full DIN certification | Varies by model |
| Boot Compatibility | Standard alpine boots | Requires pin-compatible boots |
| Primary Use | Resort skiing | Backcountry/mixed terrain |
For a different experience, there’s also the option of telemark bindings.
Telemark Bindings
Telemark bindings are designed for free-heel movement, which is essential for telemark skiing. These bindings require telemark-specific boots to function properly.
Pre-mounted vs. Separate Bindings
Another factor to consider is the mounting style. Pre-mounted bindings come installed by the factory and are ideal for recreational skiers, while separate bindings offer more customization options but require professional installation.
| Aspect | Pre-mounted Bindings | Separate Bindings |
|---|---|---|
| Installation | Factory-installed | Needs professional mounting |
| Flexibility | More forgiving | Better tailored performance |
| Cost | Typically lower | Higher upfront cost |
| Customization | Limited | Wide range of options |
| Best For | Beginners/intermediates | Advanced skiers |
Pre-mounted bindings are often the best choice for beginners due to their convenience and ease of use. On the other hand, advanced skiers tend to prefer separate bindings for their ability to fine-tune their setup to match specific needs and skiing styles [6].
sbb-itb-17ade95
How to Pick Ski Bindings
Selecting the right ski bindings is crucial for matching your skiing style and equipment. Here's what you need to know to make the best choice.
Key Selection Criteria
Several factors play a role in choosing the right ski bindings for your needs:
Skiing Style and Ability Level
Your skill level and how you ski are major factors. Beginners should look for bindings with lower release settings to reduce the risk of injury, while advanced skiers often require higher DIN settings to handle more aggressive movements [7].
Boot Compatibility
Your bindings must match your boots. Different boot types are designed for specific binding systems. Here's a quick breakdown:
| Boot Type | Compatible Binding Types | Key Considerations |
|---|---|---|
| Alpine Boots | Traditional Alpine | Versatile and widely available |
| Touring Boots | AT/Pin Tech | Requires special sole inserts |
| Winter Shoes | Snowfeet Systems | Adjusted for specific footwear needs |
Power Transfer and Response
The stiffness of your bindings affects how they perform:
- Stiffer bindings provide better power transfer, ideal for aggressive skiers.
- Softer bindings are more forgiving, making them suitable for beginners and intermediates [7].
Now, let’s take a closer look at how Snowfeet bindings fit into these criteria.
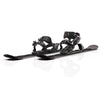
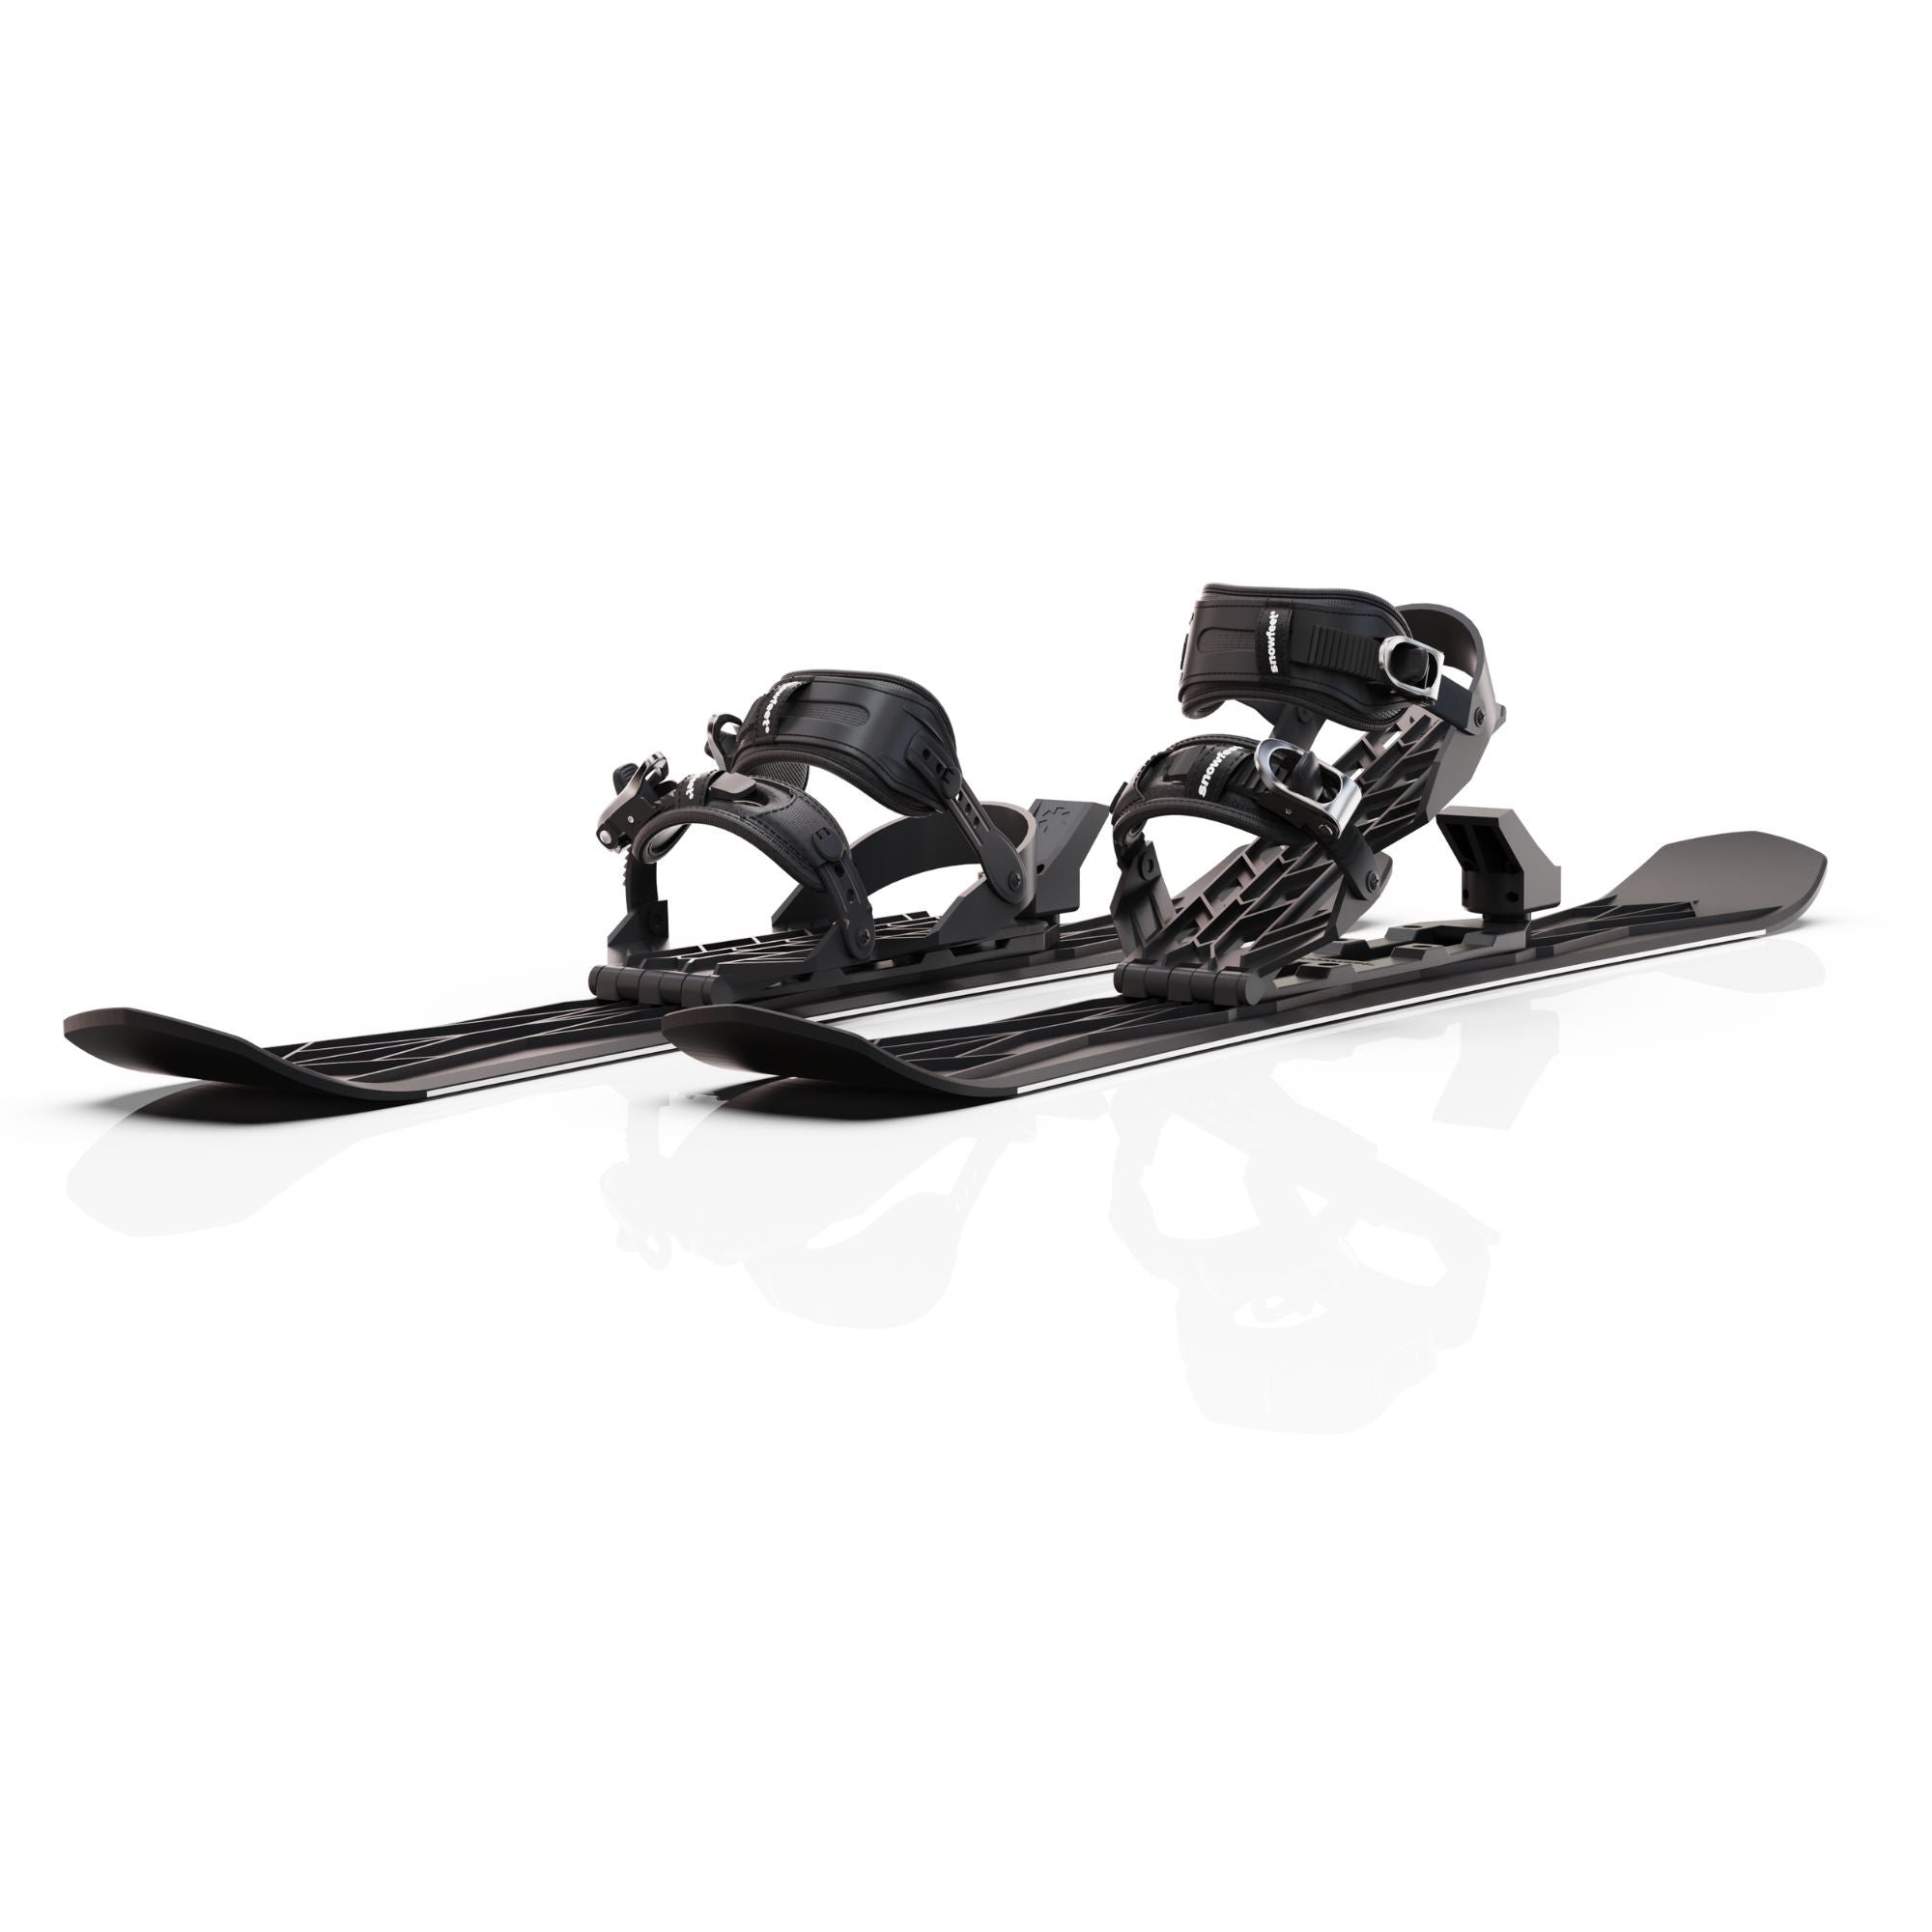
Using Snowfeet Bindings

Snowfeet bindings bring a fresh approach to ski binding design. They work with regular winter shoes, offering more versatility than traditional systems [8].
Key Features of Snowfeet Binding Systems:
- Easy-to-use adjustment mechanism with basic tools
- Compatibility with various footwear types
- Non-release design available in specific models [8]
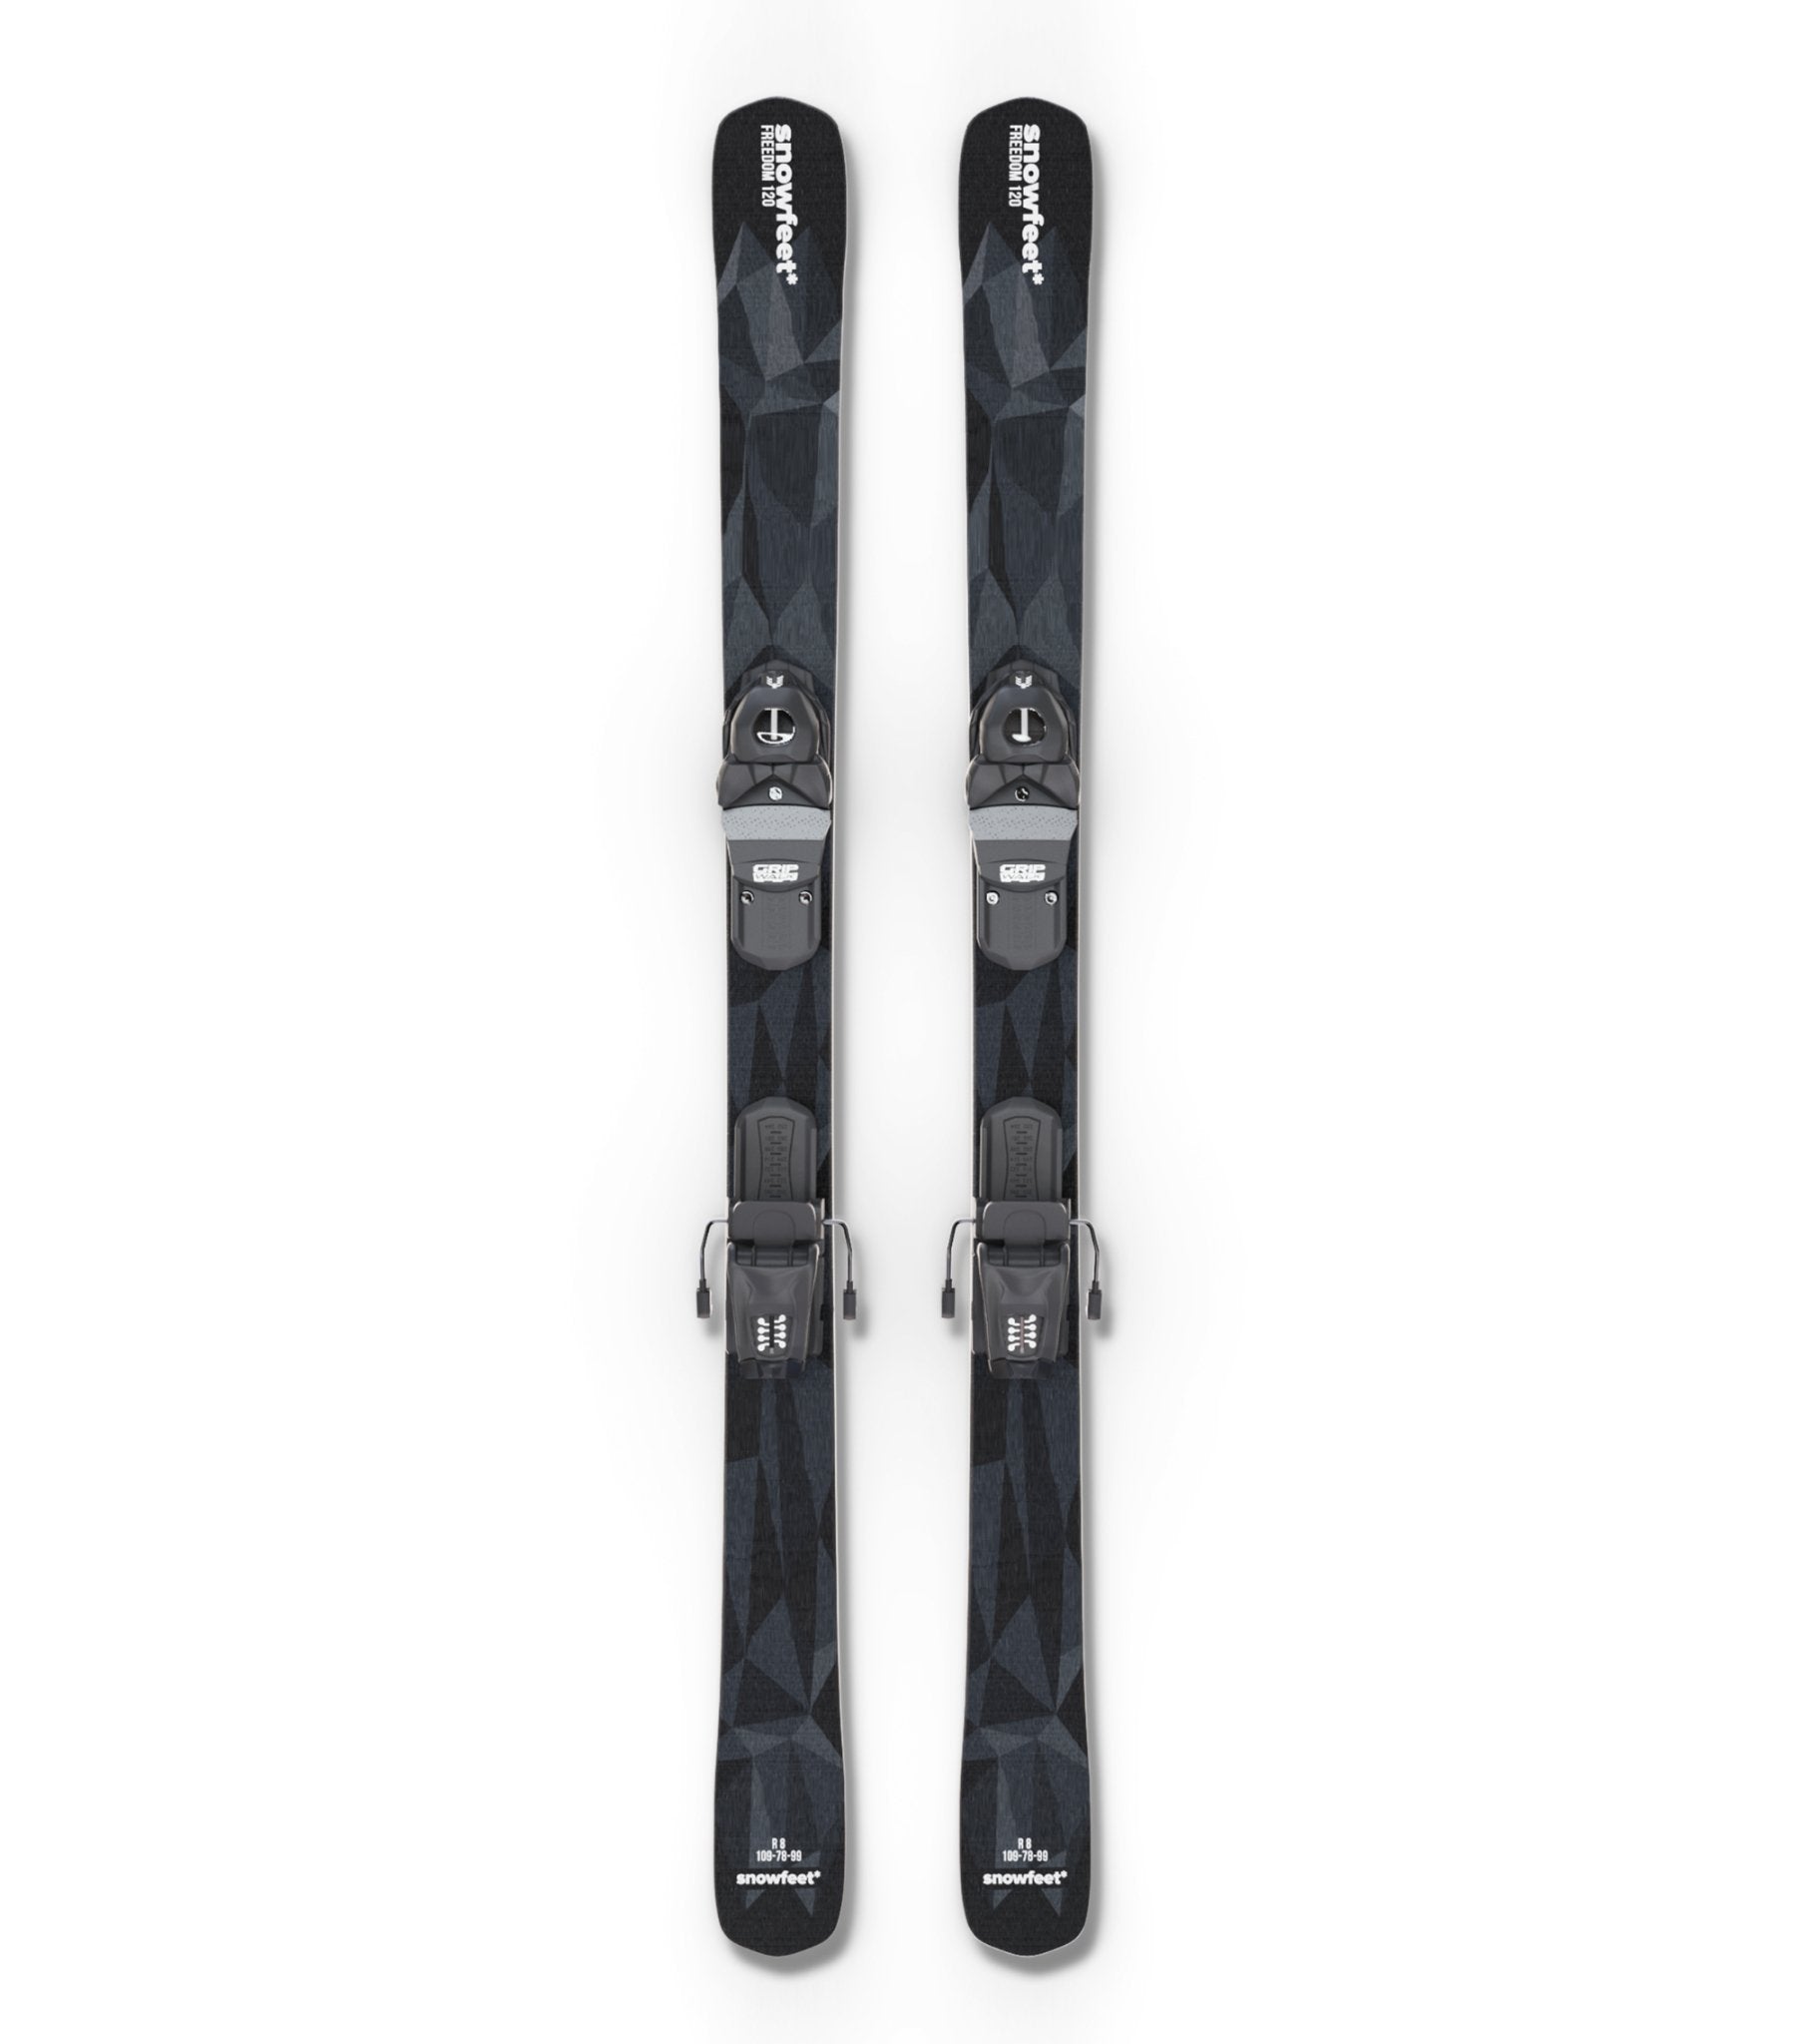
Here’s how the binding system varies across different Snowfeet models:
| Snowfeet Model | Length | Binding Type | Price Range |
|---|---|---|---|
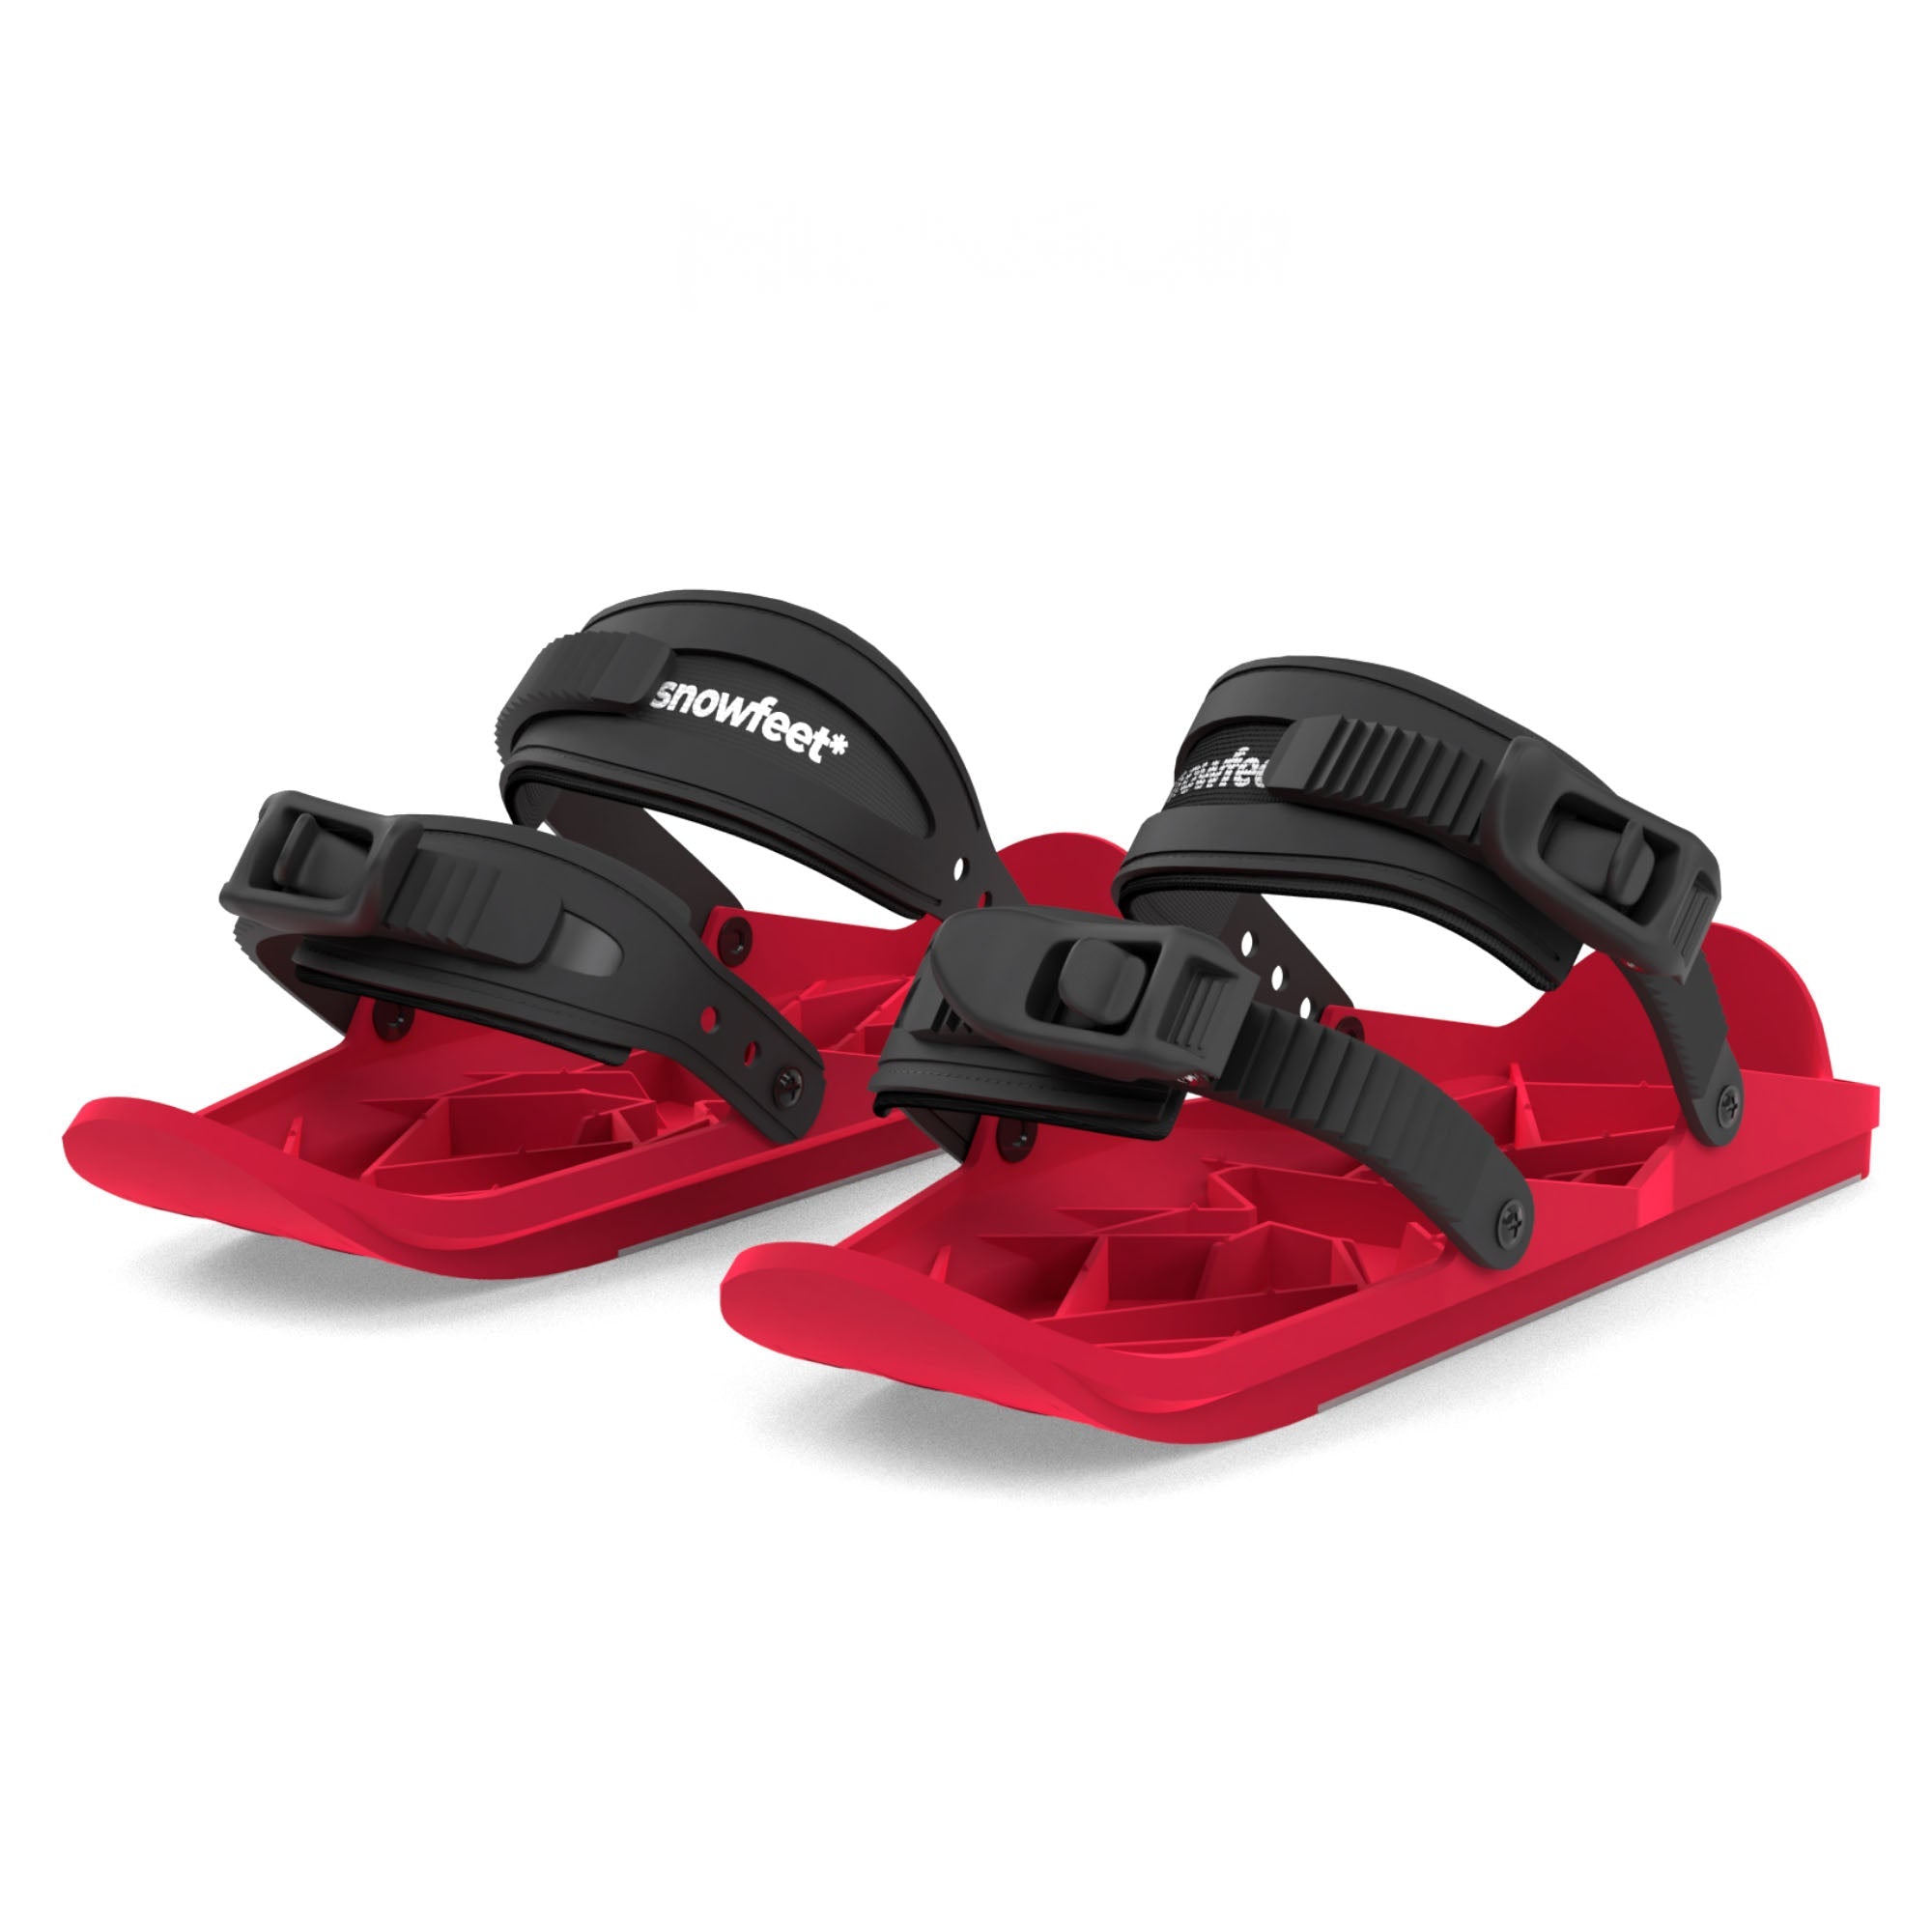
| Mini Ski Skates | 38 CM | Non-release | From $140 |
| Snowfeet PRO | 50 CM | Adjustable | $230 |
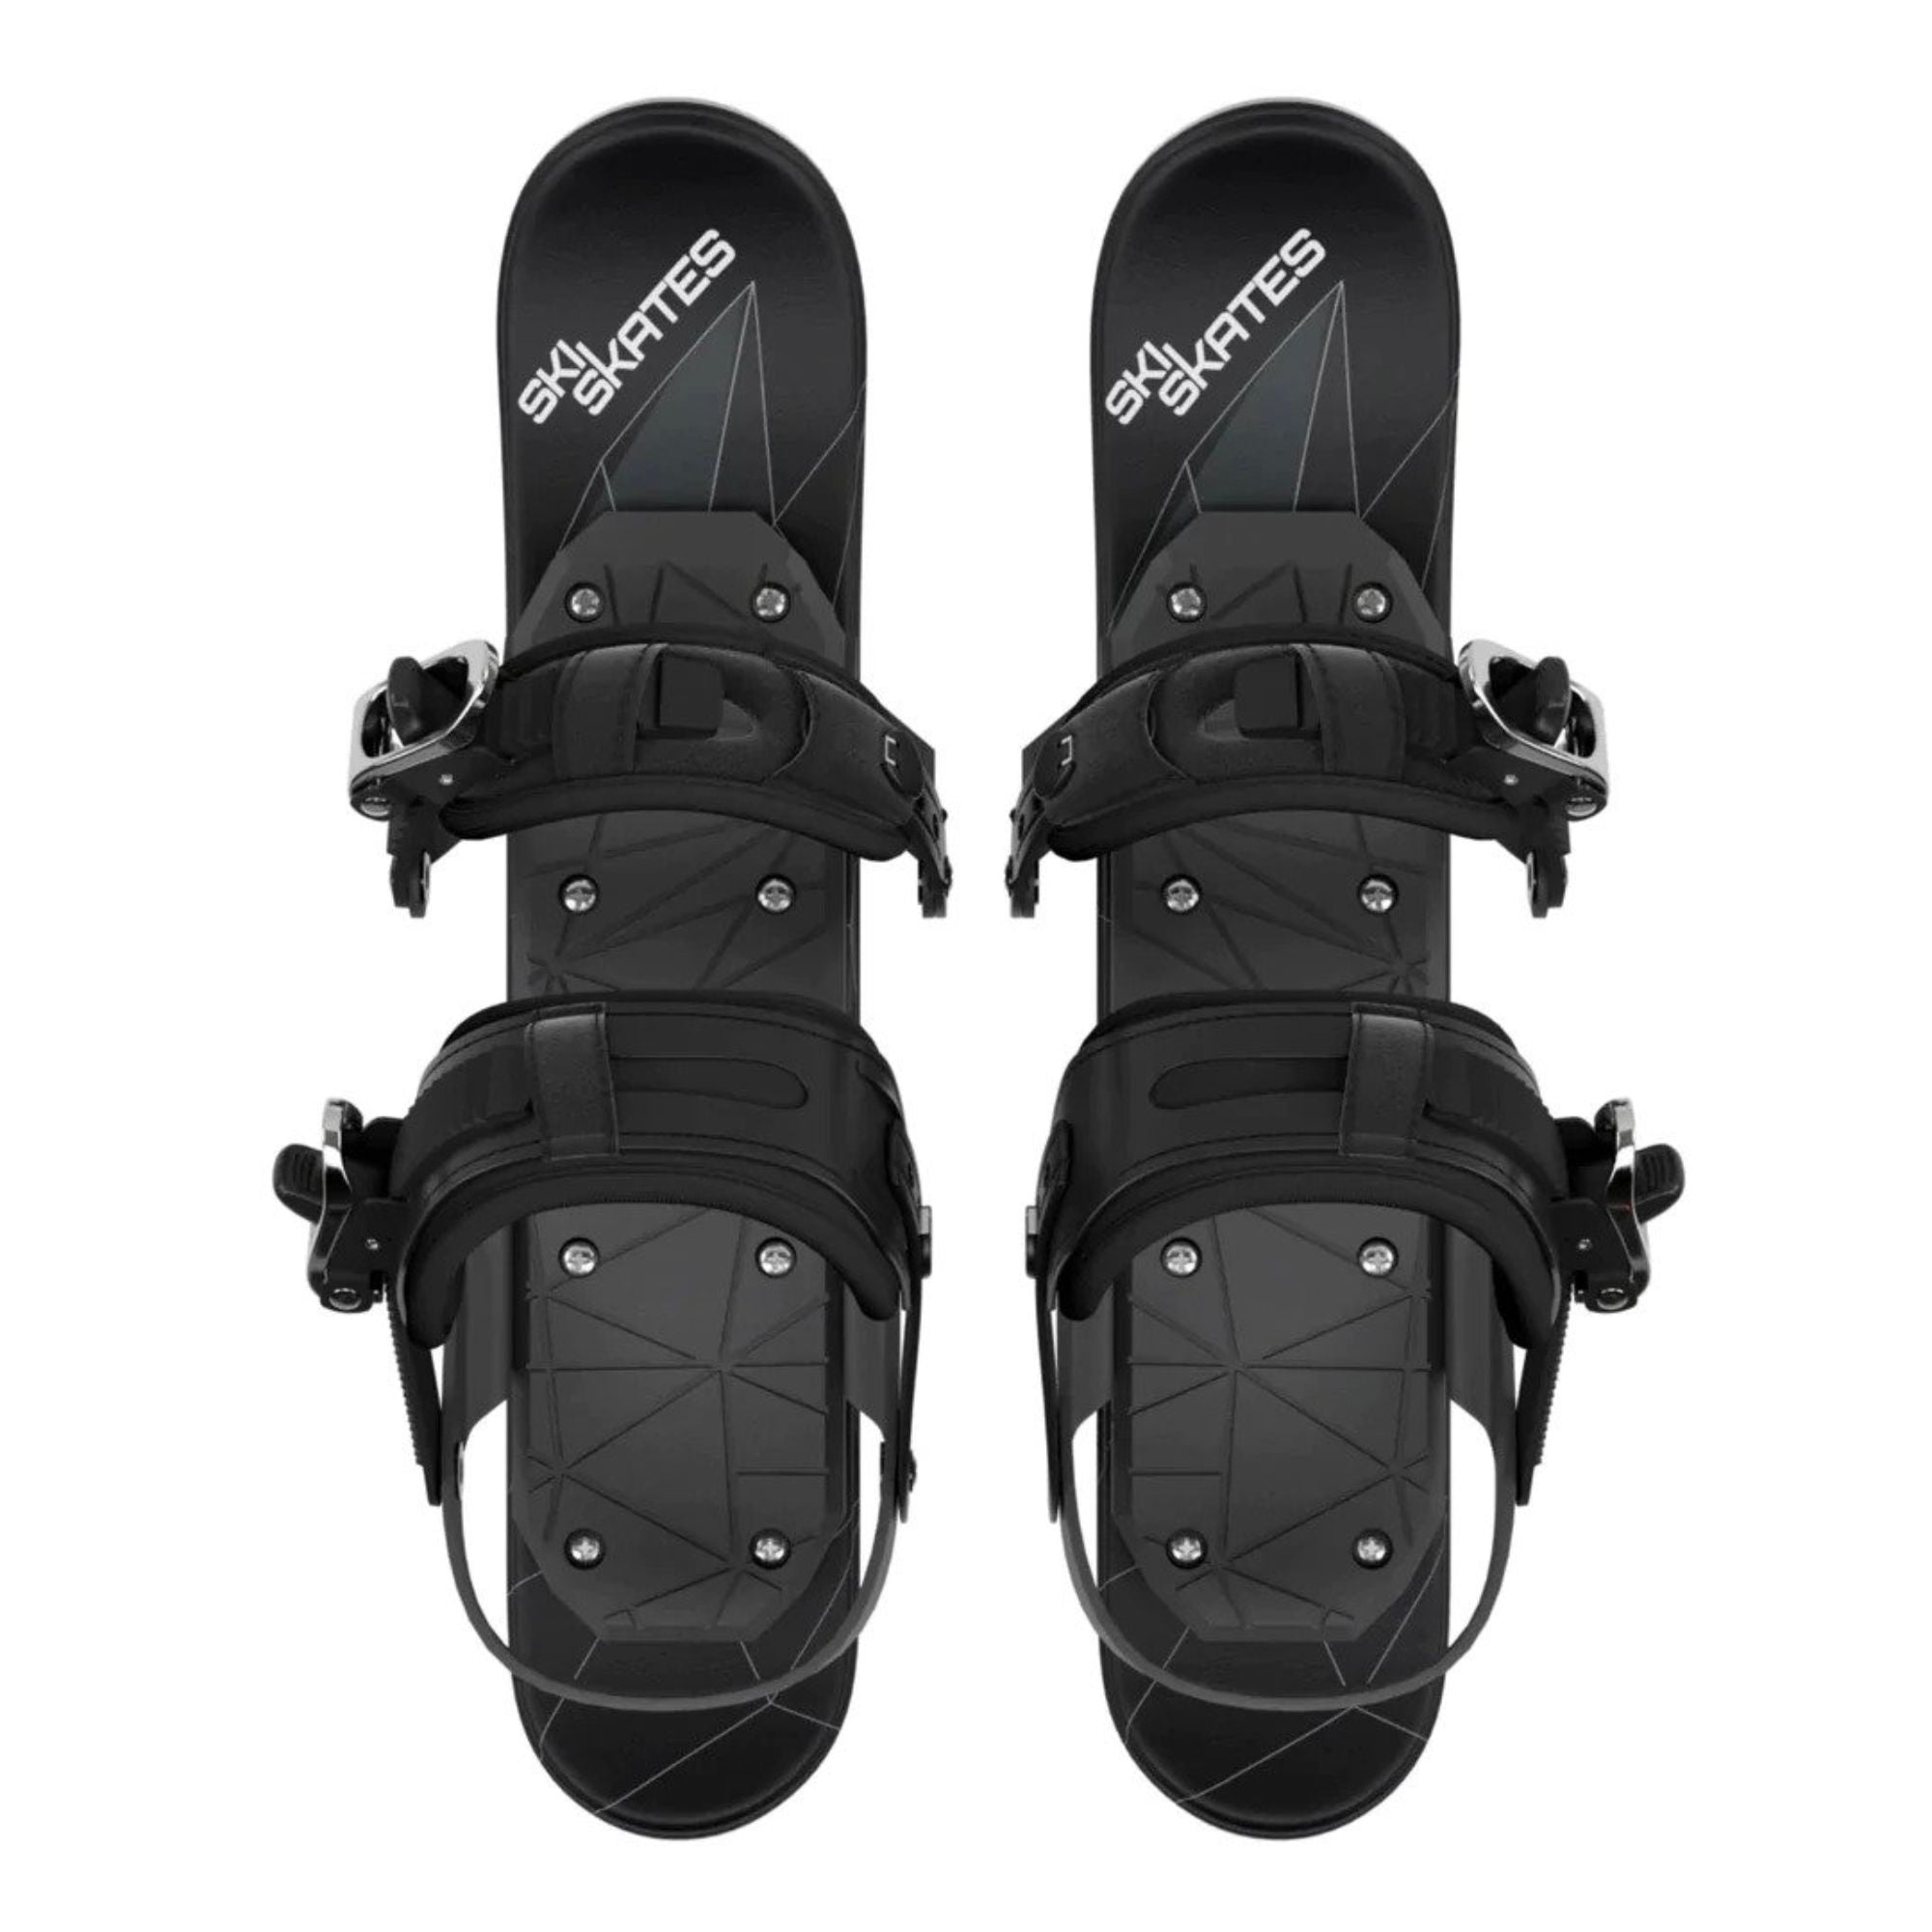
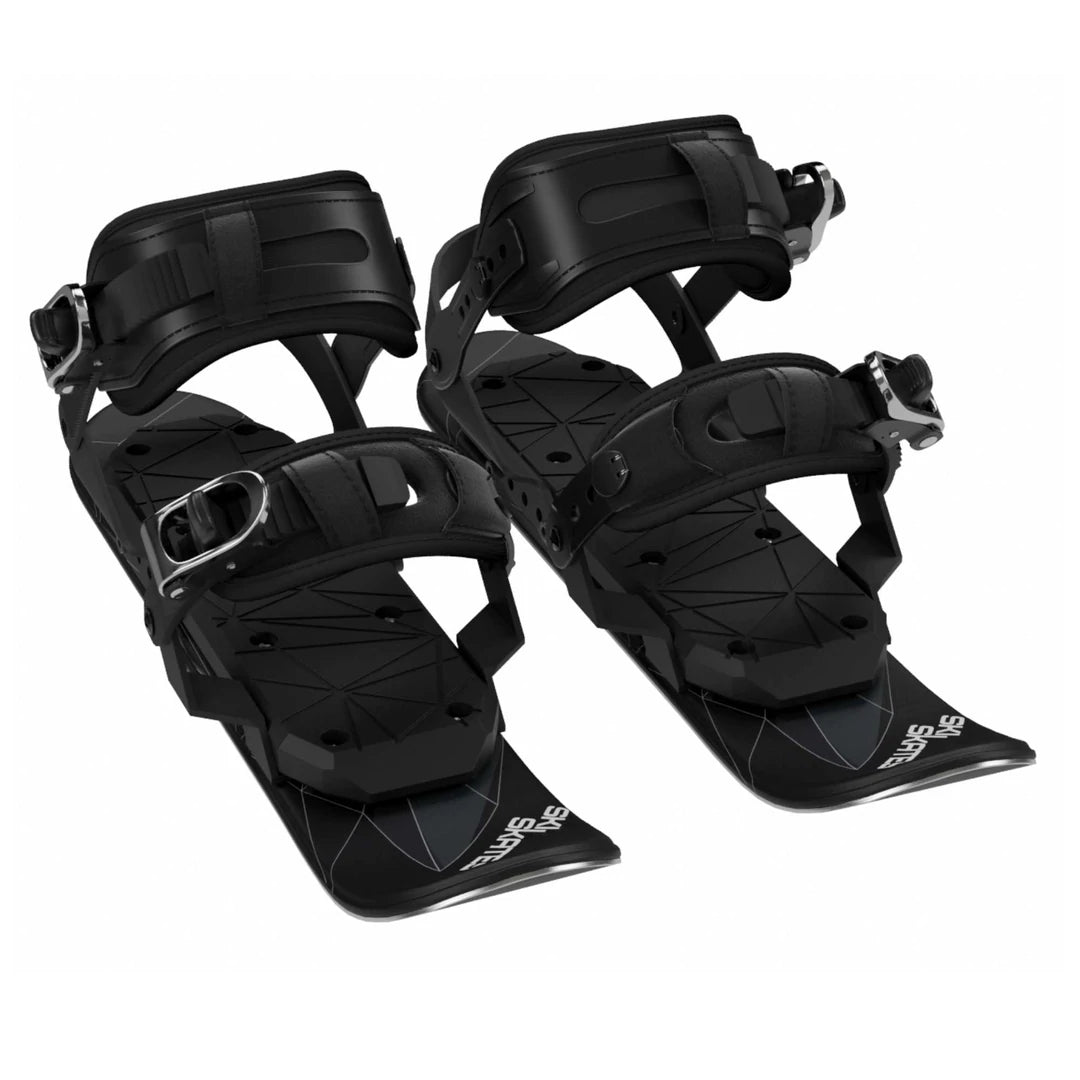
| Skiskates | 44 CM | Snowboard-style | From $330 |
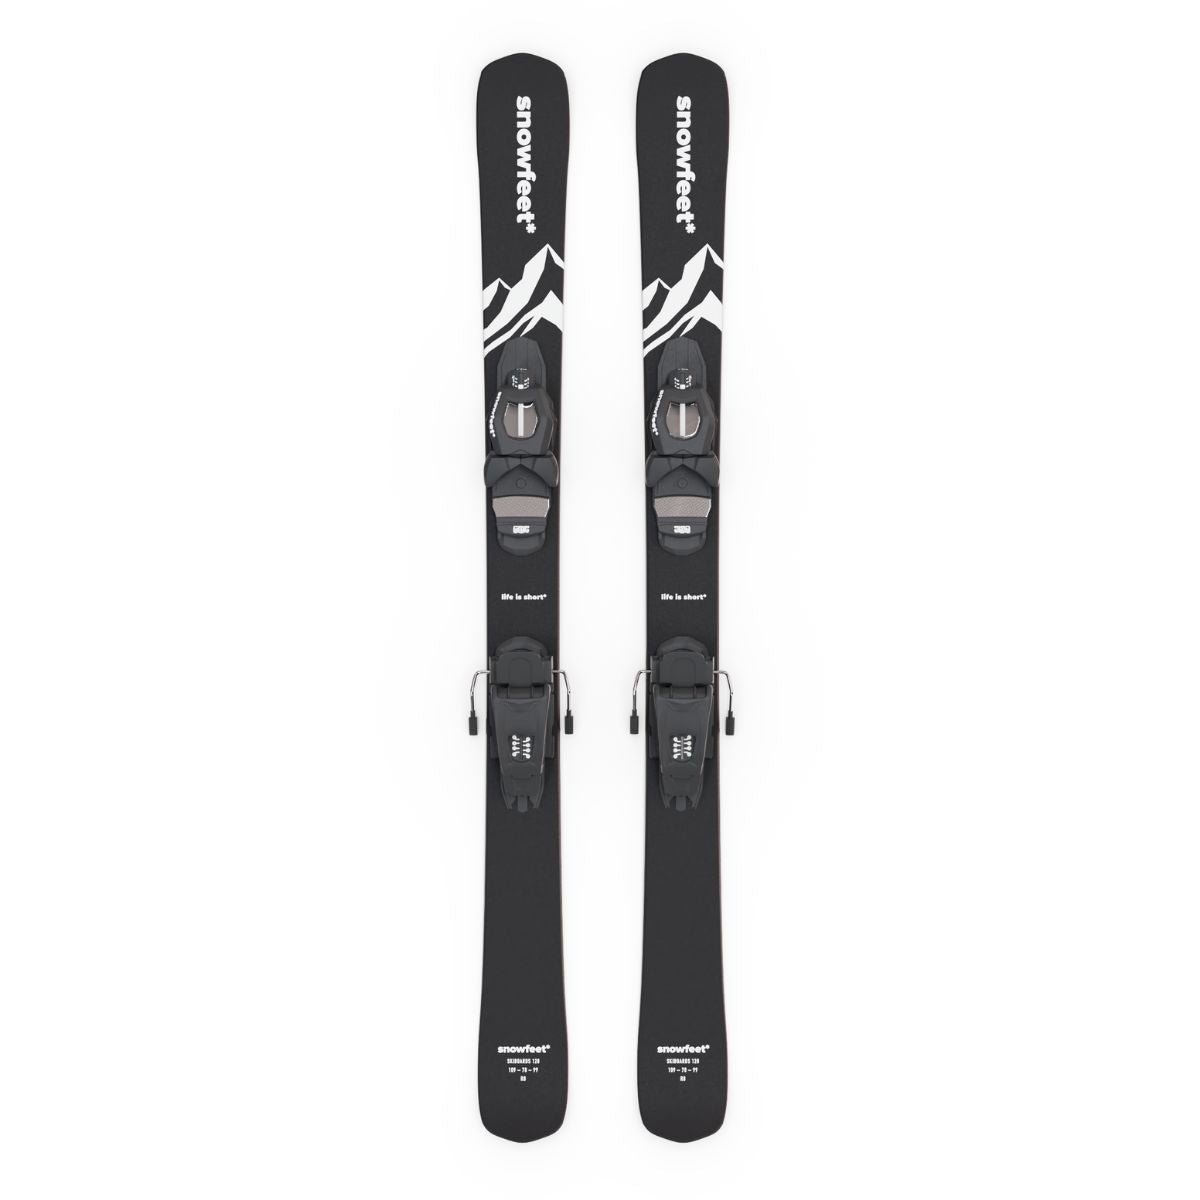
| Skiblades | 65-120 CM | Custom design | $400-$650 |
Unlike traditional ski bindings, which often require professional installation, Snowfeet bindings are designed for easy, at-home adjustments using a simple screwdriver [8]. This makes them a practical option while still meeting the performance and compatibility needs outlined above.
Setup and Care Guide
To ensure your bindings work reliably and safely, proper setup and regular maintenance are essential. Follow these steps to keep everything working smoothly.
Correct Adjustment Steps
-
Forward Pressure Adjustment
- Find the boot shell length (in millimeters) on the heel.
- Not enough forward pressure can lead to early releases, while too much pressure prevents the bindings from releasing properly.
-
Toe Height Setting
- Slide a strip of paper between the boot toe and the AFD (Anti-Friction Device).
- Aim for a 0.5–1 mm gap, with slight resistance when pulling the paper out.
- Adjust the toe piece screw as needed to achieve this clearance.
-
DIN Value Configuration
- Refer to the DIN settings section for specifics.
- Always consult a professional technician for these safety-critical adjustments.
-
Centering on Skis
- Align bindings with the ski's marked center for balanced performance.
Regular maintenance ensures these settings stay accurate and reliable.
Basic Maintenance
Once your bindings are properly adjusted, periodic maintenance is key to keeping them safe and functional. Inspect them at the start of the season and after every 20 ski days or any significant impacts.
Maintenance Tasks:
| Task | Frequency | Notes |
|---|---|---|
| Forward Pressure Check | Monthly | Confirm alignment with boot size. |
| AFD Cleaning | Weekly | Remove dirt and debris. |
| Toe Height Verification | Every 5–10 ski days | Especially after walking in boots. |
| Screw Tightness | Monthly | Follow manufacturer torque specs. |
Bindings should be professionally inspected and tested; avoid DIY adjustments beyond basic checks.
Storage Tips:
- Store skis in a dry area with moderate temperatures.
- Keep bindings closed to maintain tension.
- Avoid extreme temperature changes.
- Clean skis and bindings thoroughly before storing.
For Snowfeet bindings, simple screwdriver checks are usually enough. Traditional ski bindings, however, need certified technician service to ensure proper adjustments and safety compliance.
Snowfeet vs. Standard Ski Bindings
When comparing Snowfeet bindings to traditional ski bindings from brands like Atomic and Rossignol, several key differences stand out. These differences impact everything from ease of use to performance on the slopes.
Feature Comparison
| Feature | Snowfeet Bindings | Standard Alpine Bindings |
|---|---|---|
| Release Mechanism | Non-release design | DIN-certified release system |
| Adjustment Method | DIY with screwdriver | Certified technician required |
| Weight | Lightweight design | Heavier construction |
| Boot Compatibility | Winter boots, snowboard boots | Specific ski boots only |
| Price Point | Lower cost | Higher investment |
| Safety Certification | Safety standards | DIN certification |
| Maintenance Needs | Minimal, user-serviceable | Regular professional service |
The table highlights the main differences, but let’s break them down further. Snowfeet bindings are designed for simplicity, featuring a non-release mechanism that keeps costs low while securely holding the foot in place [9]. On the other hand, traditional alpine bindings prioritize safety and performance with advanced toe and heel systems.
Traditional Alpine Bindings: Key Features
Bindings from brands like Atomic and Rossignol are engineered for high-performance skiing. They include:
- Safety Systems: DIN-certified release mechanisms that disengage during falls to reduce injury risk.
- Power Transfer: A rigid connection between the boot and ski for better control and precision.
- Custom Adjustments: Multiple adjustment points for fine-tuning performance.
These bindings require professional setup to ensure proper calibration, but the payoff is greater stability and safety on demanding terrain [5].
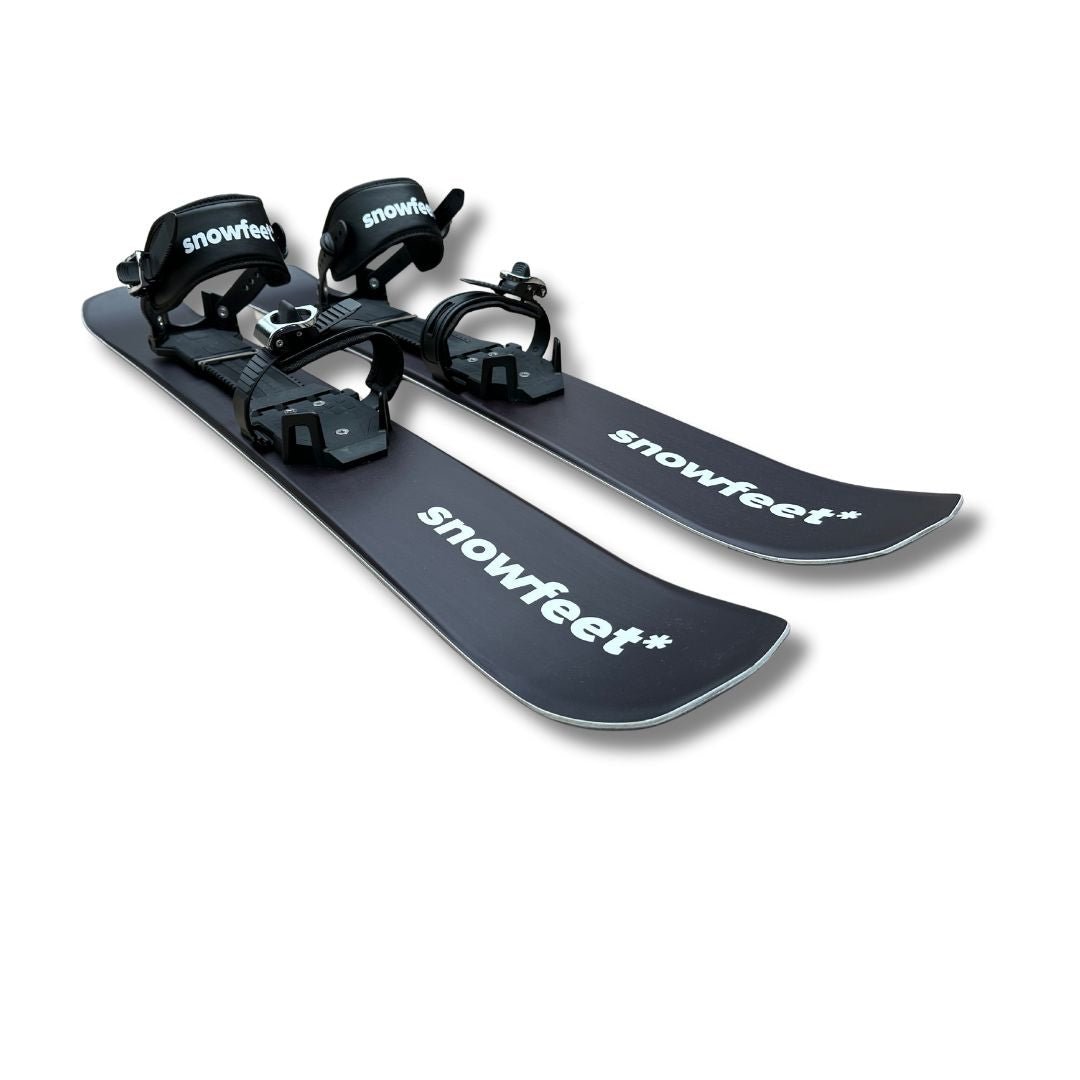
Snowfeet Bindings: Accessible and Lightweight
Snowfeet bindings stand out for their user-friendly design. Adjustments can be made with a simple screwdriver, eliminating the need for professional assistance [9]. While they lack the advanced safety features of alpine bindings, they still maintain a secure connection during use.
Performance and Terrain
Traditional alpine bindings excel on groomed slopes and in challenging conditions, offering unmatched stability thanks to their durable construction. Snowfeet bindings, on the other hand, are ideal for shorter skis and controlled environments. They provide a cost-effective and straightforward option for recreational use, especially for those looking for minimal maintenance and easy setup.
Conclusion
Ski bindings play a key role in both safety and performance on the slopes. As Simon Knott from NewToSki.com puts it:
"Ski bindings act as the interface between the boot and the ski. The boot needs to be held firmly in the binding to transfer all the skier's movements, down through the boots to the skis. Ski bindings need to be tight enough so there is little play between the boot & the binding. However, if you fall the bindings need to have enough play so that the ski comes away from the boot lowering the likelihood of injury." [1]
Over the years, ski bindings have undergone significant advancements, leading to the development of modern systems like Snowfeet's unique design.
Snowfeet's binding system stands out with its simple, user-friendly setup. Unlike traditional bindings, their non-release design works with a variety of footwear, making it an excellent option for shorter skis. Plus, adjustments can be made at home using basic tools - a practical advantage compared to more complex systems.
While traditional alpine bindings are built for high performance, Snowfeet prioritizes ease of use. Each binding type caters to different skiing styles and skill levels, ensuring there’s something for everyone.
No matter the system, proper maintenance and adjustments are essential [10]. Choosing the right bindings and keeping them in good condition is key to staying safe and enjoying peak performance on the slopes.


Leave a comment
This site is protected by hCaptcha and the hCaptcha Privacy Policy and Terms of Service apply.